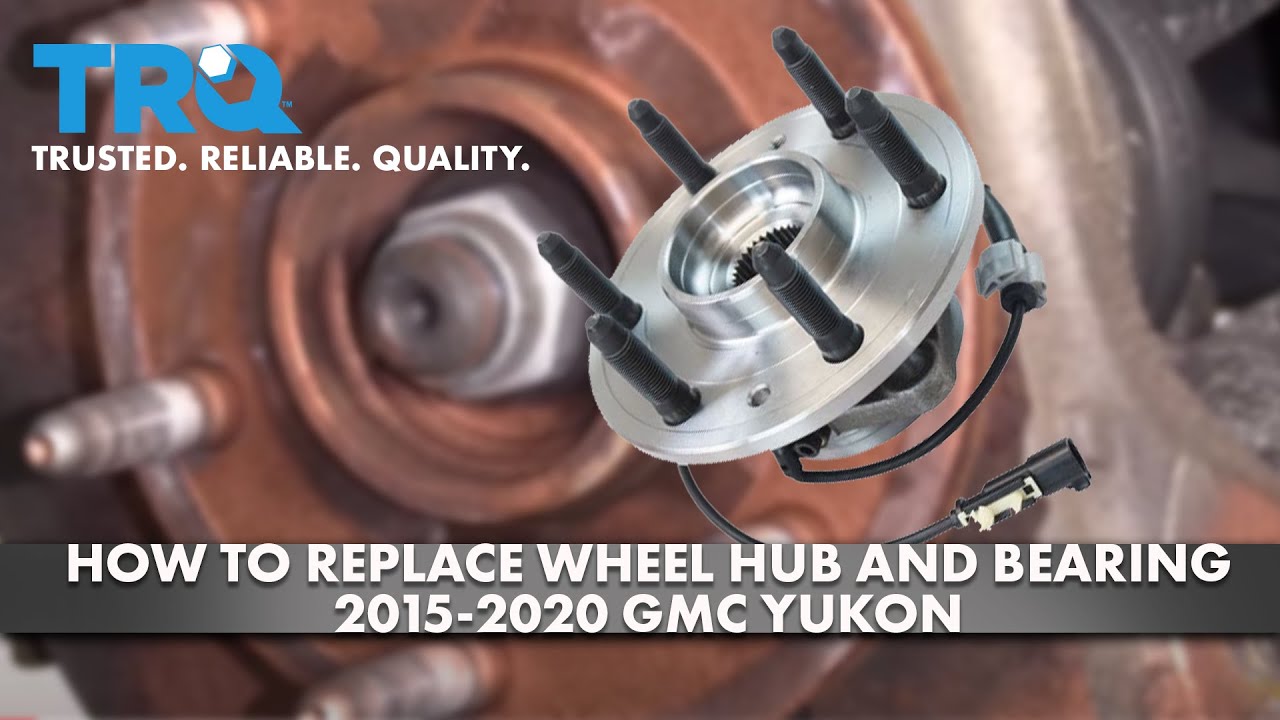
How to Replace Wheel Hub Bearing 2015-20 GMC Yukon
Created on: 2020-10-20
This video shows you how to do the replacement yourself on your 2015-2020 GMC Yukon.
Tools needed
-
Torque Wrench
Hammer
Socket Extensions
Jack Stands
Liquid Thread Locker
Trim Tool Set
Brake Parts Cleaner
Pocket Screwdriver
Socket Driver
Paper Towels
Copper Anti-Seize
Wheel Chocks
Center Punch
Ratchet
Floor Jack
Wire Brush
36mm Socket
Okay, friends, one of the first things we're going to talk about in this video is safety, hands and eyes. With that said, let's go ahead and safely raise and support the vehicle. And now, we're going to remove all six of our lug nuts and take the wheel off.
Now that we have the wheel off, we have a clear view of our ABS wire right here. I always like to disconnect it. We'll go ahead and pull it off of the frame right there where it's on and if you look at it, you're going to see a red tab. Push that red tab so it's away from the little indicator here. Now we're going to squeeze on this tab and separate the two. Let's continue on by removing it from the rest right along here. There's another one down here. Perfect. Set it aside. Now, looking from the backside, you're going to see two caliper bracket mounting bolts. Go ahead and remove the pair of them, and then we're going to set the whole caliper up on top of the control arm so it's safe.
Looking at the front of your rotor, you're going to see this little Torx head screw right there. Go ahead and remove that and then remove the rotor. Use your 36-millimeter socket, remove your axle nut. There we are. Give your axle a nice push. If it doesn't move inside the bearing, you need to continue on with a little punch in the center with a hammer bonk, bonk, bonk until it's free. Let's remove our outer tie rod end nut. Now, looking at the backside of the knuckle right along where the axle is, you're going to see three mounting bolts that hold the bearing to the knuckle. Go ahead and remove all three.
There it is. Go ahead and wiggle that bearing. All right, ours feels like it's ready to come off. If it doesn't for you, you can go ahead and give a bonk right along the top here, maybe along the bottom, just try to break it free. There we are. Let's go ahead and grab that backing plate off of there. There's our bearing, friends. Now, let's continue on with a nice collection bucket on the floor. We're going to spray down this area, get out any of the debris that's in there.
Okay, this looks great. You also want to make sure that this area along here is nice and clean as well, that's where the backing plate's going to ride. And then, of course, double-check that backing plate itself and make sure that that's in good condition as well. If you have any rot build-up in areas that it's supposed to make contact points, obviously you're going to have an issue. Now, let's use a little bit of copper never-seize, we're going to go along the inner portion of the knuckle right there and then, of course, this area where the mounting area is. There we are. All up along there. Beautiful. I like to put a little bit along the splines of the axle itself as well, but you definitely don't need to go on the threaded area. Now it's going to be time to clean up the threads on all of your bolts. You want to make sure there's no rust or any remaining thread locker. Once you have them cleaned, let's put on a tiny bit of thread locker ourselves.
All right, so I cleaned up my bolts, I've got some thread locker on them, I've got my backing plate, and I've got my brand new bearing. Go ahead and put the wire through your backing plate and then line up the slot right along there. You're going to notice the cutout area on one side of your backing plate, that's going to be where the caliper is supposed to be. Let's go ahead and put this bearing on there. Now, of course, we'll start all three of our bolts from the backside, we'll snug them up, and then we'll torque them to manufacturer specifications.
Now let's torque all these bolts to 133 foot-pounds. Now if you have an existing rotor that looks a lot like this, you want to make sure that you clean up this surface where the hub's going to ride. If you have some copper never-seize, go ahead and coat the area where the rotor's going to ride and, of course, make sure you get inside that bolt hole where the security bolt is. Now it's going to be time to get our rotor up on here. Make sure you line up your mounting hole and, of course, start that bolt in there and snug it up. Now, let's go ahead and get our caliper on there. I've got my two bolts with a little bit of thread locker on it. Start them both in, snug them up, and we'll torque them to manufacturer specifications. Let's torque these 170 foot-pounds. Connect in your ABS wire, click it in, give it a tug, make sure it's locked. Perfect. Go ahead and start it into the frame. Make sure everything's secure.
Let's get the tie rod nut back on here. Let's torque this to 26 foot-pounds. Tiny bit of thread locker on your axle stud there, washer, start the nut on, we're going to bottom it out carefully, and then we'll torque it to manufacturer specs as well. To torque this, the easiest way to do it would be to grab your wheel, come from the backside and you're going to bonk out this center cover right here. Now we're going to put the wheel on there and then we'll, of course, torque everything down at the same time. Now that we have the wheel touching the ground, we can torque our axle nut to 188 foot-pounds. Torque your lug nuts to 140 foot-pounds. Let's go ahead and get our cover on there. Torqued.
Okay, friends, so that was easy. Next thing you need to do is go ahead and pump up the brake and then take it for a road test. Listen for any noises and, of course, pay attention to make sure you don't have any ABS light.
Shop Products


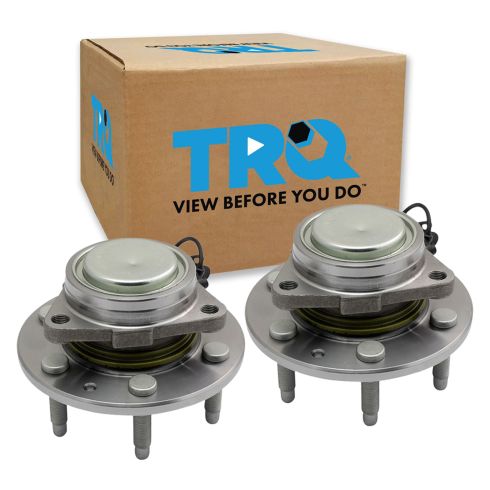
Chevrolet GMC Cadillac Front Driver & Passenger Side 2 Piece Wheel Bearing & Hub Assembly Set TRQ BHA52122
Part Details:
- 2 Piece
- (1) Front Driver Side Wheel Bearing & Hub Assembly
- (1) Front Passenger Side Wheel Bearing & Hub Assembly
- Taper
- Gen 3

How to Replace Front Wheel Bearing 2000-06 Toyota Tundra
How to repair, install, fix, change or replace a worn out, vibrating or groaning wheel bearing hub on 00, 01, 02, 03, 04, 05, 06 Toyota Tundra
