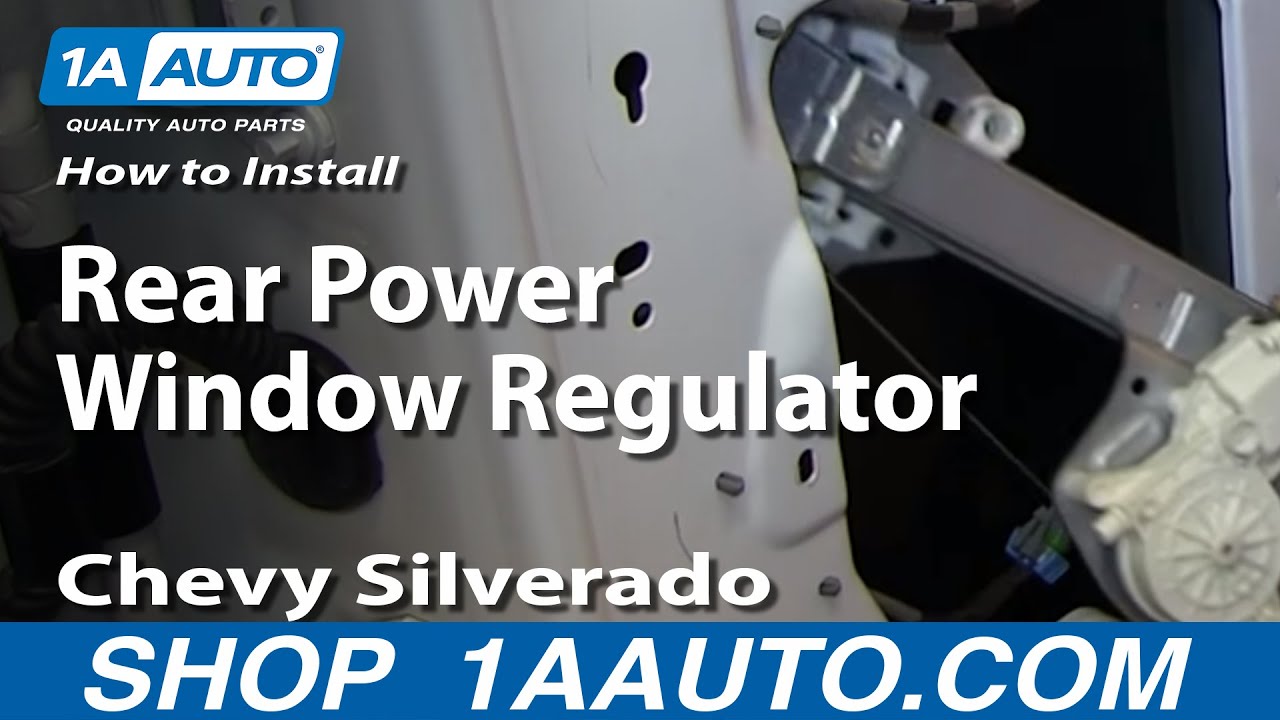
How to Replace Window Regulator 2007-13 Chevy Silverado 1500
Created on: 2014-04-08
Check out this video on how to replace the rear power window regulator on your 07-13 Chevy Silverado 1500.
-
step 1 :Removing the Door Panel
- Pry off the upper window panels by hand
- Pry off the door handle trim panel with a flat blade screwdriver
- Pry off the window switch with a flat blade screwdriver
- Disconnect the window switch wiring harness
- Pry off the trim panel behind the door pull with a flat blade screwdriver
- Remove the 10mm bolt inside the door handle
- Remove the two 10mm bolts behind the door pull
- Pry the door panel off by hand
- Pull the door handle cable out of the door handle
- Carefully peel back the water shield
-
step 2 :Removing the Window Regulator
- Disconnect the window motor wiring harness
- Hold the window up with painter’s tape
- Loosen the two 10mm window clamp bolts
- Remove the top 10mm regulator bolt
- Remove the 10mm bolt from the window motor
- Remove the two 10mm nuts from the bottom of the regulator
- Pull the regulator down inside the door
- Remove the painter’s tape from the window
- Remove the window weatherstrip
- Slide the window into the door, while holding the regulator away from it
- Pull the regulator out of the door, being sure not to scratch the window
-
step 3 :Installing the New Window Regulator
- Feed the new regulator up into the door, being sure not to scratch the window
- Carefully push the window up into place
- Put the window weatherstrip onto the door
- Put the regulator into place
- Insert the top 10mm bolt into the window regulator
- Fasten the two 10mm nuts onto the bottom of the window regulator
- Insert the 10mm bolt into the window motor
- Connect the window motor wiring harness
-
step 4 :Reinstalling the Door Panel
- Put on the water shield
- Connect the door handle cable to the door handle
- Slide on the door handle cable clip
- Put the door panel into place using the locating hooks
- Push in the door panel clips
- Insert the 10mm bolts behind the door pull
- Insert the 10mm bolt into the door handle
- Connect the window switch to the wiring harness
- Push the window switch into the door
- Push on the door handle trim panel
- Push on the trim panel behind the door pull
- Push on the upper window panels
Tools needed
-
Flat Blade Screwdriver
Painter's Tape
10mm Socket
Ratchet
Brought to you by 1AAuto.com, your source for quality replacement parts and the best service on the Internet.
Hi, I'm Don from 1A Auto. I hope this how-to video helps you out, and next time you need parts for your vehicle, think of 1AAuto.com. Thanks.
In this video we're going to show you how to replace the rear window regulator on this 2011 Chevy Silverado 1500, same process on the GMC Sierras, as well, from the years 2008 to 2012, and the only tools you'll need for this are a 10mm socket and ratchet and a flat blade screwdriver.
Start off by just prying off these upper panels; you just grip behind them and pull out. Now, using a flat blade screwdriver, pry out this small panel behind your door handle, then pry up your window switch, and just push the tab on the harness and pull it free. Then, pry up this panel underneath your pull handle. Now, you want to remove these three 10mm bolts. Now, we'll fast forward as Mike does this. Now, pull out on the door panel to release the clips, and then pull your door handle cable up and then move it forward and pull the ball out of the door handle. Now, we're fast forwarding here, but you want to very carefully remove that water shield.
Disconnect your power window motor; just press the tab, and pull out. Before you do anything else, tape up your window. Now you want to loosen these two 10mm bolts, remove that one, remove that one, and remove these two nuts, and we'll just fast forward as he does that. Once you've done that, push the window regulator back, and then put it down inside the door. You want to remove the tape from your window; put some pressure on it, and remove that weather strip, and then slowly and carefully slide the window down into the door, holding the window regulator away so that it doesn't scrape the window. You can lift that regulator up very carefully, making sure you don't scrape the window, and pull it out of the door.
The old window regulator is in the front, with the new window regulator from 1A Auto in the back. You can see they have all the same mounting points, they're identical; they'll fit exactly the same way. Now, you can feed your window regulator up into the door; we're just going to use our old one, because there's nothing wrong with it, and you want to carefully take your window and line it up into the right slots and slowly push it back up into place. Once you've done that, put the weather strip back on. Now, you can replace that top bolt on the window regulator, and then you can hang it with that and push the studs through on the bottom. Then, you want to replace those two nuts and that other bolt, and we'll continue to fast forward, as he tightens all those up. Then you want to reconnect your window motor and reinstall that water shield.
Take your door handle cable and push the ball back into the door handle, and then pull it back and around and then push that clip back down in. Now, you want to put these two hooks into these two holes. So you just clip those hooks on first; then angle the door panel up and lift it just a little bit, and then push those clips directly in. Once you're sure it's lined up, just go around and hit all the clips in to activate them. We'll fast forward as Mike replaces those bolts, first by hand and then tightens them up with the socket and ratchet. Now reconnect your window switch; just push the harness into place, and then push the panel straight down. Then replace the small panel behind your door handle and then that small panel underneath your pull handle. Then line up the tabs on these panels and just push them directly back into place, and you're all set.
We hope this video helps you out. Brought to you by www.1AAuto.com, your source for quality replacement parts and the best service on the Internet. Please feel free to call us toll-free, 888-844-3393. We're the company that's here for you on the Internet and in person.
Shop Products


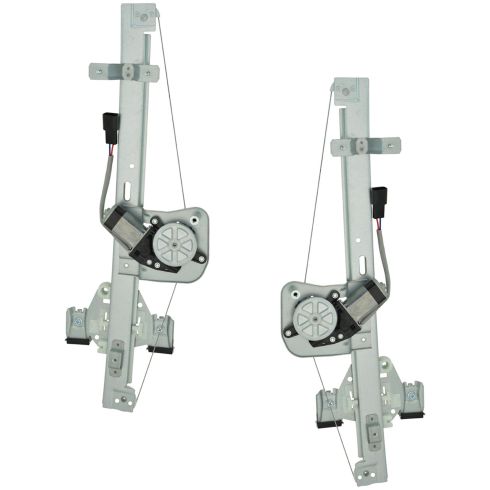
Chevrolet GMC Rear Driver & Passenger Side Power 2 Piece Power Window Motor & Regulator Assembly Set TRQ WRA50449
Part Details:
- Power
- 2 Piece
- (1) Rear Passenger Side Power Window Motor & Regulator Assembly
- (1) Rear Driver Side Power Window Motor & Regulator Assembly

How to Replace Window Motor Regulator 1996-2000 Nissan Pathfinder
New Window Regulator from 1AAuto.com How to repair, install, fix, change or replace a weak, noisy, damaged or defective power window motor on 00 Nissan Pathfinder
