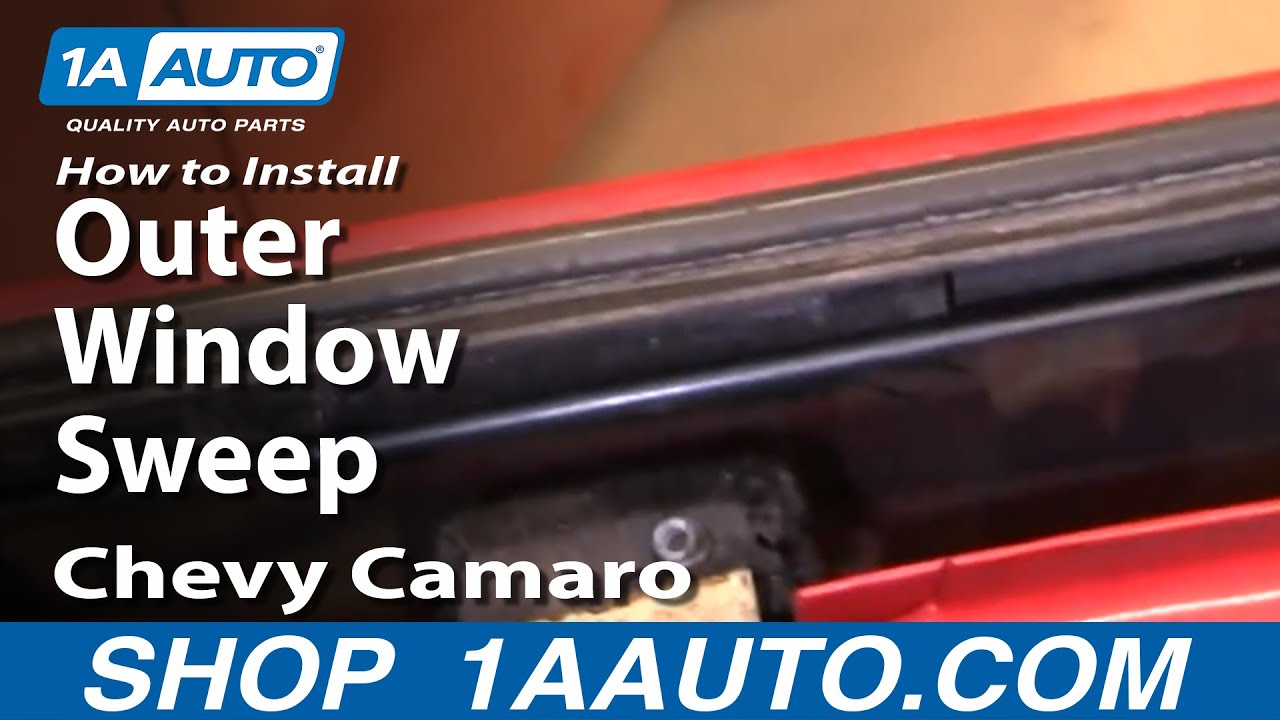
How to Replace Window Sweep 1982-92 Chevy Camaro
Created on: 2011-07-13
Need to remove the outer window sweep on your 82-92 Chevy Camaro? Check out this video!
-
step 1 :Disconnecting the Battery
- Disconnect the negative battery cable
-
step 2 :Removing the Door Panel
- Organize your parts and fasteners as you take things apart
- Remove the fasteners from the door pull
- Remove the door pull
- Remove the fasteners from the door handle bezel
- Disconnect the switches from their wiring harnesses
- Remove the door handle bezel
- Pry off the door panel with a putty knife or door panel removal tool
- For more detailed instructions, please see the 1986 Camaro door panel replacement video
-
step 3 :Removing the Triangle Seal
- Remove two Phillips head screws from the weatherstrip
- Carefully peal back the water shield
- Remove the 10mm nuts from the triangle seal
- Remove two 10mm bolts from the door
- Pull out the triangle seal
-
step 4 :Removing the Window Sweep
- Remove the 10mm bolts from the window guides
- Remove the window guides
- Hold the window out of the way by hand
- Use a 7mm wrench to remove the bolts from the window sweep
- Pull the window sweep off by hand
Tools needed
-
Socket Extensions
Putty Knife
T10 Torx Driver
Flat Blade Screwdriver
T27 Torx Driver
Phillips Head Screwdriver
8mm Socket
7mm Socket
10mm Socket
Door Panel Removal Tool
Slip-Joint Pliers
Ratchet
Marker / Writing Utensil
Brought to you by 1AAuto.com, your source for quality replacement parts and the best service on the Internet.
Hi, I'm Mike Green. I'm one of the owners of 1A Auto. I want to help you save time and money repairing or maintaining your vehicle. I'm going to use my 20-plus years experience restoring and repairing cars and trucks like this to show you the correct way to install parts from 1AAuto.com. The right parts installed correctly: that's going to save you time and money. Thank you and enjoy the video.
In this video, we're going to show you how to remove the outer window sweeps. These are commonly cracked on this '82 to '92 Camaros and Firebirds. They fit a lot of different vehicles. It's a pretty straightforward thing to disassemble. You need to take the door panel off and the front window run channel as well as the triangle part that's on the front of the window.
Tools you'll need are T27 and T10 Torx drivers as well as medium and small sized flat blade screwdrivers, 7, 8 and 10 millimeter wrenches or sockets with ratchet, door panel clip tool or a putty knife, Phillips screwdriver. You may need a set of pliers and then plastic bags and a marker to mark the hardware after you take it apart. Also, before you do this, just disconnect your battery, disconnect the negative batter terminal just so you don't wear it on your battery because you have the door open for so long.
To start out, we're actually going to fast forward through removing the door panel. If you want to see this in regular speed, just check out our other videos for the Camaro Iroc-Z door panel removal video.
There are two Phillips screws to remove so you can pull back the top of the weather strip: here and right into here, you'll see the hole in the weather strip. You can remove the screw then you peel that back. I'll put the screw up here so I don't lose it. Pull your shield back. You need a 10 millimeter socket, ratchet with extension. There's two 10 millimeter bolts here to remove. We'll just speed it up here as we remove those two 10 millimeter nuts. They're on the top of a little bracket that's attached to that triangle seal and the front window channel. Once you remove those two 10 millimeter nuts, there's two 10 millimeter bolts here to remove. Let's twist it correctly here. This must go first. Let's get those out.
To get this outer window sweep off, you can see ours needs replacing . it's all cracked, -- there's a series of bolts. You can see a couple hiding in behind the window. What you'll want to do, is take and loosen these window guides and then push the window in. You should be able to get a wrench on there. It looks the ones have already been taken off. These bolts are 10 millimeter. I'm just going to speed up as I remove those two window guide bolts. Then I put the bolts back in the door so I know where they are. A 7 millimeter wrench. I used a 7 millimeter wrench and as well as a socket and ratchet with extension for the bolts that I can get to easily. You'll notice that the triangle seal is back on or the triangle part in the front is back on because I kind of did shoot this out of order. I removed these bolts and then realized that there still was that bolt hiding in behind that triangle seal so I had to take it out but if you take it out, if you take that triangle seal and front window channel out first, that's the correct order.
There's the 7 millimeter bolts right in behind where that triangle seal was. I'll fast forward through removing that and then pick it up, take it off the strip. That screw's out and the outer sweep comes right off.
Now, this clip is from later after I've taken more stuff out apart. Basically, I just want to show you that when you take things apart especially in this case with this car, we're going to take it all apart and then get it painted, I do things, I took the mirror off and then I put the nuts back on so I can find them. I put the bolts back into the track, that little triangle pieces on and put things back together. Then I took little bags and clearly marked them as far as maybe the door panel hardware or some of the window hardware and things like that. Then like that little door handle bezel that you can see underneath my hand there, all in black. I reassembled that with the switches and stuff. Just put things back together so that when you're ready to put the car back together, you can find all the bolts and nuts and everything. It makes it a whole lot easier when you're going to put the car back together.
We hope this helps you out. Brought to you by www.1AAuto.com, your source for quality replacement parts and the best service on the Internet. Please feel free to call us toll-free, 888-844-3393. We're the company that's here for you on the Internet and in person.
Shop Products


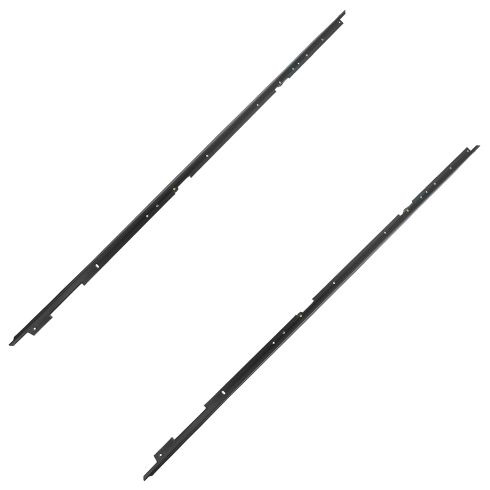
1982-92 Chevrolet Camaro Pontiac Firebird 2 Piece Window Sweep Set Fairchild Automotive 1AWSK00155
Part Details:
- 2 Piece

How to Replace T-Top Roof Weatherstrip Channels 1982-92 Chevy Camaro IROC-Z
This video will show how to remove the T-top, windshield, and B pillar weatherstripping if it is loose or needs to be replaced
