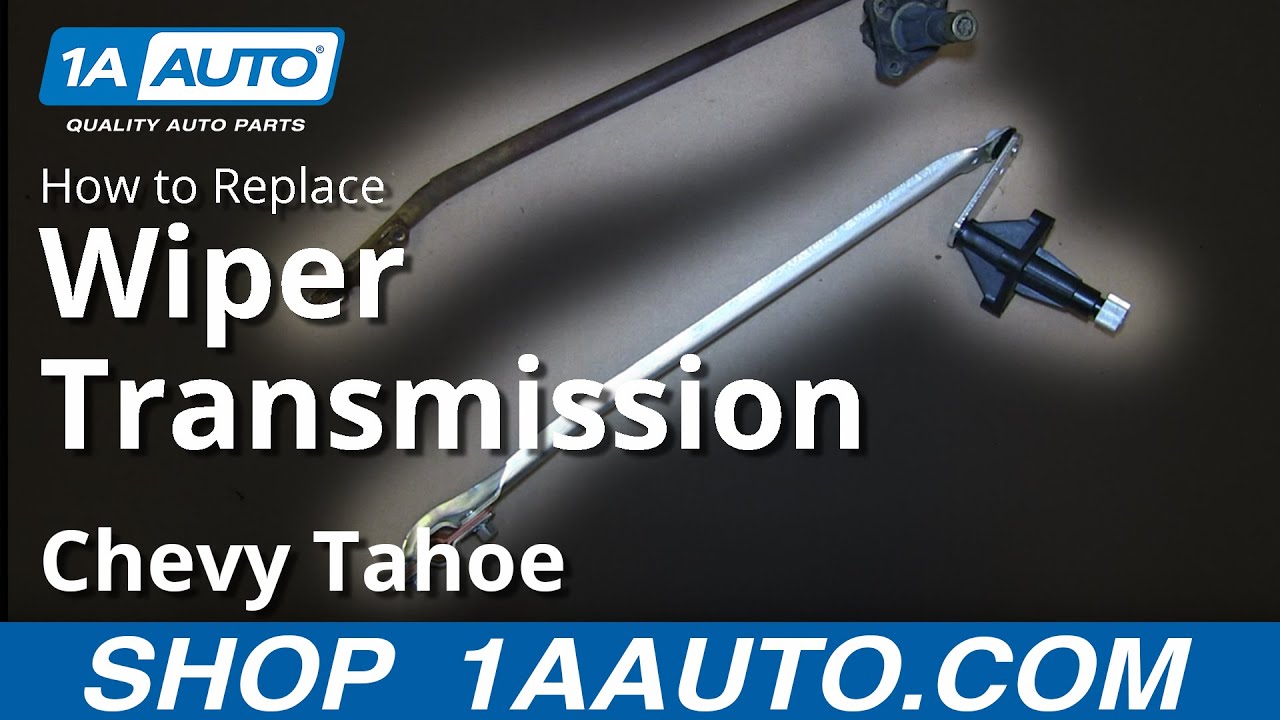
How to Replace Windshield Wiper Transmission 1995-2000 Chevy Tahoe
Created on: 2014-03-25
How to repair, install, fix, change or replace a broken, bent, damaged, failing or squeaking windshield wiper transmission on 95, 96, 97, 98, 99
-
step 1 :Removing the Wiper Arm
- Pry out the wiper arm clip with a flat blade screwdriver
- Pull the wiper arm up and off
- Repeat the process for the other wiper arm
-
step 2 :Removing the Cowl Panel
- Remove the two Phillips screws from the cowl panel
- Pull the panel off
- Remove the Phillips screws on either side of the cowl panel
- Remove the weatherstrip
- Remove the six Phillips screws along the cowl panel
- Remove the cowl panel forward
- Disconnect the washer hose
-
step 3 :Removing the Transmission
- Loosen the four 10mm nuts from the transmission
- Pull both linkages from the wiper motor stud
- Remove the three 11mm bolts from the passenger side linkage post
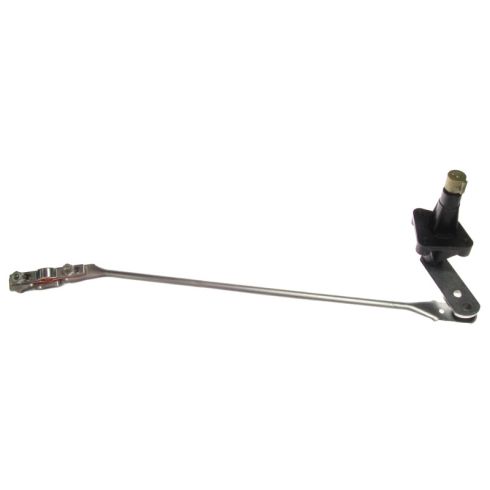
- Remove the wiper linkage
-
step 4 :Installing the New Transmission
- Remove one of the 10mm nuts and loosen the other on the new linkage
- Feed the transmission into place
- Push the linkage onto the wiper motor stud
- Pull the linkage post through
- Insert and tighten the 11mm bolts to the passenger side linkage post
- Push the linkage on and line it up in the center
- Insert and tighten the 10mm nuts
-
step 5 :Installing the Cowl Panel
- Insert the cowl panel
- Connect the washer hose
- Insert the Phillips screws on the either side of the cowl panel
- Replace the six Phillips screws in the center of the cowl panel
- Replace the side panels
- Insert the Phillips screws on either side
- Push the weatherstrip on
- Close the hood
-
step 6 :Installing the Wiper Arm
- Insert the wiper arm onto its slot
- Replace the cap on the wiper arm
Tools needed
-
Flat Blade Screwdriver
Phillips Head Screwdriver
10mm Socket
Ratchet
11mm Socket
Brought to you by 1AAuto.com, your source for quality replacement parts and the best service on the Internet.
Hi, I'm Mike from 1A Auto. I hope this how-to video helps you out, and next time you need parts for your vehicle, think of 1AAuto.com. Thanks.
In this video, we're going to show you how to replace the passenger's side wiper linkage on this 1996 Chevy Tahoe. The items you'll need for this include a new passenger side wiper linkage from 1AAuto.com, Phillips screwdriver, a flat blade screwdriver, and a 10mm and 11mm socket and ratchet.
First, using a flat blade screwdriver, just pry up this clip, pull the wiper arm up and off, and do the same for the other wiper arm. Next, you want to remove this Phillips screw from either side of your vehicle. Then this panel just pulls off, and repeat the process on the other side. Then remove this Phillips screw and the Phillips screw on the same spot on the other side. We'll just fast-forward as Don does this.
Now pull off your weather strip and remove these six additional Phillips screws. We'll fast-forward while Don does this. Now pull the cowl up and forward, and now you just want to pull your washer hose off and slide the cowl out. Next, loosen up these four 10mm nuts. We'll fast-forward as Don does this. Now pull both of the linkages from the wiper motor stud and then remove these three 11mm bolts around the passenger's side linkage post. Now pull the wiper linkage out.
On the right is the old wiper linkage; on the left is the new one from 1A Auto. You can see they're identical and they'll fit exactly the same. Remove one of the 10mm nuts, loosen up the other one on your new wiper linkage, and then feed it back down into place. Then push the linkage onto the wiper motor stud, pull the post up through, and replace those three 11mm bolts.
Then tighten the 10mm nuts, push your other wiper linkage on, and make sure you have it lined up in the center. Then tighten those two 10mm nuts. Now, put your cowl panel back into place and reconnect the washer hose.
Then line it up and replace those two Phillips screws on either side of the cowl panel. Then replace the six screws in the center of the cowl panel. Now replace those two side panels and the Phillips screw that holds them into place. Push the weather strip back on. Then close your hood.
You want to line up that line with the slot, push the arm back onto the post, push the tab in, put the arm down, and then repeat the process for the other arm. Then you're all set.
We hope this video helps you out. Brought to you by www.1AAuto.com, your source for quality replacement parts and the best service on the Internet. Please feel free to call us toll-free, 888-844-3393. We're the company that's here for you on the Internet and in person.
Shop Products


How to Replace Windshield Wiper Motor Linkage 2004-10 Dodge Ram
With this video you can learn how to replace the windshield wiper motor & linkage on your 04-10 Dodge Ram. 1AAuto shows you how to do it yourself!
