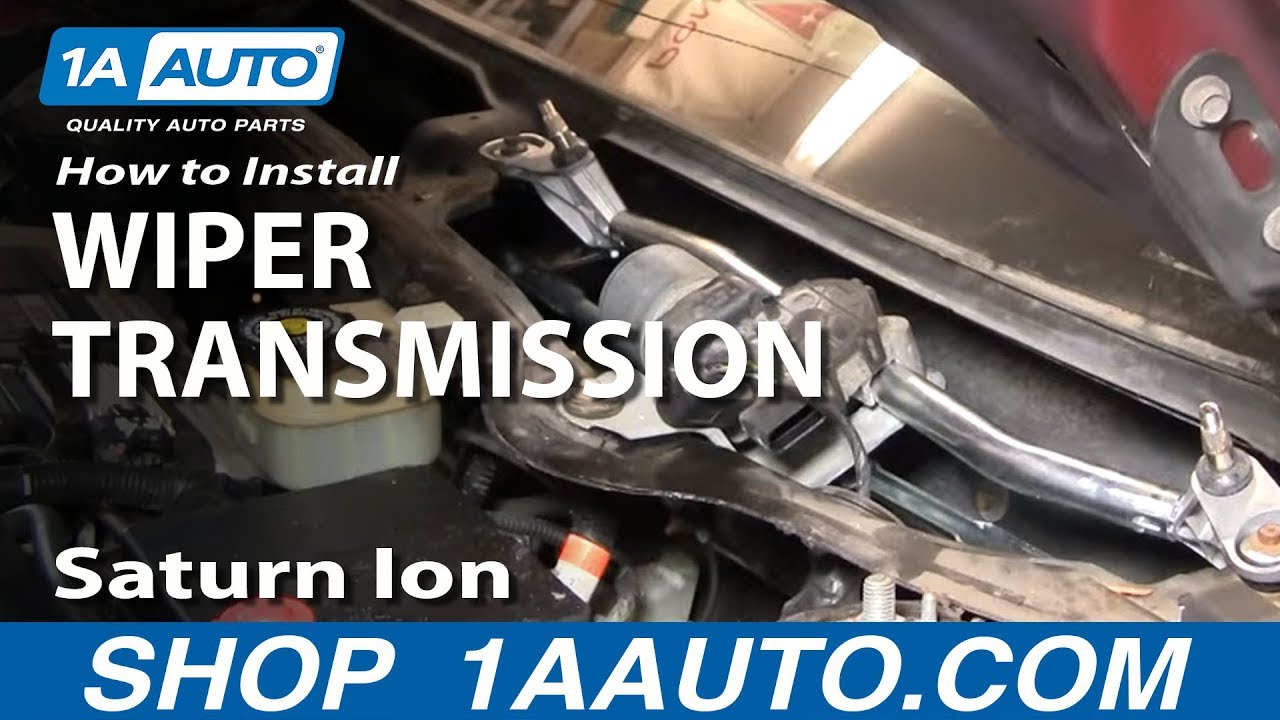
How To Replace Windshield Wiper Transmission 2003-07 Saturn Ion
Created on: 2012-01-17
Learn how to replace the windshield wiper transmission on your 03-07 Saturn Ion with this video from 1A Auto. Follow along with step by step instructions!
-
step 1 :Removing the Wiper Arms and Trim
- Pry the caps off the wiper bolts with a flat blade screwdriver
- Remove the 13mm nuts from the wiper arms
- Remove the wiper arms with a wiper arm puller
- Remove the plastic trim pins with a flat blade screwdriver
- Remove the 7mm bolts from the cover panel
- Pull the cover panel up and off on the driver side
- Disconnect the windshield washer
- Use string or wire ties to secure the cover panel out of the way
-
step 2 :Removing the Wiper Transmission
- Spray penetrating oil on the bottoms of the wiper transmission bolts
- Remove the three 10mm bolts from the wiper linkage
- Lift out the wiper transmission
- Disconnect the wiring harness
- If you are unable to disconnect the wiring harness disconnect the bracket
- Remove the 13mm nut from the bracket
- Remove the three T27 Torx screw from the bracket
- Remove the motor from the wiper transmission
-
step 3 :Preparing the New Wiper Transmission
- Inspect the wiper arm tines
- If the tines are damaged you should replace the wiper arms as well
- Clean the tines
- Disconnect the wiper motor from the wiring harness
- Attach the new wiper transmission o the wiper motor
- Reattach the bracket
- Tighten the three T27 Torx screws to between 8 – 10 foot-pounds of torque
- Reattach the 13mm nut, holding the linkage as you tighten it
-
step 4 :Installing the New Wiper Transmission
- Put the wiper transmission in place
- Thread the three 10mm bolts by hand
- Tighten the 10mm bolts
- Reconnect the wiring harness
- Release the cover panel
- Check the cover panel weatherstripping is in place
- Push the cover panel into place
-
step 5 :Reattaching the Wiper Arms
- Turn on the vehicle
- Activate the windshield wipers
- Stop the windshield wipers
- Turn off the vehicle
- Install the curved wiper arm on the passenger side
- Start the bolt
- Install the straight wiper arm on the driver side
- Start the bolt
- Preliminarily tighten the bolts
- Hold the wiper arm in place as you tighten the bolts to between 25-30 foot-pounds
- Put the caps on the wiper arms
- Insert the two 7mm bolts into the cover panel
- Insert the cover panel pins
- Reconnect the windshield washer
Tools needed
-
12mm Socket
13mm Socket
Socket Extensions
Rust Penetrant
3/8 Inch Drive Ratchet
Wire or String
Flat Blade Screwdriver
T27 Torx Driver
Windshield Wiper Puller
8mm Socket
7mm Socket
9mm Socket
Wire Ties
10mm Socket
Ratchet
11mm Socket
Brought to you by 1AAuto.com, your source for quality replacement parts and the best service on the Internet.
Hi, I'm Mike from 1A Auto. I hope this how-to video helps you out, and next time you need parts for your vehicle, think of 1AAuto.com. Thanks.
In this video we're going to show you how to fix a common problem which is that the wiper transmissions on the Saturn Ions fail. It's due to the fact that some of the parts are made of plastic and they break over time.
Tools you'll need are 7 mm to 13 mm wrenches or socket and ratchet. You'll need a windshield wiper arm puller. You may not need that if you're lucky. Sometimes you can take the nuts off the wiper arms and they come off without having the puller. You'll need a flat blade screwdriver and T27 Torx driver.
The first thing is the screwdriver and the little caps on our wiper bolt. Pry those off. There and then one there. It's missing one on that side. 13mm nut. Just speed up here as I remove those two 13mm nuts. If you're lucky you might be able to just kind of wiggle the arms back and forth and pull them off. You'll probably need a tool, a little pressing tool. Hook it underneath here. Now repeat that from the other side. Now there's a couple of bolts there and there. There's also probably some trim pins here, but this car, it look like may be missing them. I'll speed up here again as I remove these two bolts. They are a 7 mm bolts.
Now I'll take this plastic and you want to kind of push this side up and out of this corner. Then go up and over your windshield wiper studs. Pull it out. Disconnect our washer right here. Pull out on a couple ears. I just used some zip ties or some string and just secure that up and out of your way. Now underneath here, there's three 10 mm bolts, here, here and over there. I'm going to spray some penetrating oil up underneath. Try to hit the bottoms of those bolts. Speed up the film again as I remove those three bolts. Those are 10 mm heads, so you'll need a 10 mm socket with your ratchet. Now what I do is I push this plug through, with it up, I bring it right out.
Now once you have it here, there should be a little tab right here that you can just push with your thumb and disconnect this, but this has been broken off, so it's difficult to get this apart. What I'm going to do is just replace it here. We need a 13 mm wrench and undo this nut here. Now you need a T27 Torx driver and undo these bolts here; and again we'll speed up the film as I take out those three T27 Torx bolts. I'm going to take a screwdriver and pry on that arm a little bit. It comes up and off and we'll remove that from there. We'll remove the motor from the assembly. Here's my wiper transmission out.
There are two issues you can run into. Sometimes the wiper arms themselves strip and they clog up these tines. In that case usually what you need to do is really get a new wiper arm. Make sure you clean out these tines really well and then put a new wiper arm on again. What these are more prone to, is failure of these plastic housings here. They break which obviously renders the wipers useless.
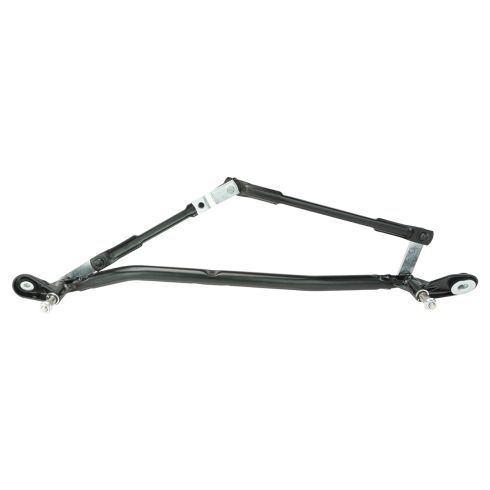
Here's our replacement. You can see that these are in die casts, much more durable material than the plastic. It won't break. With this part I can pretty easily come in here and pry up on the tab and disconnect this motor, so now I can work on the bench. It's got a divot here that are on the shaft and then two smaller divots that go on those mounting bolts. Put them like that. Now take this plate, put it on like that. Slide it a little towards the edge here. Put in the Torx screws. Speed it up here again. I'm starting those three torque screws first. Then tighten them up with your driver and tighten them up to probably 8-10 foot-pounds, which is pretty much just tight with a small ratchet handle. Put that down in place. Again, we'll speed it up as we put that nut on with our 13mm wrench and tighten it up. You want to get it pretty tight to hold the linkage as you tighten it; because, as you press that down that's what kind of presses that on to the motor and make sure that everything is activated.
Now we're going to take this and make sure that our linkages go underneath correctly. Put the bolts back in. As usual I'm going to speed it up here as I thread those bolts in by hand first and then use my socket and ratchet. Again, these are 10mm and you want to tighten them up nice and firm. It compresses the cushions. Then, tighten them firm. Connect it back in. Make sure our plug is set in the body correctly. Push that down. You've got to make sure this weather strip is on back here. Take this piece out and around, up and over the wiper mechanism.
What you want to do is turn your key on. Run the wipers a couple times. Shut them off. Let them park. Turn your key off. Now you put your wipers back on. The passenger's side kind of has this jog in it. You just put it right in the same position they were. Push them down on. Start your bolt on. Once you get the bolt started then repeat that procedure for the other wiper. Then to tighten them up what you want to do is just kind of preliminarily tighten them down and then as you get tighter and tighter you want to hold the wiper arm as you tighten the wrench. You want to tighten them nice and firm, probably about 25-30 foot pounds. Good and tight with a 3/8 inch drive ratchet. We'll kind of breeze through the final details which is putting the caps on the wiper arms, putting the two 7mm bolts that hold down your cover panel there, as well as if you have the tabs or the pins that hold them on the sides and reconnect your windshield washers.
We hope this helps you out. Brought to you by www.1AAuto.com, your source for quality replacement parts and the best service on the Internet. Please feel free to call us toll-free, 888-844-3393. We're the company that's here for you on the Internet and in person.


How to Replace Wiper Transmission Crank Arm 2000-05 Chevy Monte Carlo
How to repair, install, fix, change or replace a broken, bent, damaged, failing or squeaking windshield wiper transmission on 00, 01, 02, 03, 04, 05 Chevy Monte Carlo.
