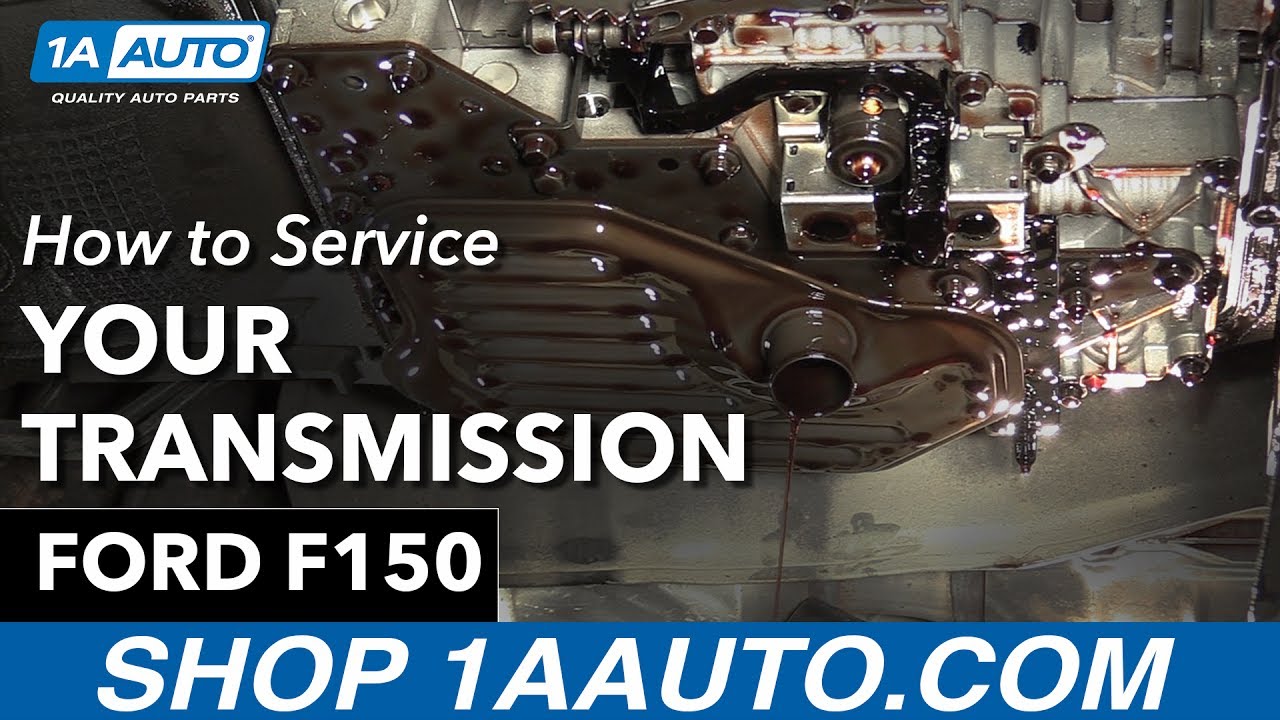
How To Service the Transmission 1997-2004 Ford F150
Created on: 2017-07-21
This video shows how to drain and refill the transmission fluid, and how to remove, clean, prepare, and install a new transmission oil pan
-
step 1 :Removing the Transmission Pan
- Remove the transmission dipstick tube
- Clean the dipstick tube
- Jack up the vehicle
- Secure the vehicle on jack stands
- Have a drain pan ready
- Slightly loosen the fifteen 10mm bolts on the transmission pan
- Loosen the rear bolts and let the fluid drain out of the side
- Remove the rear bolts
- Remove the side bolts
- Let the fluid drain
- Hand-tighten a bolt in the rear
- Remove the front bolts
- Let the fluid drain
- Support the pan and remove the last bolt
- Gently lower the pan down and out
-
step 2 :Cleaning the Transmission Pan
- Remove the loose component from the pan
- Remove the magnet
- Clean out the pan with a cleaning agent
- Clean the magnet
- Clean the hardware
- Dry off the pan, magnet, and hardware with a paper towel
- Place the magnet onto the dimple on the pan
- Pry off any remaining gasket adhesive from the pan with a razor blade
-
step 3 :Preparing the Transmission Pan
- Blot any fluid from the transmission with a paper towel or rag
- Remove the gasket from the transmission
- Remove the transmission filter and drain it
- Clean adhesive from the perimeter of the transmission with a razor blade without gouging the aluminum
- Clean off the perimeter with a rag
-
step 4 :Reinstalling the Transmission Pan
- Remove the o-ring from the transmission if it did not come out with the filter
- Lace some transmission fluid around the o-ring on the new filter
- Line the new filter into the transmission
- Line the gasket with the pan
- Insert the pan into place
- Hand-tighten the bolts to hold the pan in place
- Following the torque sequence, torque the bolts to 10 foot-pounds
-
step 5 :Refilling the Transmission Fluid
- Insert a funnel into the transmission line
- Fill the transmission with about 4 to 4 and 1/2 quarts of correct transmission (check owner's manual to confirm)
- Replace the dipstick
- Start the vehicle
- Cycle through each gear a few times
- Check the fluid level is near the high mark on the dipstick
- Add fluid as needed
Tools needed
-
Razor Blade / Gasket Scraper
Funnel
Socket Extensions
Torque Wrench
Jack Stands
Brake Parts Cleaner
Safety Glasses
Pick
Gloves
Flat Blade Screwdriver
10mm Socket
Transmission Fluid
Ratchet
Floor Jack
Swivel
Flashlight
Hi. I'm Mike from 1A Auto. We've been selling auto parts for over 30 years. We're dedicated to delivering quality auto parts, expert customer service, fast and free shipping, all backed by our 100 percent satisfaction guarantee. So visit us at 1A Auto.com. Your trusted source for quality auto parts.
We're going to go ahead and start this transmission service—we're going to do a filter and gasket. We're going to do a visual inspection on the fluid and check that out and see if there's any issues with this transmission.
First step that I normally do: get into that engine bay and pull the transmission dipstick tube or the actual dipstick itself. I'm going to go ahead and clean this. Then we're going to set it right here. The reason for this here is that it guarantees when I go to put this vehicle back together, as long as this is left out, there's no fluid in that transmission. That way there, we don't start it up and drive it out of the shop without any fluid in it.
Next, we're going to go ahead and put this up in the air and start working on that. Don't forget, when you get your parts, before you pull this all apart, you want to go ahead and match up the components that you purchased. If you got a new pan, match up the pan before you drain the fluid and pull the pan. If you got a filter and gasket, make sure that the shape of that pan matches the gasket that you received before you tear it all apart.
Right here is your transmission pan. It's located just before your transmission cross member and it is just after your oil pan location. This is a job you can do in your driveway using a jack and jack stands, or if you have access to a lift, as we do here, you can go ahead and tackle it here.
Now around the perimeter of this pan there are 15 ten millimeter bolts. You're going to want to go ahead and start by loosening those. You got to be careful here because there's no transmission fluid drain plug on this here. You want start by loosening these here. Just crack them free. You want to gradually start loosening the front ones more and you want to get this pan to start tilting down. You want to have a catch can or a drain pan ready to go because this fluid is going to start running out pretty quick. Let's go ahead and get started. Now we're using a ten millimeter socket. We're using a swivel, a short extension and a ratchet to do this job.
At this point here, I was able to get the front line of bolts loose. You want to keep the back row of bolts still bolted up into the transmission so it holds the pan in place. As you remove the front bolts, the pan itself, the front of this pan is going to start tilting down and it's going drain more fluid out. Remember when you undo those back bolts, there's still going to be fluid in this pan so you want to be careful to not tip it until you get it into your drain pan.
As you can see, as I start to remove this bolt here, the gap on that pan starts to pull away. You can see it's going to start tipping. The further back I go, this pan is going to tip down more. Pour out a little bit more fluid, that way you can control the fluid as it comes out, at least a little bit. So you can see that the pan has now separated. There's one bolt left on the back side just above the transmission cross member. So I'm going to go ahead and push this pan back up. I'm just going to thread in one bolt by hand, just to get that pan up and level again because once I undo that back bolt, this pan's going to want to drop down and I only have two hands.
Usually one is to grab that bolt and the other is to hold the ratchet, and I don't want to get that fluid everywhere. Now, if all goes well, which we all hope that it does, I'm going to go ahead and remove this one last bolt by hand, while supporting the pan with the other. Remember to keep pressure on that pan upward, otherwise that fluid is going to come out all over the place. Grab the pan. There we have it. Going to take a look inside here.
Well, it seems like we have a little bit of an issue here. There is a loose component inside the transmission, sitting in the pan. You can also see some metal shavings inside the pan and here is a magnet. This magnet is designed to catch metal wear and tear shavings inside but you can see that is metal inside this transmission, stuck to that magnet.
All right. We have our cleaning solution here. We're going to go ahead and clean the pan itself. Get all that stuff out of here. So here is that component, we're talking about, that loose component in the pan. Just to let you guys know that this is actually supposed to be in the pan. Ford actually uses this here during the assembly of the transmission and this is actually pressed up inside the transmission body before the dipstick tube is installed. Once they put that dipstick tube into the transmission, it pops this off and it sets in the pan. So if you happen to find this in there, you are the winner. That actually tells you that this is the first time that the pan has been removed from the vehicle, ever. Usually you can just go ahead and discard that at that point because it's not actually used any further. If that is missing, then it means this pan has probably been off at one time and has been serviced, which is probably a good sign that someone took care of the vehicle.
This magnet right here. Just stuck right on this little bump right on the pan itself. Be sure to clean this magnet thoroughly. We're just going to pop this on the side, right here for now. We just happen to have access to a parts cleaner bin here. If you don't have one of these here, you can simply use a brake clean or a cleaning agent such as that to go ahead and clean the pan and the fluid. Get all that stuff out of the pan. Clean that magnet the best you can with the cleaning chemical or the cleaning agent and then do it's final cleaning with a paper towel. Any time you're using chemicals, be sure to wear safety glasses. Just a good practice to get into. Now you spent the time to clean the pan and clean the magnet, but don't overlook your hardware. Clean hardware makes it that much easier for you go ahead and reassemble a nice clean finished product.
You want to go ahead and grab a nice clean paper towel. Wipe out the inside of that pan and make sure that it is clean. Wipe off the perimeter of the pan. Over to your hardware. Just give it quick little dry in there. Just roll that around, clean those up there. Don't forget your magnet. Remember the dimple right here in the pan. That will stick right in place.
What we're going to do next is clean up the ridge around this pan here. Make sure there's no other rusty debris that might interfere with the proper seal of this pan. In this instance here, we can use a flathead screwdriver, maybe the edge of it or maybe a razor blade. We just want to clean the edge of this pan. You can just run that blade along it. Be careful not to cut yourself. Or to use the edge of a screwdriver, you can just use the edge here. Went around and clean that off. You can do this before or after you clean the pan. If you have a can of cleaning agent or brake clean or whatever, you can just give it a quick squirt after to clean it up.
Now this is a steel pan. It is not aluminum, so it is safe to use items like this here. You're not going to really mar up or damage the pan by doing this. If you have an aluminum pan, it's not suggested that you use something aggressive like the edge of a screwdriver or a blade. You just want to kind of blot this a little bit. You want to look around for anything that might be abnormal. You can actually see here, the filter itself is moving around. We're going to get to that in just a minute. You can actually see the gasket still stuck up here. Going to go ahead and just us a flathead screwdriver just to get underneath. Just start popping that down. Pull that off. All right. So just going to go ahead and grab that filter. Wiggle that a little bit. There is going to be some fluid in it once you pull it down. Be careful. Go ahead and drain that out in the pan.
Before you install your gasket and your pan, you want to make sure that this is all clean around the perimeter. Make sure you get a nice clean seal. Okay. Sometimes you can just use a razor blade. Just kind of drag it along just to clean it. Now this is an aluminum body so you do not want to gouge the aluminum itself. Run along. Clean up the edges.
Okay. Use a little bit of cleaning agent such a brake clean or something to that effect and go ahead and wipe around the perimeter. Make sure you get that free of any transmission fluid all the way around the perimeter. Might take a couple of times to clean that but make sure that you get it clean and then you dry it.
So, right here we have the original Ford factory filter. We know that because we had that little plug sitting in the bottom of the pan. So this has never been replaced. We have the factory gasket right here. We have the replacement gasket right here with the replacement filter. As you can see here, if you compare these two, the replacement has the rubber o-ring seal. This one does not because it's still stuck in the transmission itself. We're going to make sure we get that gasket pulled out before we reinstall the new one.
All right. So right here is where we have removed that filter from, and you can actually see that orange band up inside there. We're going to go ahead and use a little pick to go ahead and reach up in there and pull that out. You want to be careful not to mark up the seating placement of that seal with that pick. You can pull that right out and that's that seal you want to go ahead and discard now.
Normal practice is you just take a little bit of your transmission fluid, just a little bit in the cap, use your finger and just want to put a little bit on that seal itself to make sure that lubricates it. Makes it for a nice easy installation. Now we're going to go ahead and install this in the transmission.
With that seal quite lubricated, just line it up. Press that up inside. And that's it. It just bottomed out and it just floats right there. Now with the pan clean and your gasket all set up, it lines up with all the holes. We can go ahead and do our installation. Just want to get a couple of bolts lined up. Catch one by hand. Grab a second one, get that going. That will pretty much line up the gasket and the pan and all the holes. The pan will support itself and go through and get the rest of them installed.
You're going to have 15 of these ten millimeter bolts. You can either get them threaded in by hand or you can see I'm using that extension socket to go ahead and that just makes it a little bit easier. Okay. So we're just going to go ahead and snug up these bolts just a little bit so that they bottom out. We want to kind of seat that gasket right now. Then we're going to do our final torquing with these bolts. The range is anywhere from nine to eleven foot pounds. We're going to do it at right about ten foot pounds. There's a specific pattern for torquing down this pan. You might want to do a criss cross or star pattern to make sure you torque it down properly.
All right. So we have our torque wrench. We're going to go ahead and start tightening these up. Once again, that was nine to eleven foot-pounds, we're going to go right at ten. We're going to crisscross and go to the opposite corner over here. And we're going to come back to this side here. And off to the opposite corner. We're just going to follow this pattern around until we're all tight. All right.
Next, you want to use this long slender funnel. This is a transmission style funnel. You want to go ahead and put that right inside your dipstick tube like that. Now this here, basically because we just did a transmission filter change and we drained the pan, it's only going to require somewhere right around four and a half quarts of transmission fluid. Now this particular model transmission requires a murcon five transmission. You want to definitely check your owner’s manual on your vehicle.
Make sure you get the right transmission, when you get that information. This particular model does say, once you have that four to four and a half quarts of fluid installed, go ahead and start the vehicle. Get it up to operating temperature, and you want to go through your gears. Obviously from park, reverse, neutral, drive, all the way down and do it a couple of different times. Put it back in park and with the vehicle running, you can go ahead and check the fluid on that dipstick. You can go ahead and pull that dipstick.
We're going to do an initial first cleaning. What you want to see, these two holes are actually the high and low marks. You want to try and get it close to the high dot right there. You want to go ahead and put that dipstick back in. See if we can get a reading on that. Make sure when you pull it out, you keep the dipstick hanging down because if you tip it up, it's actually going to run down and give you a false reading. You can see we're low on fluid right now, so we're going to go ahead and add fluid to this right now. All right. So our model took roughly about five quarts to get it up to that full mark there. So you can go ahead and put that dipstick back inside the tube.
Thanks for watching. Visit us at 1AAuto.com for quality auto parts, fast and free shipping, and the best customer service in the industry.

Ticking Clicking Noise Coming From Your Engine Diagnosing Collapsed Lifters
Andy diagnoses a top end clicking ticking noise in our Chevy Avalanche! Andy locates the clicking noise to the top driver side of the 5.3L V8 engine, and discovers an intermittent misfire in cylinder 1. After removing the valve cover, he finds a very loose rocker, the source of our noise. He determines the rocker is loose because its lifter has collapsed, meaning it's not pushing up on the rocker when activated by the camshaft. The fault is in the AFM (active fuel management) lifter.
