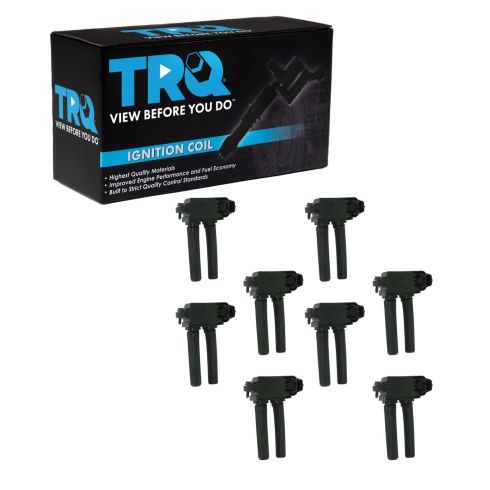
TRQ ignition coils will have your engine running like new. TRQ ignition coils are manufactured to precise specifications using premium raw materials to optimize each vehicle's ignition system. To ensure peak performance, TRQ recommends replacing ignition coils in sets to prevent electrical output imbalances. All products are fit and road-tested in our Massachusetts R&D facility to ensure we deliver on our promise of Trusted Reliable Quality.
Product Features
High dielectric epoxy and reinforced bobbins for extended service life
Rubber, Silicone, or Phenolic Resin Shell: Prevents premature boot wear
Application Specific Design: No modifications required
Complete repair to restore your engine to like-new condition
Item Condition:New
Attention California Customers:
WARNING: This product can expose you to chemicals including Lead and Lead Compounds, which are known to the State of California to cause cancer, and birth defects or other reproductive harm. For more information, go to www.P65Warnings.ca.gov.
Lifetime Warranty
This item is backed by our limited lifetime warranty. In the event that this item should fail due to manufacturing defects during intended use, we will replace the part free of charge. This warranty covers the cost of the part only.
Returns: Parts with electrical components cannot be returned once installed.
FREE Shipping is standard on orders shipped to the lower 48 States (Contiguous United States). Standard shipping charges apply to Hawaii and Alaska.
Shipping is not available to a P.O. Box, APO/FPO/DPO addresses, US Territories, or Canada for this item.
Expedited is available on checkout to the United States, excluding Alaska, Hawaii.
Final shipping costs are available at checkout.
Buy Ignition Coils Part 1AECI00140 From 1A Auto Dodge Ram V8 Hemi
How to Replace Ignition Coils 2006-10 Dodge Ram 1500 Hemi 5-7l
How to Replace Ignition Coils 2003-2009 Dodge Ram 2500 57L V8
How to Replace Ignition Coils 2004-2009 Dodge Durango
How to Install Performance Ignition Coils 2009-18 RAM 1500
How to Replace Ignition Coils 2011-17 Ram 1500
How to Replace Ignition Coils 2006-10 Dodge Charger
Created on:
Tools used
No Tools Needed
1. No instructions needed
No instructions needed
Product review: 1AECI00140.
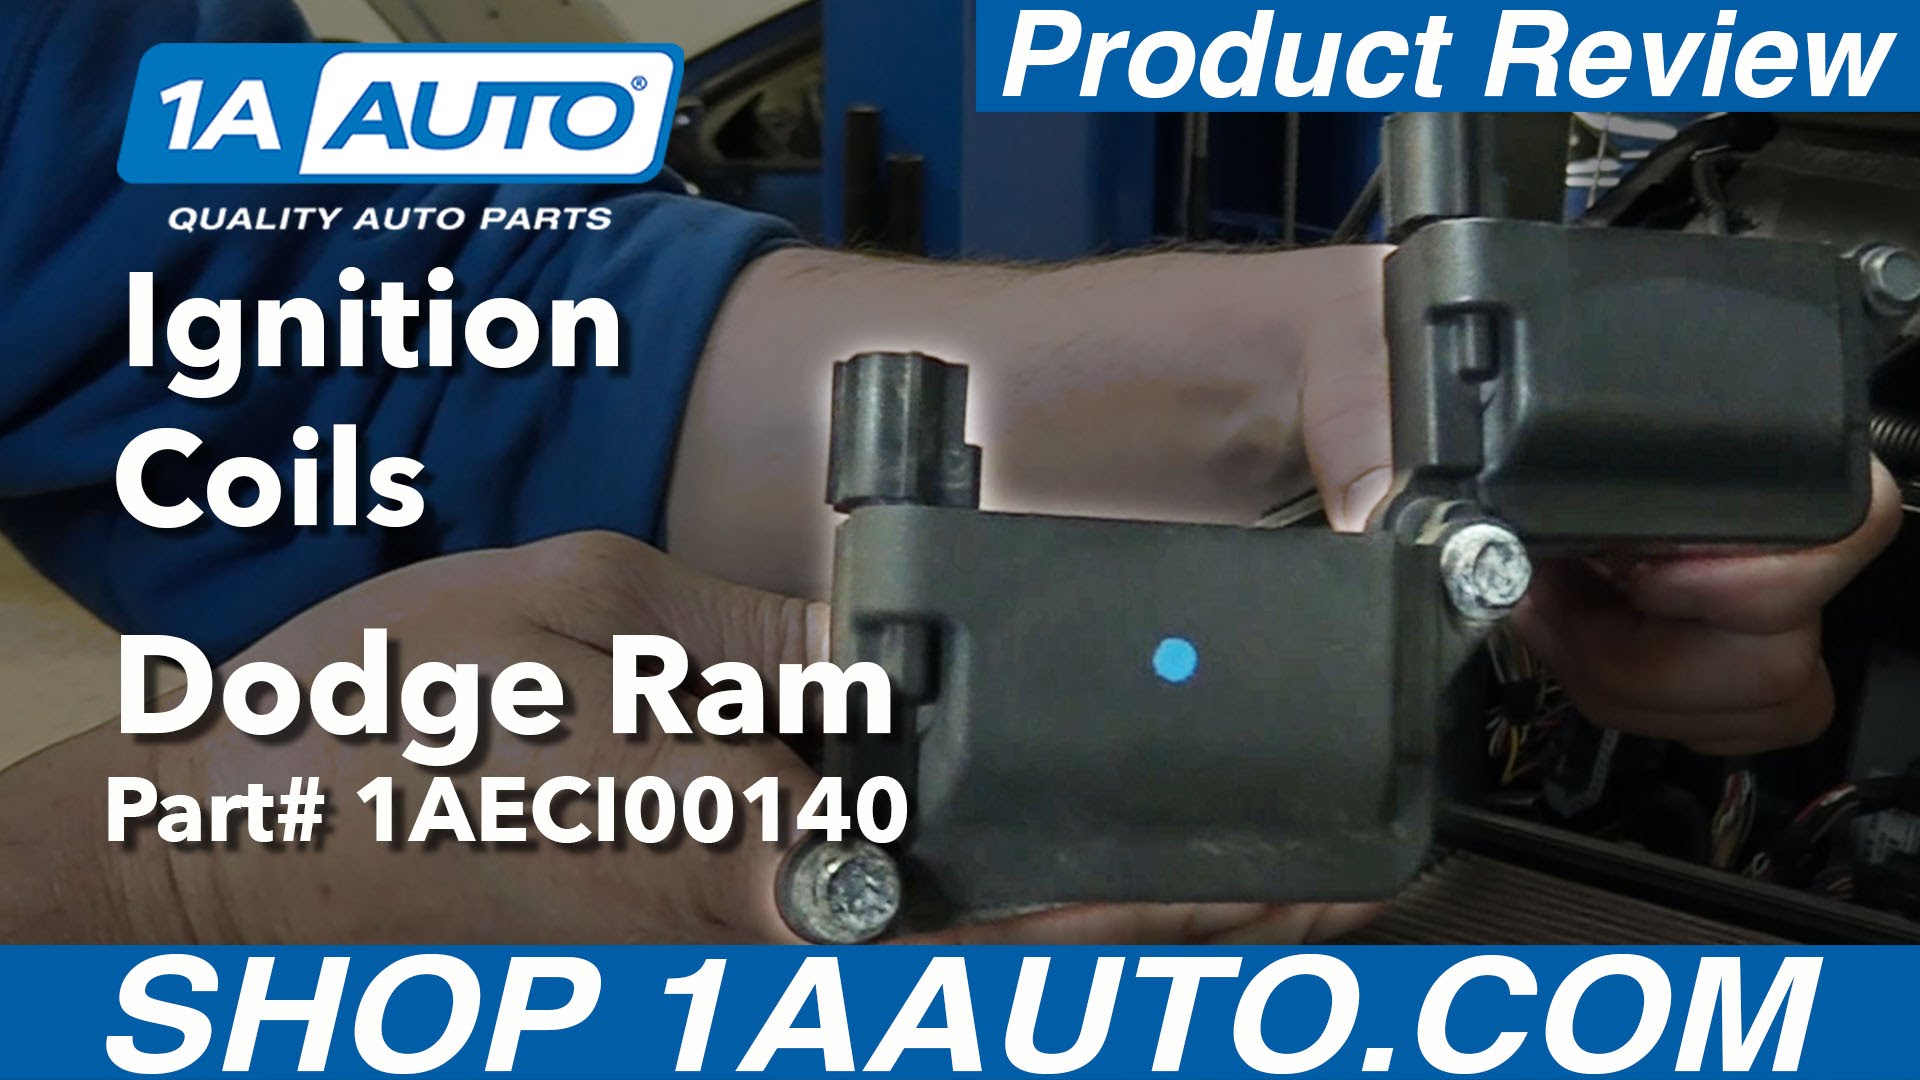
This is an ignition coil. Here's the original one from my vehicle and the new one from 1A Auto. This fit the Hemi V8 vehicles and you can see the original and the one from 1A Auto are exactly the same, has all the same connectors, and comes with the bolts installed. The only thing you have to add is just a little bit of dielectric grease and it will install just like the original.
Tools used
Socket Extensions
Flat Blade Screwdriver
10mm Socket
Ratchet
1. Removing the Ignition Coil
Disconnect the ignition coil wiring harness
Remove the 10mm bolts from the ignition coil
Pull the ignition coil up and out
To access the passenger side coils, lift the clips on the air box cover
Loosen the intake hose clamps
Pull the intake hose off
Lift the intake box up and off
2. Installing the Ignition Coil
Apply dielectric or silicone grease inside the tube
Insert the coil into place by pushing down firmly
Tighten the 10mm bolts
Brought to you by 1AAuto.com, your source for quality replacement parts and the best service on the Internet.
Hi, I'm Mike from 1A Auto. I hope this how-to video helps you out, and next time you need parts for your vehicle, think of 1AAuto.com. Thanks!
In this video, we're going to show you ignition coil replacement. This 2008 Dodge Ram has the hemi 5.78 engine in it and the procedure to do it is the same for pretty much any truck, although if you have a Hemi engine in some of the other platforms such as the Dodge Durango or the Dodge Challenger, the procedure could be different. You actually go up through the wheel well for some of the cylinders.
Items you need include new ignition coils from 1AAuto.com. 10 millimeter socket - actually you'll need various rackets and extensions to get into different places on different coils -, flat blade screwdriver, and dielectric or silicon grease.
Open up your hood, on each side of the engine there are four coils. You can see the front one here, and then they go back, and it's all the same procedure for each one. Those ones you just need to use a short socket and a wrench. To disconnect, there's a little tab on the backside.
Push them towards the coil a little bit, push the tab to disconnect. Then a 10 millimeter socket and ratchet will remove the bolts that hold the coils. The bolts actually have little retainers on them so they don't come all the way out. Once you get it loose, just move it around a little bit and pull them up and out.
To access the coils on the passenger side, we're just going to remove the intake hose and the top of the air box. There's four clips, just unclip them. Loosen this clamp here, flat blade screwdriver, and pull this hose off, pull this hose off, and then bring your intake box up and off. It gives you access. On this side you may want to have extensions to do this second one here. Again, push the connector towards the coil some and push the tab and release.
Here's the original coil from the vehicle, and the new coil from 1A Auto. You can see it's exactly the same. It's going to install just like the original.
If you want to use some dielectric or silicon based grease and just put a little bit right inside the tube that fits over the spark plug. Put the coil back in, you'll want to push down firmly and then start the bolts probably with your hand. Once it's tight, reconnect the lead, put your air box lid back in, connect this hose, push it over. Get it locked in right. Flip the tabs up and on. Then tighten up this clamp.
Thanks for tuning in. We hope this video helped you out. Next time you need parts for your car, please visit 1AAuto.com. Also check out our other helpful how-to and diagnosis videos.
Tools used
Dielectric Grease
Torque Wrench
Gloves
Socket Extensions
10mm Socket
Ratchet
Safety Glasses
Tools used
Dielectric Grease
13mm Socket
8mm Socket
10mm Wrench
10mm Socket
Ratchet
Tools used
8mm Socket
Drill
Swivel
Pocket Screwdriver
Tools used
Socket Extensions
Flat Blade Screwdriver
10mm Wrench
10mm Socket
Ratchet
Swivel
1. Removing the Passenger Side Ignition Coil
Remove the 10mm bolts from the ignition coil
Disconnect the ignition coil
Lift the coil up and out
Remove the boots from the coil
2. Installing the Passenger Side Ignition Coil
Attach the boots to the coil
Insert the coil into place
Connect the ignition coil
Tighten the 10mm bolts to the ignition coil
3. Removing the Driver Side Ignition Coil
Use a long extension or a 1/4 drive socket with a swivel on the end
Remove the 10mm bolts
Disconnect the wiring harness
Bend the coil to maneuver it out
Remove the boot from the coil
Check that the metal pin is still inside the boot
Hi, I’m Mike from 1A Auto. We’ve been selling auto parts for over 30 years!
These heavy engines have eight ignition coils, and each coil does two spark plugs and there's two spark plugs in each cylinder. We're going to show you how to remove this ignition coil. This is probably the easiest one on the engine to do. The one on the driver side rear, actually two of the ones on the driver side rear are pretty difficult. But we're going to start with this one and just show you how it comes out, and then we'll give you some tips later on how to do the driver side rear.
We'll start with removing these two 10 millimeter screws. They are really easy to come out. As soon as you crack them loose, you can just spin them up by hand. Then up here you have just a clip that you can push down on and release from the coil. All right, if pushing it down with your thumb doesn't work, you can always go with the screwdriver and just kind of wiggle it up. There we go. With the two bolts out of the way and the connector loose, you can slide this right up and out, and you can see it has these two boots on it. These boots can actually come off as well. They may come off when you do the driver side rear because pulling this out with these boots attached is really, really difficult.
All right, we're now going to slide this right back in. You want to make sure your connector is facing up so you can plug your plug in. Technically removing this engine cover will make it a little easier on yourself. But it's not necessary for this specific coil. All right, the connector's plugged back in. Now we can put these two 10 millimeters right back in the holes. With them tightened by hand, you can go back with your socket and ratchet and just kind of snug them up. You don't need to go too crazy with this. Just making them snug is perfectly fine.
Now if you've ever had to do spark plugs or ignition coils on one of these engines, you know that the driver side rear two ignition coils and all four of those spark plugs are really difficult to access. We would love to show you how to do that, but getting the camera in there to see anything is really difficult. I'm just going to give you a few tips on what I've done in the past to get these things out. A few things you can use are a ratcheting 10 millimeter wrenches to get the coils.
You can reach back, and if you remove this engine cover you have a little bit more swaying room. So you can use a 10 millimeter wrench, if you have a ratcheting one, that one's even better. And then you can get the bolts out. The other thing you can use is quarter drive socket with a swivel on the end, and make sure it's a shallow socket and you should be able to reach in and you can get some of these hard to reach 10 millimeter bolts.
Then once you do get those two 10 millimeters out of each coil, and you remove the plug on the top. You can just bend the coil out of the way because the boots are flexible. The only thing you have to watch out for is when the boot comes off there's a little tiny metal pin inside the boot and that's going to fall and you might lose it. So you have to be prepared to have that little pin pop out of the boot if you are going to remove the boots with the coil being separate. Those are a couple of my tips. It's definitely a challenge to do and it'll take a while, but hopefully that'll help you out and get you fixed up right.
Thanks for watching. Visit us at 1AAuto.com for quality auto parts, fast and free shipping, and the best customer service in the industry.
Tools used
Dielectric Grease
6mm Socket
Ratchet
ICA61494
In Stock
Product Reviews
Loading reviews
4.85/ 5.027
27 reviews
5 Stars
4 Stars
3 Stars
2 Stars
1 Star
23
4
0
0
0
Great coil packs
marcus
March 18, 2017
Nice price, they came quick and installed easily, my car drives 100 0/0 better I'll be visiting this store again.
Ignition coil
Jeff
August 12, 2017
Ordered coil's, had them I a couple days. Fit perfectly. Truck runs much smoother. Thanks to 1 A Auto for carrying the right product for the job.
Logan
September 14, 2017
Haven't had a chance to put them al in yet but wil let you know
Coils
C
November 14, 2017
perfect fit perfect price install was really simple and easy after I watched the video provided definitely will shop here again
Ignition coils
ALAN
January 16, 2018
Arrived fast and perfect fit, great deal and I will be using them in the future.
Replacement coils
darrell
February 17, 2018
The coils were an exact replacement for the originals, were actually delivered sooner than expected. They also work perfectly, will use 1A again soon
Excellent Quality
Roderick
February 19, 2018
I ordered these coils after one of them quit working. Always best to replace all at the same time. Received them quickly and they were identical to OEM, but at a fraction of the cost. Dealership wanted $35 a piece and those only came with 1 year warranty. 1A Auto gave the whole set of 8 for around $150 with shipping. Installed them in 30 minutes and engine check light went out after cycling through. Love these guys and will definitely recommend them.
Coil packs
Karl
August 26, 2018
Best price and seem to be a good product. Fitment was spot on.
Lifesaver
D
October 6, 2018
I was at the auto parts store to buy the igition coil for my car. But my uncle came in and stopped me. We went outside and he told me about this website. 1A auto and I got all eight for more than half the price in the store. I also received them in a few days. I will use them for now on.
Definitely Notice a Difference.
M
November 28, 2018
Swapped the plugs and also added these coils and you can notice the difference on my 06 5.7 hemi.
Great company
B
December 4, 2018
It was a great fit and delivered very quickly. This company is great. Have ordered here a couple of times. Never have been dissatisfied.
Hemi coils
Brett
December 4, 2018
Received the coils quickly and once installed ran like a new truck.
Love this place
D
December 9, 2018
I recently stumbled across 1a auto parts about 6 months ago . I have literally been on this site in and off every week . All the parts Ive ordered have been quality and parts have been perfect fit for all 3 of my vehicles. Anyone who is building or just repairing a car, I highly suggest this website to anyone and everyone .
Outstanding parts
Marvin
March 29, 2019
Completely Satisfied *****
Replacement
J
October 16, 2019
After 160K needed some new parts, fit perfect, running much better.
like a top
Richard
January 26, 2020
All parts new and fit..run kool
Coil packs for 2007 Dodge Ram 1500 5.8L
Brian
June 30, 2020
Product definitely met expectations, Service was flawless with fast shipping. I would definitely recommend 1A auto to my friends and family. 1A auto is the Amazon of auto parts. Great job! Very satisfied.
Coil Packs For 2012 Dodge Ram 1500
William
August 11, 2020
Exact replacement. Fit perfectly. Worked like a champ. Have ordered several parts from 1A Auto. All have been quality parts and I have had no issues with any of them. A lot of parts even have a installation video online. A great online company with quality parts, reasonable price, fast shipping, and world class customer service. Thank you 1A Auto!
Joe
August 9, 2021
awesome
Coil packs
Tony
April 15, 2022
They look like the picture. Work just fine. They are a little tight but if you use dielectric grease they slide right on.
Damon
May 14, 2023
I have ordered parts multiple times and each time I've been more than satisfied with the entire process.
.will always use this company
Robert
October 15, 2023
Arrived ahead of schedule. Exactly as advertised. Completely satisfied.
Fantastic Replacement
Matt
November 3, 2023
Great replacement injector coil set to replace my 16 year old OEM coils.
Best parts by far
mike
November 29, 2023
Worked great. I always order my parts from 1AAuto
Deotis
January 28, 2024
Good product
Seems great, installed about a month ago
Adam
February 22, 2024
Perfect fit and easy to install. Bought a new to me jeep and doing maintenance because I don't know all the history, especially recent. No issues and would recommend
200K service on Ram
Darryl
June 13, 2024
Packaged and shipped in quality boxes. Even included a dielectric grease pre applied on the insulators. Proper part for my '07 Dodge Ram 1500 5.7 Hemi. Installed only a few weeks ago but have not experienced any faulting with these new coil packs. Service was done at 200K miles on my truck. Truck fired right up with no check engine light/codes.
Customer Q&A
I preserved these coils seeing it says fits 05 dodge magnums Later noticed after ordering the coils on my car are different .?May 15, 2018
Anthony A
Customer service
877-844-3393
Monday - Friday 8:00am - 9:30pm ET Saturday - Sunday 8:00am - 4:30pm ET
Jeep is a registered trademark of FCA US LLC. 1A Auto is not affiliated with or sponsored by Jeep or FCA US LLC.See all trademarks.
Enter Vehicle Year Make Model
Specify your vehicle's year, make and model to guarantee fit.
Year
Make
Model
Options
Drivetrain
This part doesn’t fit a . Select from parts that fit.