
P0171 P0174 Code - How to Replace MAF Sensor 1997-2005 Lexus GS300
Created on: 2019-04-16
How to remove and replace a Mass Airflow Sensor/Meteron 97, 98, 99, 00, 01, 02, 03, 04, 05 Lexus GS300
-
step 1 :Removing MAF Sensor
- Locate the MAF Sensor on the air tube near the air box and throttle body
- Disconnect the electrical connector
- Remove two Phillips screws from the MAF Sensor unit
-
If your MAF Sensor mounting point uses brass inserts, use the included tempered Torx screws and bit in place of the Phillips screws in the following step.
step 2 :Replacing MAF Sensor
- Insert the new MAF Sensor
- Replace the two Phillips screws
- Reconnect the electrical connector
- Clear the code with the code reader
- Test drive the vehicle
Tools needed
-
Scan Tool
Phillips Head Screwdriver
Hey, everyone. Sue here from 1A Auto. Today we have an '01 Lexus GS300 in the shop. We're going to talk about code PO171 or PO174. One of the top common problems with Toyota Lexus is those codes. Quick fix, instead of paying big money, one of the top problems is the mass airflow sensor with that code. I have a new one I'm going to put in. I'm going to show you, and I'm going to show you the old one, compare it to you, show how dirty they get and why they set the code.
First, I'm going to show you the location of the mass airflow sensor. That is always usually near the airbox on the air tube that goes in to the throttle body. We have the connector right here. I'm just going to push down on that tab and pull it off. Always check for conditions of the tab. Make sure you don't have a burnt electrode or a wire problem. In this case there's nothing discolored. It looks pretty good. The code was a code PO171.
This original factory one has mounting screws that are Phillips heads. We're going to take that off, just by using a Phillips screwdriver, backing out on the two mounting bolts. Then just wiggle and slide it up. It has an O-ring on it. That O-ring is torn. You want no air going in there. We'll set a code. But this mass airflow sensor almost looks original.
If you can look in here, there's a wire right there. That wire picks up the reading. Look how dirty it is in this side. It almost looks like it has grease on it. So there--we're not getting the proper variables. It's not reaching in between the reading that it should be to give a good running condition. I'm going to put that aside, and then I'm going to grab a new one that I just ordered from 1A Auto. They're identical. See the clean one? Now you can see the difference. Look at that electrode. Wow.
Comes with a new seal. It also comes with a new mounting hardware. These are tempered torques. If you have brass inserts, this one does not, I have to use the old screws again. We give you a torque spit, tempered torque spit with two mounting screws, if you have the brass insert. If you don't, you can reuse the old hardware.
First thing I'm going to do is line that up, wiggle it down, and make sure that seal sits in there. I'll grab the two screws. Place them in and I'll take my Phillips screwdriver and tighten that down. Just get them started, and then I will tighten them both down. Once again, it's plastic, so we don't need to really crank down on it, but you want it tight. You don't want any air seeping through that seal. Reconnect it. Take your little code reader from 1A Auto, clear your code, and then go for a road test.
Thanks for watching. Visit 1A Auto.com for quality auto parts, shipped to your door. The place for DIY auto repair. If you enjoyed this video, please click the subscribe button.
Shop Products
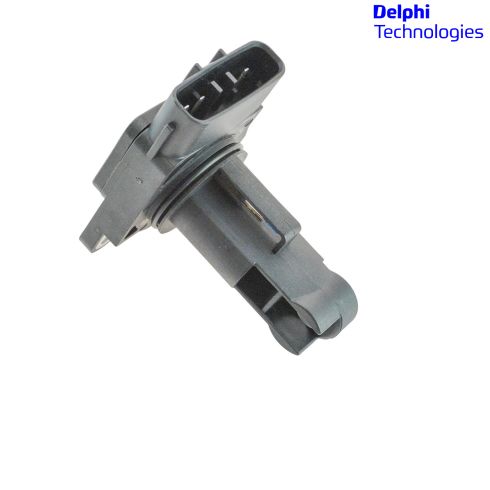
Mass Air Flow Sensor Delphi AF10135
Part Details:
- Hardware
- Tool Kit
- Direct Fit Replacement - Guaranteed to fit and function for your specific application
- Quality Tested - built to a strict level of product standards.
- 5
- No
- Bolt-On
- Specific
- Black and Silver
- No
- Female
- Rectangle
- Blade
- No
- 2
- 1
- No
- Male
- Standard Replacement

How to Replace Mass Airflow Sensor 2001-05 BMW 325Xi
Watch this video to learn how to replace the mass airflow sensor (MAF) on your 01-05 BMW 325 Xi or similar 3 Series BMW. 1A Auto shows you how!
