Hi, I'm Mike from 1AAuto. We've been selling auto parts for over 30 years! We're dedicated to delivering quality auto parts, expert customer service, and fast and free shipping, all backed by our 100% satisfaction guarantee. We've created thousands of videos to help you install our parts with confidence. That saves you time and money, so visit us at 1AAuto.com, your trusted source for quality auto parts.
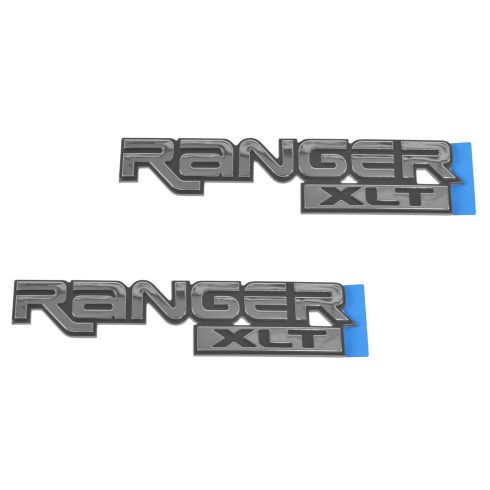
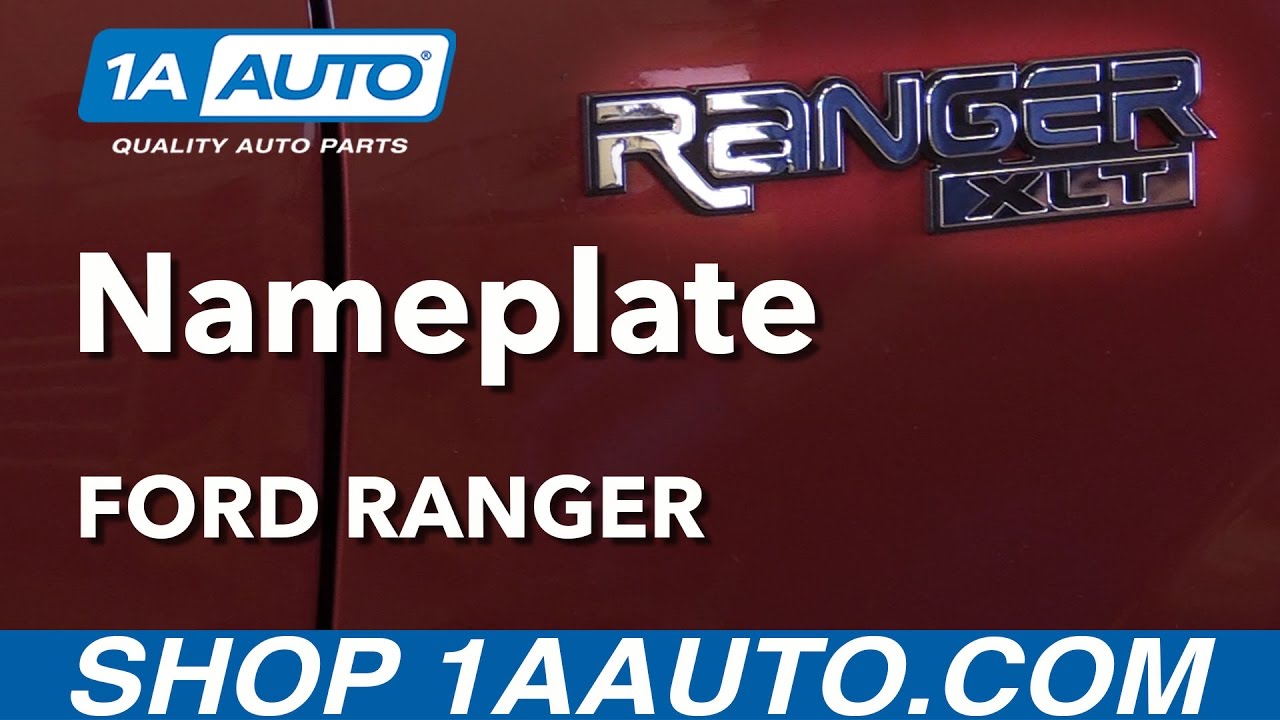
In this video, we're going to be working with our 2001 Ford Ranger. We're going to show you how to remove and replace your front nameplate here, the Ranger XLT badge. We're going to show you how to do it, assuming that you don't have alignment pins, because this is the case with some badges. This procedure is going to be very similar for all different types of badges on a variety of different vehicles.
If you like this video, please click subscribe. We have a ton more information on this truck, as well as many other makes and models. If you want this part for your truck, you can follow the link down in the description over to 1AAuto.com.
Here are the items you'll need for this repair: Heat gun, flat blade screwdriver, painter’s tape, razor blade, gloves, adhesive remover, rag, floss
To replace a damaged or broken nameplate on your truck, if you still have the old one, or a piece of the old one, present on the vehicle, you can use painter's tape to make an alignment mark for where we'll install the new nameplate. Just get it nice and flush to the edge on one side, and run one along the top or bottom so we know the position of the badge both left and right, and up and down.
Warm up the nameplate with a heat gun or a hair dryer to make the adhesive softer and easier to remove. Be careful not to move the painter's tape during this process. Once the badge is nice and warm, you can use a variety of different tools to scrape it off without damaging the paint, but my personal favorite is a bit of dental floss. I like to double it up and twist it together, just to make it a little stronger. It lasts a little longer when you're trying to cut through with it. Then, work it in behind the badge. Just move it back and forth to cut through the adhesive.
Another handy way to remove these, because the dental floss tends to break after a little bit of cutting, is these trim removal tools from 1AAuto.com. They're non-marring, so they won't scratch up your paint. You can kind of just wedge them back there while the adhesive is warm and carefully pry it away from the body. Once you've got the badge off, it's a little difficult to do this with gloves on, because they tend to bunch up and not really put pressure where you need it. You can just go ahead and roll the old adhesive up, like that. Just kind of work it off of the fender.
You can alternate back and forth heating this up a little bit with the heat gun or a hair dryer, just to make it a little easier to work with. Just make sure you don't get it so hot that you cannot touch it or it burns and crystallizes, at which point it becomes a lot more difficult to remove. It turned out that our nameplate had alignment pins on it. This isn't the case with all nameplates, so the tape was a good precautionary step to make sure that if these pins weren't present on this particular badge, that we would have an alignment point, but since ours does. We'll remove the tape now so we don't have to worry about moving it or damaging it while we clean the rest of the residue off of our fender.
We're using a cosmoline remover for our adhesive on a clean paper towel. You don't have to use this. There are several different types of cleaners that can get the adhesive off, but your local body shop supply store will usually have some kind of prep material like this cosmoline remover, which works great for softening up the leftover residue and wiping it away.
Here we have our old nameplate that we removed from our truck and our new part from 1AAuto.com. As you can see, this is an exact replacement part for our old nameplate. They are completely identical. On the backside, we have the exact same alignment tabs to make sure it goes back in exactly where we took it out of, and it also comes with some new double-sided adhesive on the back to take some of the aggravation out of putting new adhesive on there and making sure that it sticks onto that just like the original one did. This new part from 1A Auto is going to go in direct fit, just like your original equipment, and fix you up right.
Make sure that all of the cosmoline remover, or whatever adhesive remover you used, has come off of the fender and it's nice, and dry, and clean. Then, peel the backing off of your new nameplate, line up the alignment tabs into the proper holes, and press firmly all the way across the nameplate to secure it to the fender, and you're good to go.
Thanks for watching. Visit us at 1AAuto.com for quality auto parts, fast and free shipping, and the best customer service in the industry.