Brought to you by 1AAuto.com, your source for quality replacement parts and the best service on the Internet.
Hi, I'm Mike Green. I'm one of the owners of 1A Auto. I want to help you save time and money repairing or maintaining your vehicle. I'm going to use my 20-plus years experience restoring and repairing cars and trucks like this to show you the correct way to install parts from 1AAuto.com. The right parts installed correctly. That's going to save you time and money. Thank you and enjoy the video.
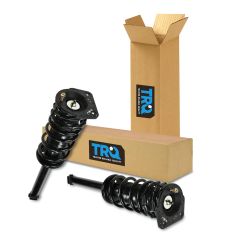
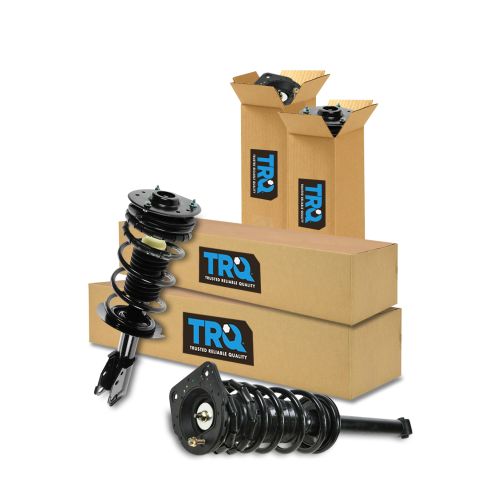
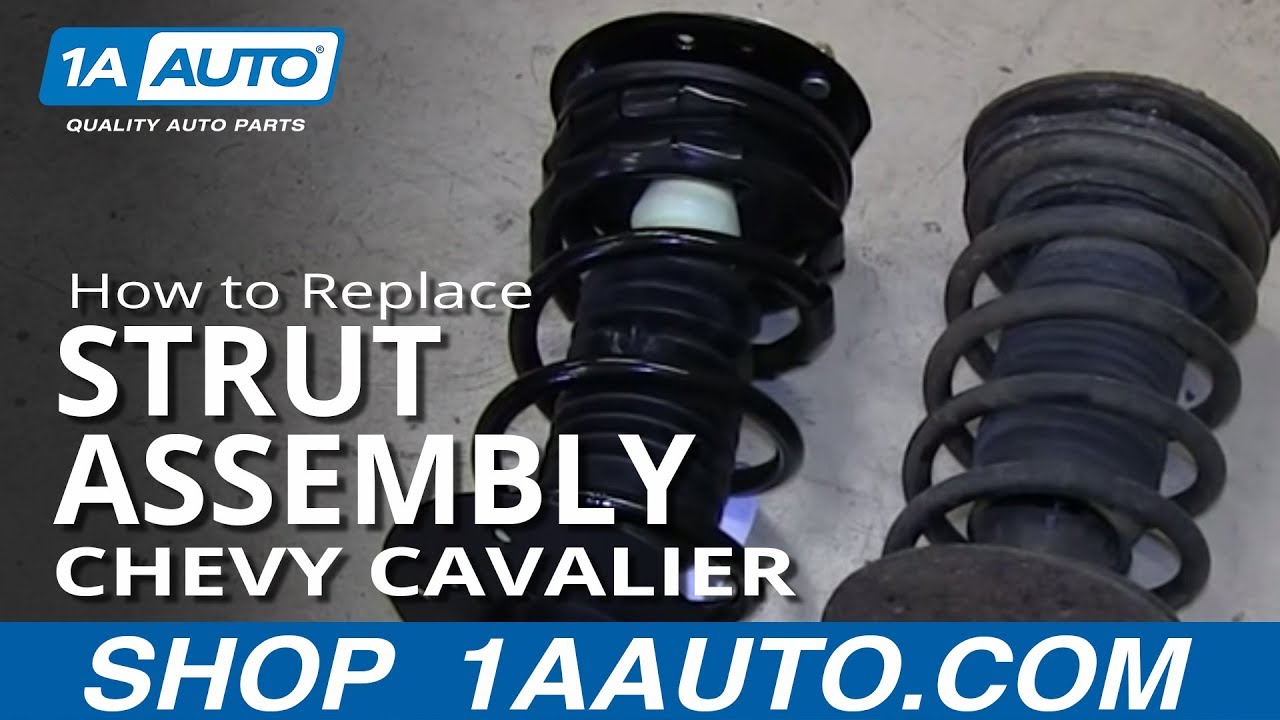
In this video, we're going to show you how to replace a loaded rear strut on this 1997 Pontiac Sunfire, same as any '95 to '05 Sunfire or Cavalier. The tools you'll need are some millimeter wrenches, 13, 19, and 10mm, and you'll need some sockets and extensions to make it easy to get in there, penetrating oil, and again, this is for a loaded strut. The struts we sell at 1A Auto have the springs and everything with them, so they're very easy for the do-it-yourselfer. You don't have to compress any springs or do any of that. If you buy a strut from somewhere else, and it doesn't have the spring, then you'll need a lot more tools, and it'll be quite a bit more difficult.
To do the rear strut, you want to start in the trunk here, and you pull down your insulation, and you can see right here, there is a 13-mm bolt or nut, I'm sorry, so you want to remove that nut. After removing that nut in the trunk, you're going to want to raise the car, secure it, and remove the rear wheel.
Now, actually from here, it's pretty easy. There's a 19mm bolt here. We're going to put a little penetrating oil on the end of it. These bolts are pretty well designed. This car, even though its age,155,000 miles and 13 years old, this bolt will still come out by hand. I do have the benefit of air ratchet here, and take that out. Then you kind of lift up on your carriage a little bit, the bolt comes out, and this drops down. You want to do these one at a time, and after that bottom one's done, there's two 10-mm bolts right up here. Then, I'm going to kind of hold onto it a little bit, and the strut comes right out.
You have the new strut from 1A Auto, exactly the same as the original. It's got the stud that goes up and you put the nut on, and everything will bolt in exactly the same. So, new strut goes up in. The stud will go into the hole. There it goes. I'm going to take one of my bolts, put it up in here and start it a little bit, so it's held in place. Start the other bolt. My big bolt, slide it in place. Just kind of shake things around a little bit. Start that. Tighten this bottom one up with the air wrench.
Use the air wrench up here again. I'm just making sure this is in place and get those started. Whoa, no way actually. Before we tighten those two up, we just check that stud. Make sure it's up through correctly, which it is. Now, we use our hand wrench and tighten these up. They should be probably about 35 foot-pounds. I'll just get them tight with this wrench. This lower bolt, we're going to tighten up to 55 foot-pounds.
Now, I'm just going to put the wheel back on. My wheel is back on, down on the ground. I'm going to torque my lug nuts to 75 foot-pounds, and we go in a star pattern. Now, I put on my lug nut covers. You just want to use your socket to tighten them by hand.
Now, here in the trunk, we're going to put our bolt back on. Not too tight. Push that back up into place, and you're all set.