Brought to you by 1AAuto.com, your source for quality replacement parts and the best service on the Internet. Hi, I'm Mike from 1A Auto. I hope this how-to video helps you out, and next time you need parts for your vehicle, think of 1aauto.com. Thanks.
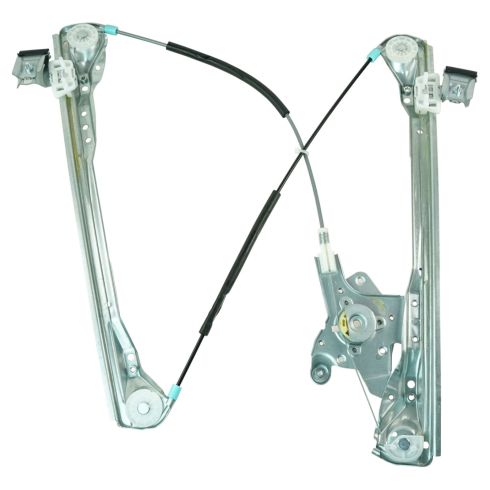
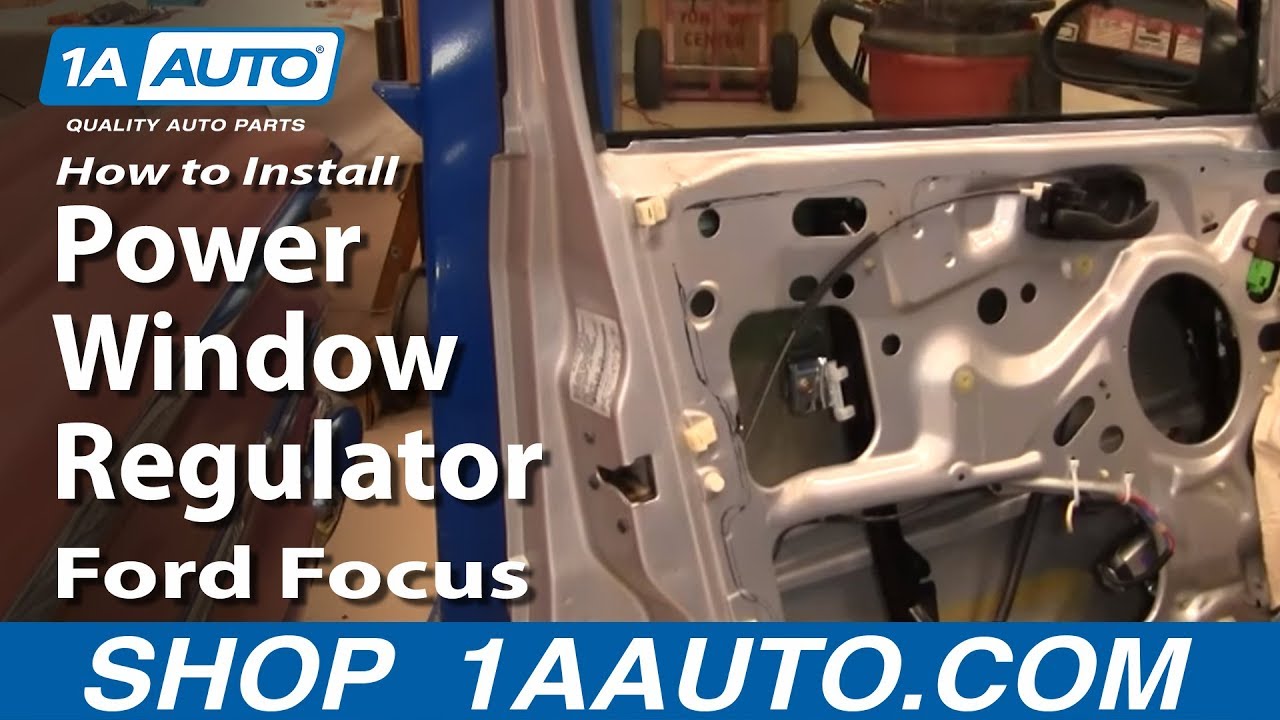
In this video, we're gonna show you how to replace the front window regulator. We're gonna do the front driver's side on this 2003 Ford Focus. The procedure is basically the same for the front passenger side as well. A lot of times when these regulators go bad, you'll hear a popping or a snapping sound and then some grinding, and you'll hear the motor trying to work, but nothing really happening with the window. And the tool you'll need for this are small and regular size flat blade screwdrivers, T20 Torx driver, and you'll need six, seven, eight, and ten millimeter sockets with a ratchet and extension.
Okay, on this door, first up at the top corner you want to pull your trim out. Okay, it should pull- this has already come off. Pull out, and then it pulls back and off. And then you can disconnect this. This, take your small screwdriver and you actually kinda just pry right in here, on this side of the connection. Pull it out. And I'm just gonna speed it up here. Those screws use a T20 Torx bit, so use your T20 Torx bit, and remove all of them. Okay, you'll want to pry this off, and easiest to kinda get right here in the back. Pry that out. It comes right off. Go in with a seven-millimeter socket, the extension and ratchet. A quarter-millimeter socket actually works as well. Remove these two bolts. And if you notice, I said a quarter millimeter. It's actually a quarter-inch socket works just as well as the seven-millimeter socket.
Okay, now this panel actually... reaches right in here, pull firmly. And then up here, same thing, pull firmly. Pull this panel out. And then this disconnects. There's a little tab, it's kinda back behind the wires. Push that tab down. Pull that out. Okay. Tab's actually right here on the back. Push it down. Do the same thing over here. A couple harnesses. They just have tabs that you press with your thumb. Pull out. And it's disconnected. Now you just take your panel, pull it out, and go up. And the panel comes off. Carefully remove that foam block by kinda grabbing on the clips and rotating it counter-clockwise. Then carefully pull back your water shield. You want to be as cautious as you can not to rip it. Unclip your door handle. And like I said, just pull that back. Usually the adhesive kinda lets go and you can pull it for a while. Just be careful not to rip it. And you'll also need to remove the speaker, which it's just held on by four six-millimeter nuts. And then you pull it away from the door and disconnect the lead just by pressing on a little tab, and it disconnects pretty easily.
Okay, once you have the water shield pulled back, the regulator's a cable actuator regulator, and usually what happens is the cable snaps. And that's what you'll hear. You'll hear like a popping sound and then grinding, and your window will actually, sometimes it'll fall down, or sometimes it'll stay in place but you can actually move it by hand. And what you'll want to do- and you can see my regulator's actually in fine shape, but I'm gonna show you how to do this anyways. What you would want to do is have a helper, probably, move the window to this position, which is about two-thirds up. And you'll be able to see a ten-millimeter bolt here, and then a ten-millimeter bolt that you can get through right there. Okay? And you'll loosen these two ten-millimeter bolts and remove the window. Now the window motor's connected down here. Just press on a tab, disconnect. There are five bolts to remove. You see two eight-millimeter bolts right down here, one up here, one here, and one down here.
Fast-forward here as I just remove those five eight-millimeter bolts. And then I just kinda clip the door handle back up in place just to get it out of the way. Get it out of the way. There is a little tab here. Squeeze. Just pull it through. And then you should be able to take your regulator... Pull it out. Okay? New regulator from 1A Auto. You can see it's just like the old one. One slight difference: the pig-tailed one here is slightly longer, but that's not gonna affect it too much. Okay. So gonna put it back in. And I am gonna fast-forward here. You just kinda have to jockey the regulator into the right position and it goes into the door. And then it's just a matter of kinda reaching through with your hand, through the different holes. Hold the regulator in place. Start the five bolts, the eight-millimeter bolts that hold it in place, and then tighten those up. Okay, you might have to reach back up in here, but the new one comes with a little clip. Just slide it on the cable and put it in the door. It also comes with a little clip for the backside, and you clip the padded cable to the non-sheathed cable to keep them together. Okay, so they don't have any chance of hitting the door.
This particular case- this comes with a pigtail that you plug in, and the colors on the wires, you would think would mean the red goes to the red. Not always the case. What happens here is, Ford actually made two different motors. They made a motor for the left hand and a motor for the right hand. Basically, our manufacturer, just a little bit, I would say, smarter. One motor fits both sides. But basically, rather than wiring motors differently, they allow you to take care of it. So if you plug the- what you want to do basically is plug it in. You can plug red to red and the black to blue to start out and see how it works. Okay, plug the motor in. Turn your key on. Okay, and with your switch plugged in, up goes down, down goes up. So all's you have to do is unplug these and plug them in the other way. And down is down, and up is up. And you want to run it up and line it up so you can get to that bolt easily through this hole. Turn off the key, and you can unplug your switch.
And here before I get back into putting the window in, since that cable's a little longer, I just take a couple of plastic wire ties. You could use that or you could even use just like a bread tie, just to kinda wire that cable up there so it stays out of the way of the window. Put the front in first. Okay. And put the front down. And here, I'm gonna fast-forward again. I just find that on the new regulator, the bolts that hold the pinches to the regulator to the window were not loose, so I just loosened them up a bit, and get the regulator to get right down in the middle of those clips or clasps, and then tighten those bolts up nice and firm. Okay, and we'll fast-forward again here as we put that water shield back in place. And now remember to reconnect your speaker and then put it back in place. Use the four six-millimeter bolts to secure it. Put the door handle back in place, and then remember to put that block of Styrofoam back in. You just kinda put it back into place and get the clips lined up and rotate it clockwise.
Okay, I'm gonna fast-forward as I pull the- I'm gonna fast-forward through putting the door panel back together. If you want to see this in regular motion, you can just check out our other videos, but hang the panel back up on the ledge. Reconnect the mirror switch. Reconnect the window switches. And put those trim panels back in place, and then put the bolts back in for the door pull. And now I'm gonna fast-forward as I take those two seven-millimeter bolts, reinsert them into that door pull, and tighten them up, and then put the trim panel, snap it back into place. You want to put the top in first, and then snap the bottom into place. And continue that speed as I just take the seven, they're seven T20 screws. One goes in the door handle. The rest go around the perimeter of the door panel. And put those in, tighten them up. And last, but not least, put the little trim panel over the screw in the door handle.
We hope this helps you out. Brought to you by www.1AAuto.com. Your source for quality replacement parts and the best service on the Internet. Please feel free to call us toll-free: 888-844-3393. We're the company that's here for you on the Internet and in person.