Brought to you by 1AAuto.com, your source for quality replacement parts and the best service on the Internet.
Hi, I'm Mike Green. I'm one of the owners of 1A Auto. I want to help you save time and money repairing or maintaining your vehicle. I'm going to use my 20-plus years experience restoring and repairing cars and trucks like this to show you the correct way to install parts from 1AAuto.com. The right parts installed correctly: that's going to save you time and money. Thank you and enjoy the video.
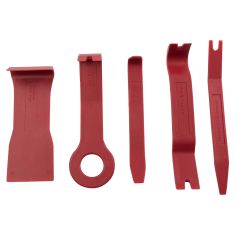
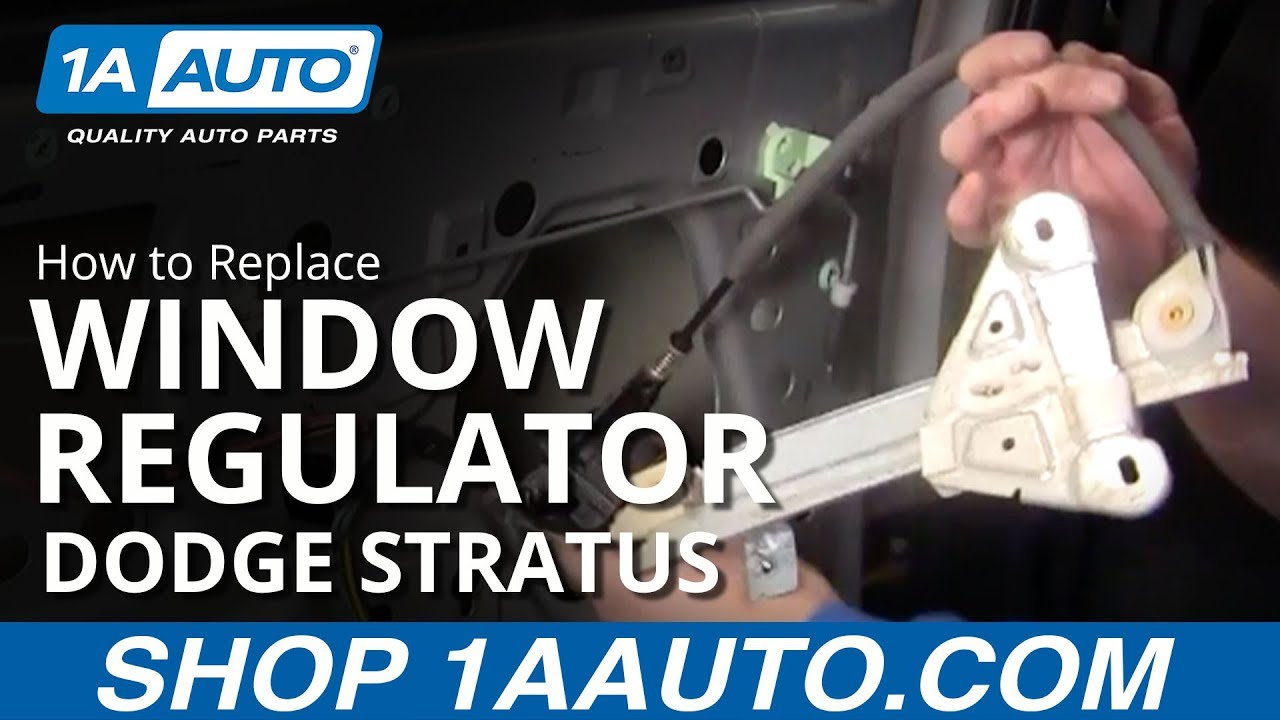
In this video, we show you how to remove and reinstall a rear-window regulator on this 2004 Dodge Stratus. It's the same as any 2001 to 2006. On our vehicle, there's nothing wrong with our regulators. We just take them out and put them back just to show you how it's done. Tools you'll need include a small flat blade screwdriver, Phillips screwdriver, putty knife or a door panel clip tool, and a 10mm socket with a ratchet and extension.
To remove the rear door panel, you'll look inside the cup here and you'll see a little trapdoor. Use a small flat screwdriver, pull that up, and you can see there's a Phillips screw in there. Same thing here another Phillips screw and then there's two Phillips screws on the bottom. One there and one there.
Once the screws are out, put your hand underneath, and you want to kind of go around the edge of the door panel, and you'll get towards the clips. Pull them out, and sometimes they can be very difficult to release. There's also a couple up top here. Lift the door panel up. Behind, there's a little clip here. Put your thumb, pull that clip off. Pull that off. Then, your harness for your windows is down here. There's a little tab. Push that tab. Disconnect it. You may find a couple of your clips don't come with the door panel. Just pull them out. Then, re-install them back into their spots on the door panel. Then, you're ready to go to the next round.
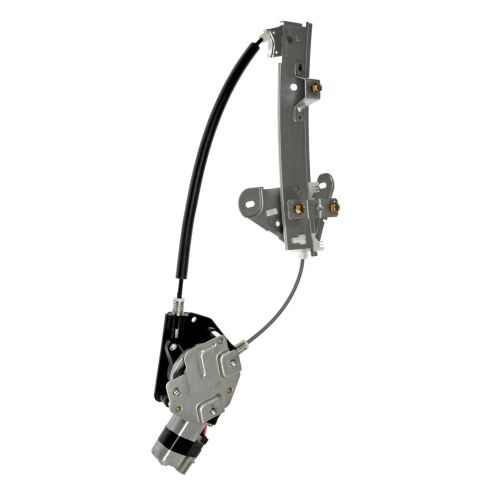
The easiest way to get apart is when the window's in the up position. Right through these holes there's 10mm bolts. You want to remove those. Those bolts hold the regulator to the window, and if your window is not all the way in the up position, then you should be able to get to those bolts. It might take a wrench or something, but that'll be a little more difficult. But, you want to remove those. Then, you're going to remove these three bolts here. Then loosen these three knots, and that allows you to pull your window motor up. Use the 10mm socket with a ratchet and an extension.
I'll fast-forward here as I remove the two bolts that hold the regulator to the window, and then, accidentally drop one down, reach down, and grab it. Now the three bolts that hold the regulator rail onto the door. I loosened the top one, and then removed the two bottom ones. Now I removed the three nuts that hold the window motor, and pull that out of its mounting holes. Okay, and now remove the last bolt for that window regulator rail the rest of the way. Now, there's a locking tab, then I'm going to push one side, then the other side out. Then, press the tab and disconnect the window motor. Pull this clip off, and there's your regulator out.
What happens often is these cables break and that results in that kind of grinding and crunching noise and your window won't work. Actually, when the cable breaks, you can use your hand and put it up and down. If the motor goes out, usually your window just stops and it won't go up and down. This one's in fine shape, so I am going to reinstall it.
What I'm doing here, since I'm re-installing that regulator, I'm just plugging it back in and running it down just a little bit so that it's not pre-tensioned when I'm trying to connect it to the window. Okay, now, push this down in. Put that through there, leave that in, and reconnect our harness. It's important you connect the harness correctly and put the kind of holding pin back on so that the harness doesn't interfere with the window. Put this little safety latch back in. Leave that pin on. Get your regulator into place.
Then you put the motor, there's the nuts, and the motor, come right up through. The regulator, make sure that this cable runs to the inside of the window. Now put our regulator in place. I'll speed it up here as I put the three bolts that hold the regulator rail to the door in, and then use my 10mm socket ratchet and extension and tighten up those three bolts, as well as the three nuts that hold the motor onto the door. Now, you can see through here. You can bring your window down. Okay, and now the holes are lined up.
Okay, so here I'm starting those bolts that hold the regulator rail to the window. What you want to do is put those in, and you want to tighten them so they'll still move a little bit. Move the window up and down a couple of times. Then tighten them up all the way. That just kind of lets the window get into the right spot and the regulator.
Okay, once you get the regulator reinstalled and tightened up, put your water shield back on. Reinstall the door panel. Take your power window harness and plug it in. Okay, take the rod and put it into the door handle. Put the clip around. Put your hand gear panel up over your lock knob there. There's a large pin here that lines it up. You kind of cheat and look back here and make sure the pins are going in. Reinstall your screws.
Okay, and we'll fast-forward here as we reinstall the four screws, one in the door pull cup, one behind the door, and then the two at the bottom. Then, make sure you put the little trim pieces back, and the one for the pull cup, and the one for the door handle.
We hope this video helps you out. Brought to you by www.1AAuto.com, your source for quality replacement parts and the best service on the Internet. Please feel free to call us toll-free, 888-844-3393. We're the company that's here for you on the Internet and in person.