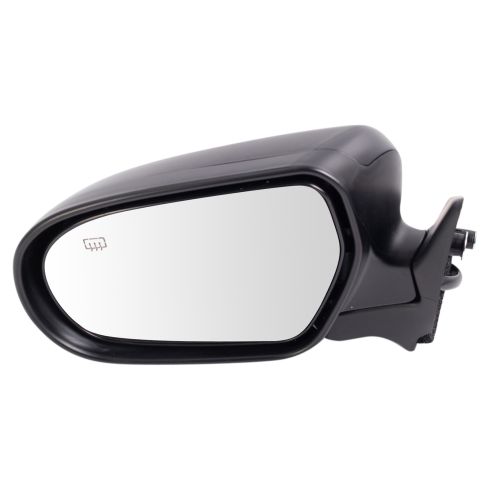
TRQ side mirrors and mirror components are designed to match the function, fixture, and performance of the original version for easy installation. TRQ mirrors are DOT certified, comply with all federal safety standards, and are independently lab tested to ensure our products comply with all government regulations. All products are fit and road-tested in our Massachusetts R&D facility to ensure we deliver on our promise of Trusted Reliable Quality.
Product Features
Direct Bolt-on Replacement: No modifications or special tools required
Complete Assembly: includes same mirror glass, housing, bracket and technology as the original unit
DOT Certified: Built to the highest quality standards
FMVSS-111 Compliant: Validated to be a dealership alternative
Exact fit - To obtain proper fit and function confirm your vehicle has the exact mirror options listed.
Item Condition:New
Attention California Customers:
WARNING: This product can expose you to chemicals including Chromium (Hexavalent Compounds), which is known to the State of California to cause cancer, and birth defects or other reproductive harm. For more information, go to www.P65Warnings.ca.gov
Lifetime Warranty
This item is backed by our limited lifetime warranty. In the event that this item should fail due to manufacturing defects during intended use, we will replace the part free of charge. This warranty covers the cost of the part only.
FREE Shipping is standard on Orders shipped to the lower 48 States (Contiguous United States). Standard shipping charges apply to Hawaii, Alaska and US Territories. Shipping is not available to Canada.
Expedited is available on checkout to the United States, excluding Alaska, Hawaii and US Territories as well as P.O. Boxes and APO/FPO/DPO addresses. Final shipping costs are available at checkout.
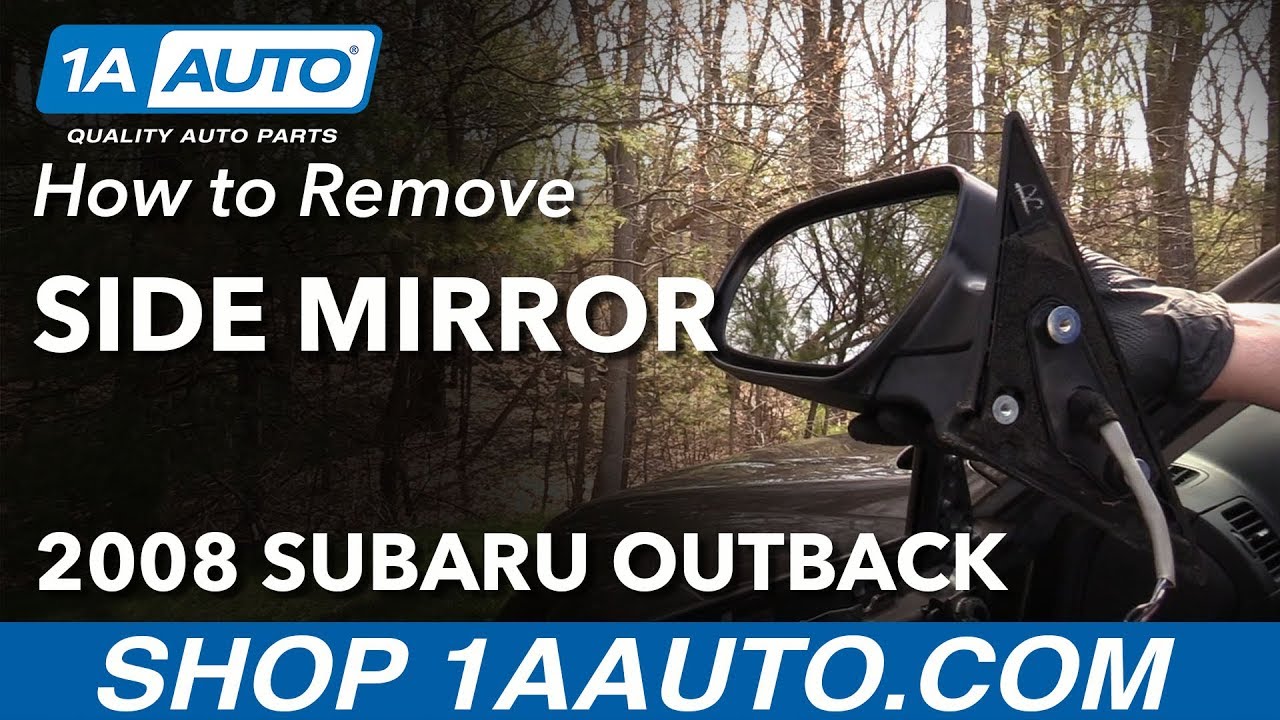
How to Replace Side Mirror 2004-09 Subaru Outback
Created on:
Tools used
Flat Blade Screwdriver
Phillips Head Screwdriver
Rust Penetrant
1. Removing the Door Panel
Pry out the trim door behind the door handle
Pry off the door pull
Remove the Phillips screw from the door pull
Remove the Phillips screw from the door handle
Pry out the door panel with a trim tool
Lift the door panel off
Disconnect the electrical connector
Disconnect the cables from the door handle
2. Removing the Side View Mirror
Disconnect the electrical connector
Pry off the rubber boot on the door panel behind the mirror
Remove the three 8mm bolts from the mirror
Remove the mirror
3. Installing the Side View Mirror
Apply the padding to the new mirror
Insert the mirror into place
Tighten the three 8mm bolts to the mirror
Press on the rubber boot to the door panel
Connect the electrical connector
4. Installing the Door Panel
Connect the cables to the door handle
Connect the electrical connector
Lift the door panel on
Tighten the Phillips screw to the door handle
Tighten the Phillips screw to the door pull
Press on the door pull trim
Press on the door handle trim
Hi, I’m Mike from 1A Auto. We’ve been selling auto parts for over 30 years!
We'll start by opening the door. First, we're going to take this little trim piece off. We'll use a flat blade tool carefully behind the panel. Pull it, and then you can use your fingers and pull it back with three little clips. Next we're going to take this trim piece off here with a flat blade tool, a little area to put your screwdriver. Push down and pull it out. Clips on the back.
Next we're going to take this trim piece off, pry it down right here with a flat blade tool, being careful not to damage any of the surfaces. You're going to pull it out. This is difficult to come out. There is clips and retainers that hold it in. We're going to start with a Phillips head screwdriver. We have three screws: one there, one here and then one up here.
Next we're going to use a door panel trim tool. We sell these at 1aauto.com. You can go in behind and pop off the clips, then you just lift and pull back. On the inside, we're going to pull the inner door latch and lock mechanism off. We have to pull this cover up. We have to disconnect these cables. You're going to pull out and then you're going to pull up. A little ball will come up. Same with this one.
Next we have to disconnect our connector for the window switches. You're going to push this little tab here and pull it down, and then we're going to disconnect our door light. Push down on this tab. That's going to pull right out. We're going to remove the mirror now. We're going to disconnect this connector right here. There's a little tab. You just push it in.
Then we're going to disconnect this cover right here. Use a little flat blade tool. Pop that off. We have three fasteners right here. I'm going to be using an eight-millimeter socket with an extension and a ratchet. Carefully pull that one out. Before I pull this one out completely, I want to support the mirror on the outside. You pull the mirror off.
This is our old mirror. This is our new mirror from 1aauto.com. As you can see, the shapes are the same. Everything is all set. If you take a look at the connector, the connectors are the same. They both have the heated mirror on them. As you can see, the mounting points are the same, and it comes with this weather guard also. It's the same. Order our mirror from 1A Auto, and you'll be ready to rock and roll.
We can put this weather guard on. Peel back. There we go. Peel this off. This is going to go through here like this. Just like that. It needs a little pressure. We're going to install this piece. This goes through the connector first, that one and over that and over the other arm. We're going to install our mirror.
I'm going to have in my right hand my eight-millimeter socket with extension and the eight-millimeter bolt ready so when I put it in, I can install it right away. First thing, I'm going to slide the connector through the hole. We're going to push the mirror down. We're going to start putting the bolt. Once that bolt is started, you can go get your other bolts. Once they're all in, you can snug them right down. We can take our connector, plug it in.
Now we're going to reinstall the door panel. We're going to start where we left. We're going to reattach the door light, just push it in. We're going to reattach the connector for the window switches. Push them. We're going to reattach the lever and lock mechanism with the cables. The small cable goes on the top. Take this ball towards there first, like that, then you slide it over just like that. Same with this one. The ball goes in this hole, and then it goes through the slot in this. It goes down like that, and then we slide this cover down.
Next, you want to take this, going from the top. Get it in up top here, there's a groove. Once that's lined up, you should be able to line the pins up. Just push just like that. Phillips head screws and a Phillips head screwdriver, start screwing in the panel. We're going to install this cover. It's going to slide in like that. This last cover up top. Now we're going to put this little cover on in there. This would have been easier to do before we took the panel Put the panel back on. We'll cover that back up.
Thanks for watching. Visit us at 1AAuto.com for quality auto parts, fast and free shipping, and the best customer service in the industry.
MRA06046
In Stock
Product Reviews
Loading reviews
3.40/ 5.05
5 reviews
5 Stars
4 Stars
3 Stars
2 Stars
1 Star
2
0
2
0
1
Looks exactly same but some vibration
K
August 15, 2017
nice product delivered in a nice box fully safe, Looks exactly like existing OEM factory mirror But once installed quite a bit of mirror vibration compared to the factory model Installed by a professional So it's not an installation problem Still for the price would purchase again
Heated mirror subaru
N
December 8, 2018
Good quality product great customer service and very helpful video for install.
Fits perfect
N
August 11, 2019
Part fits perfectly. A good aftermarket part for an older vehicle. Nowhere near OEM quality, but using OEM parts on a 11 year old vehicle is probably a waste of money.
N
Looks good but not all functions worked
G
August 13, 2019
Mirror looked ok. The power adjust only works in one direction and the heat also doesnt function. Dont waste your money.
Worked well
Tucker
September 25, 2019
Video instructions were amazing.
Customer Q&A
No questions have been asked about this item.
Customer service
877-844-3393
Monday - Friday 8:00am - 9:30pm ET Saturday - Sunday 8:00am - 4:30pm ET
Enter Vehicle Year Make Model
Specify your vehicle's year, make and model to guarantee fit.
Year
Make
Model
Options
Drivetrain
This part doesn’t fit a . Select from parts that fit.