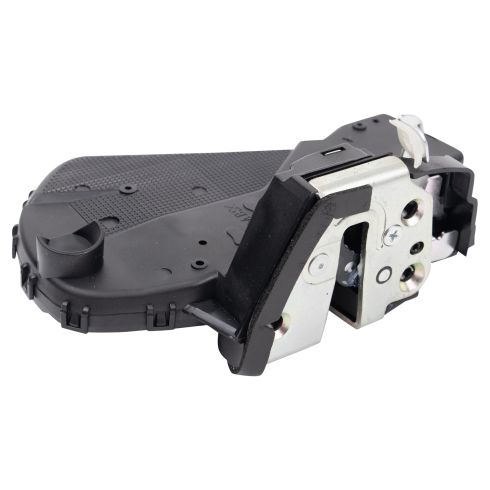
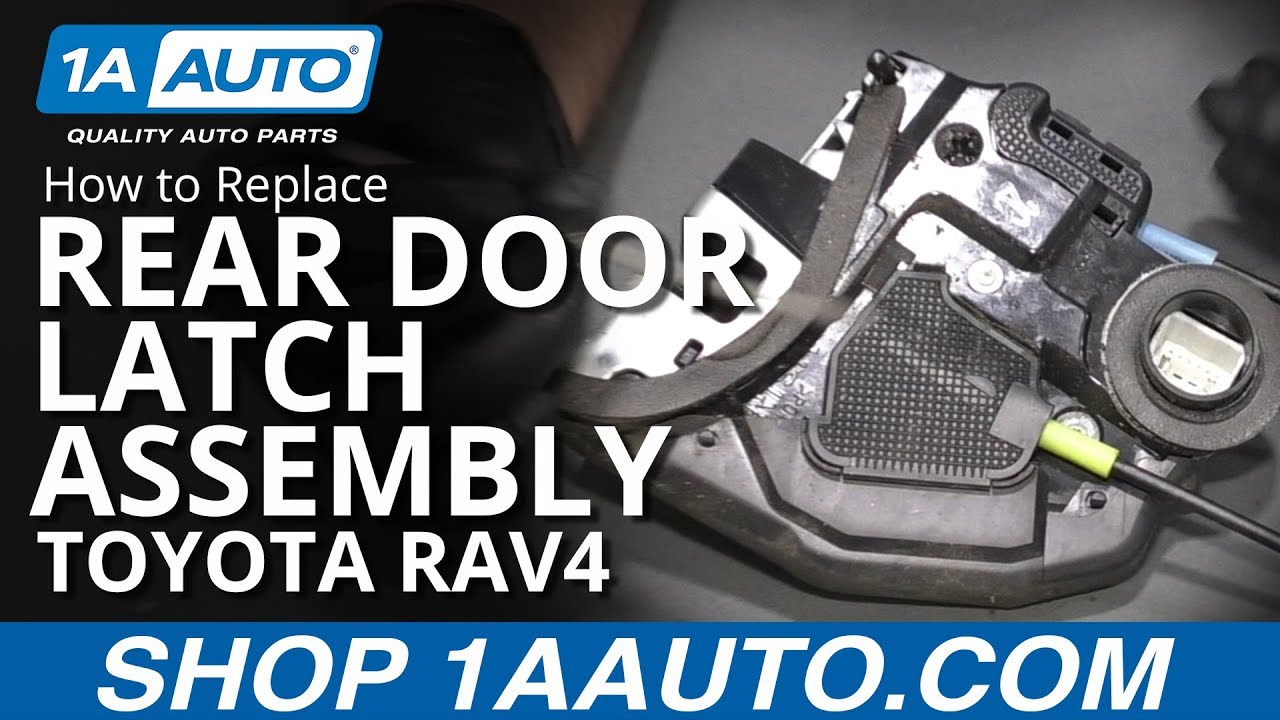
What's up guys? I'm Andy from 1A Auto. In this video, I'm going to show you how to replace the cargo door latch on this 2010 Toyota RAV4 if you need parts for your vehicle, click the link in the description and head over to 1aauto.com.
Open the back door. All right. Just take this trim piece off. We'll just use a trim tool. We'll just get underneath here. This is connected right here as well. Slide that off. Some of these trim push pins pop out. We'll have to reinstall those afterwards. Take that off. Those are clipped in. We'll take this trim piece off. It kind of comes out at an angle, that. It was clipped in in the back side. Same on this side. Just like that.
I'll take this panel out. Just take a trim tool. I'm just going to go around. Pop these trim pieces out. There there's one, and right here. Just go all the way around. The top one's the difficult one. There's a couple push pins in right there, so sometimes it's easier just to grab it, pop it out. Just use a little force. There you go. Take those off in right there. There's a wiring harness right here. We'll disconnect that. That's for the cargo light. Just like that. And the light right here. Here we go. This harness actually goes up to the rear defroster grid. There you go. There's that panel.
All right, now I want to separate this vapor barrier from the door. You can just use a razor blade or a utility knife and just cut it. You should be able to reuse it and should stick to itself. If not, you can always replace it, add more butyl tape. Sometimes it just peels. You could always heat it up as well. Use a heat gun. All right, so just peel it back. Just be careful. Don't get any of this on your clothes. It really doesn't come off. Just leave it like that.
All right, disconnect this connector right here. Just push down on the tab, slide it out. There's a rod in here that connects the outside door handle to the latch. What I'm not going to do, I'm not going to disconnect that rod right now. The rod, there is a connection up near the handle. You could disconnect it there. But when I loosen up the bolts for the actual door latch, I should be able to slide that down and then just slide the latch out. Now we'll just take a T30 socket and a ratchet. We'll take these screws out. We'll take that last bolt out. Now I'll just slide, slide the latch out and then just slide it down. Get it and pull it right up.
There's the mechanism right there to release the door latch. We're going to line that up with that rod right there. Slide this in position here. Like I said, you could pull that rod out if you wanted to struggled with getting it in like this. Just line it up just like that. That's lined up. Just make sure you get that connector hole lined up. Take some of the screws and get those started. All right, then we'll tighten up these screws. You just want to get them all even first and then we'll just snug them up with a ratchet. Connect the connector. All right. Reinstall the vapor barrier. Get this all lined up. You can add more butyl tape if you need to, just make sure it's all sealed in there good. That looks good.
All right, I'm just going to take these push clips out. I have this tool that we actually sell at 1aauto.com. It actually works pretty slick. We just slide it in there, pop those out. That's another one right there. All right, for this panel, we'll put these clips back in here. Right there.
All right, now we can reconnect this rear defrost. We didn't need to disconnect that, but that's okay. That should slide in this area. That's actually taped to that, so if you want to retape that. Then connect this light back up. Just the line the connector up, snap it in, and just line everything up. Once that's lined up, just push it on. Make sure it's all flush the vehicle.
Put this clip back on there. We'll line this up over here. Line it up down there and then line the holes up. Lock it in place. Do the same with the other side. All right, we'll take these two clips out. Just use this tool. Slide those out. Put those in the panel line and just line the panel up. Line all the push pins up. Lock it in place.
Thanks for watching. Visit 1aauto.com for quality auto parts shipped to your door, the place for DIY auto repair, and if you enjoyed this video, please click the subscribe button.