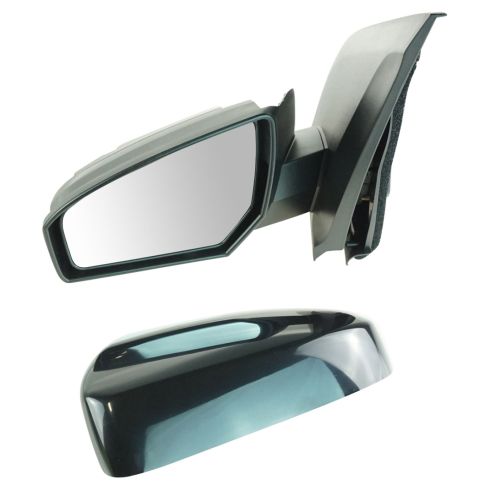
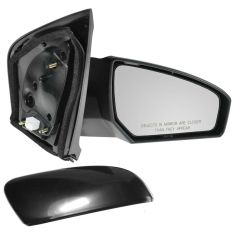
1AMRE01952-2007-12 Nissan Sentra Driver Side Power Paint to Match Mirror TRQ MRA05820

Replaces
2007-12 Nissan Sentra Driver Side Power Paint to Match Mirror TRQ MRA05820

Frequently bought together
Product Reviews
Loading reviews
4.93/ 5.0
15
15 reviews
Nissan Sentra driver mirror replacement
February 26, 2017
Thanks to 1A/Auto - the OEM equipment to replace the driver side mirror was in perfect condition. The part arrived very quickly and was installed in about 10 minutes and worked just like the original. Original had to be replaced as the car was hit and mirror broken and nonfunctioning. For others thinking of buying a less expensive part - don't be fooled by cheap plastic pieces that don't fit or work properly, or are easily broken. Doing this 10+ minute project myself and ordering this great part - saved me well over $150 at a dealer and having to wait hours for it to be done.
Above and beyond
February 27, 2017
I ordered the mirror and got it in a couple of days. It was packed safely, and once I got the correct one, fit like a glove. The first one sent was the wrong side. Entirely my fault. I called customer service and got the right one right away. They credited me for my mistake. Love the service. I will use them again. (if they will let me.)
Perfect Replacement Unit
March 1, 2017
The part is a Perfect Replacement Unit for my Sentra.
East to Install - Actual time appox 15 Min total
Looks Great.
The service I received from 1A-Auto was extremely.
100% Satisfaction.
Great service
March 4, 2017
I ordered from the right place. It came within a couple of days & fit perfectly. It came in a bag and was secured.
Drivers side power mirror
March 20, 2017
I would recommend y'all to anyone .a-1 auto is way cheaper than any car parts store.I just purchased a mirror for my 2011 nissian sentra it works wonderfully .thanks so much . MICHELLE DRURY OF FITZGERALD GA.
March 21, 2017
Yes I would recommend this product I get it on time
Price was great it arrived on time .
Sentra Mirror
February 3, 2018
The part fitted perfectly and it cost far less than the factory part.
February 7, 2018
it came very fast, easy to install but must use the original securing nuts, save them when removing old unit.
Side mirror replace
February 17, 2018
The mirror was easy to install was the right size works properly and the videos was great. the reason I choose one Auto was because the dealership wanted to charge me to charge me $200.00 dollars.
I would definitely recommend One Auto to anybody is save time and money. I will recommend to anybody always do research before you buy anything.
Drivers side rear view mirror
July 30, 2018
For about a month we were looking for this mirror and it was until we found 1AAuto we received it in four days.Congratulations and thank you.
Replacement driver side mirror
September 24, 2018
I'm thoroughly happy with the item, the speed in delivery and the customer service rep who assisted me with questions pryor to my purchase.
Satisfied
December 30, 2018
I ordered a side view mirror for my Nissan Sentra 2010 and got it earlier then the estimated date. My car is black and the mirror matches perfectly. It was very easy to install, my dad did it without videos and hes not really car savvy and Its been on my car for 3 weeks now and its perfect. No complaints at all.
Customer satisfaction
June 8, 2019
Ive purchased several items from 1A Auto without disappointment. Products are priced well and delivered in a timely manner.
Exactly Right
June 19, 2019
It's a side mirror - exactly as described. IT was easy to install thanks to the website's video (did it myself) and it was shipped and received in record time (no expedited shipping purchased). This is the 2nd item ordered from 1A Auto and I will definitely be back with any further automotive needs.
perfect
December 17, 2022
perfect; easy to instll
Customer Q&A
No questions have been asked about this item.


