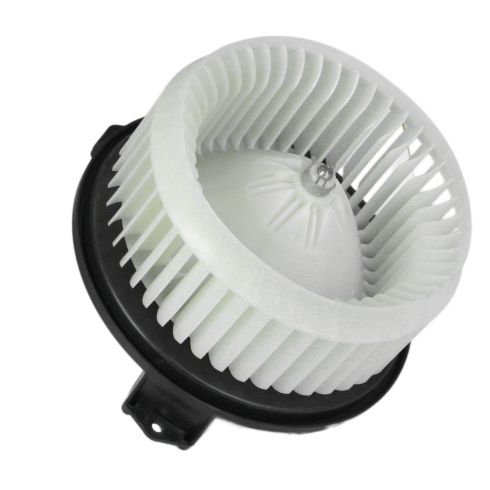
How to Replace Blower Motor 2007-11 Honda CR-V
Created on: 2018-08-13
How to repair, install, fix, change or replace a bad or broken blower motoron 07, 08, 09, 10, 11 Honda CR-V
-
step 1 :Removing the Blower Motor
- Pull the cover beneath the glove box down and out
- Disconnect the wiring harness
- Remove the T25 Torx screws from the blower motor
- Lower the blower motor out
-
step 2 :Installing the Blower Motor
- Insert the blower motor into place
- Tighten the three T25 Torx screws to the blower motor
- Connect the wiring harness
- Press the lower glove box cover on
Hi, I’m Mike from 1A Auto. We’ve been selling auto parts for over 30 years!
What's up, guys? I'm going to show you how to remove and reinstall a blower motor in this 2009 Honda CR-V. If you need a blower motor for your vehicle, check out 1AAuto.com.
Underneath the glove box on the passenger side, there's a little cover here. What you're going to do is you're going to grab the front part of that cover and pull it down. There's some clips that hold it in. And then you're going to pull it forward. There's some pins in the back that hold that in. All right, and our blower motor is right here, and the connector is right here. I'm going to push on this little tab here and pull it down.
So, we have some T25 screws. There's one right here, there's one right here, and also one in the back here. Three of them. We're going to use a T25 Torx bit and an extension and a ratchet. It's easiest to take the back one out first. Oh, that one came out. And then take the last one out. Get that last one out, and then we can pull the blower motor right out.
Now, to reinstall the blower motor. There's this little exhaust port that lines up with this little hole here, so we want to line that up first, and then the bolt holes will line up, and we can install these screws. Get one started, then try to get the other one started as well. All right, once you get those all started, then we're going to snug these up with our T25, extension, and our ratchet. Just make sure those are all snug, then we can connect the electrical connector. Just line that up, click it into place. Then reinstall this cover. These two pins line up with these two holes in the back. Line those up, and when the cover's in place, just push it straight up.
Thanks for watching. Visit us at 1AAuto.com for quality auto parts, fast and free shipping, and the best customer service in the industry.
Shop Products

How to Replace Blower Motor with Fan Cage 2001-02 Suzuki XL-7
If the blower motor is loud or broken and needs to be replaced, watch this video and find out what the steps are to replace it yourself

