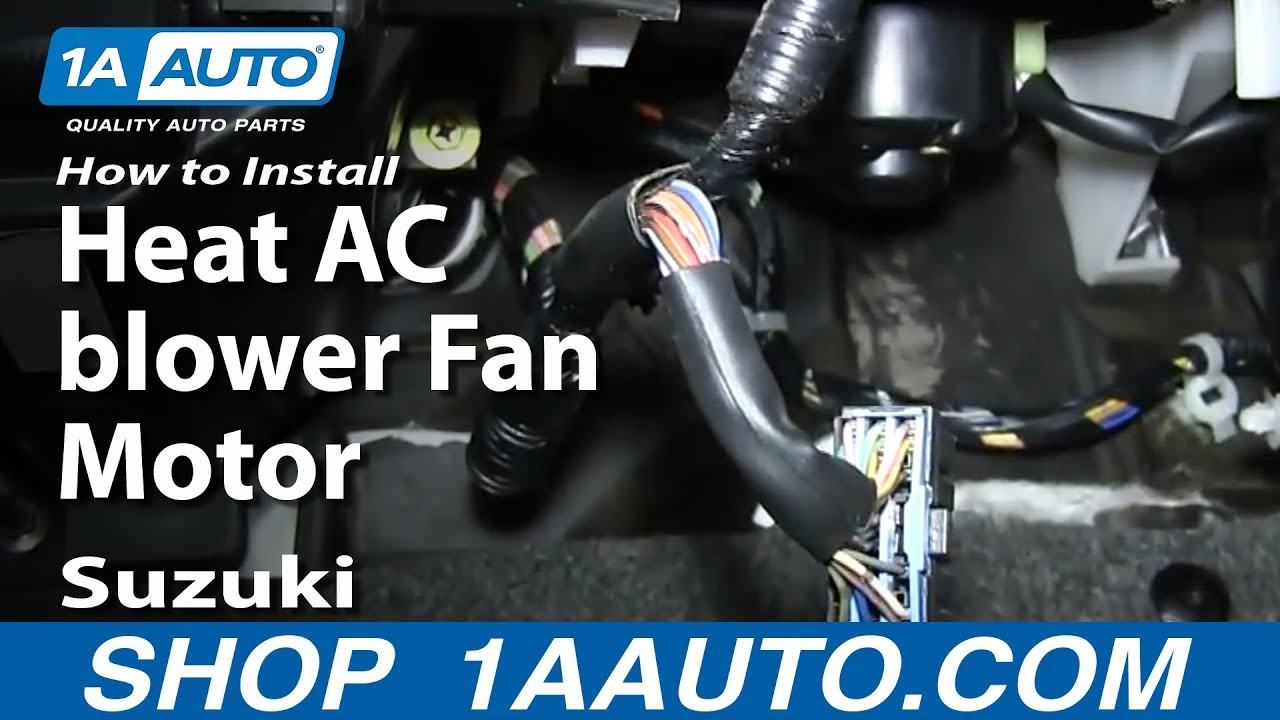
How to Replace Blower Motor with Fan Cage 2001-02 Suzuki XL-7
Created on: 2014-02-25
If the blower motor is loud or broken and needs to be replaced, watch this video and find out what the steps are to replace it yourself
-
step 1 :Removing the Blower Control Module
- Pry the two plastic clips from the access panel with a flat blade screwdriver
- Pull off the access panel
- Unclip the control module wiring from the control module bracket
- Disconnect the blower control module wiring harnesses
- Remove the front two 10mm bolts from the control module
- Loosen the back left 10mm bolt from the control module
- Pull down the control module
-
step 2 :Removing the Blower Motor
- Disconnect the blower motor wiring harness
- Remove the three 8mm bolts from the blower motor
- Pull out the blower motor wiring clips
- Twist the blower motor to make it easier to pull out
- Pull the blower motor down and out
-
step 3 :Installing the New Blower Motor
- Put the new blower motor into place
- Insert the three 8mm bolts into the blower motor
- Reconnect the blower motor wiring harness
- Push in the blower motor wiring clips
-
step 4 :Reinstalling the Blower Control Module
- Put the control module into place
- Insert the three 10mm bolts into the control module
- Connect the control module wiring harnesses
- Clip the control module wiring onto the control module bracket
- Put the access panel into place
- Push in the two access panel clips
Tools needed
-
8mm Socket
Ratchet
Socket Extensions
10mm Wrench
Swivel
Flat Blade Screwdriver
Brought to you by 1AAuto.com, your source for quality replacement parts and the best service on the Internet.
Hi, I'm Don from 1A Auto. I hope this how-to video helps you out, and next time you need parts for your vehicle, think of 1AAuto.com. Thanks.
In this video, we're going to show you how to replace a blower motor on this 2002 Suzuki XL-7. It's the same part and process for these vehicles from 2001 to 2002. The items you'll need for this are a new blower motor from 1AAuto.com, a 10mm wrench, a flat blade screwdriver, and an 8mm socket and ratchet with an extension and a swivel.
You want to start off by removing these two clips here. To remove them, you just pry out the center and pull them free. That panel pulls off. You want to disconnect this series of harnesses, just push the tabs on the top and pull them free. Next, you want to disconnect these harnesses from that bracket. Just use a flat blade screw driver and push those clips through. Now, using your 10mm wrench, you want to remove this bolt, then loosen this bolt right here, and remove this bolt right up here. We'll just fast forward as Don does this. With those bolts removed, you can just pull that module down and out.
Push the tab on this harness and pull it free. Now, you want to remove this 8mm bolt, this 8mm bolt, and then, the one right back here. To remove the one in the back here, you're going to need a swivel on an extension. Just reach that up in there, and put it on there. You may need to use a flashlight to help you see it. Once you get it loosened, just get your hand up there and remove it the rest of the way by hand. You'll notice he does that with these ones as well. Now, to get the blower motor out, you're going to need to disconnect these two white clips. Just pull straight out on them. Now, pull the blower motor down. You can see that it's getting caught on something. On the back, there's a larger piece of plastic on the blower motor and it's hitting the firewall. Just push it back up into place if this is happening and then twist it and then pull it down again.
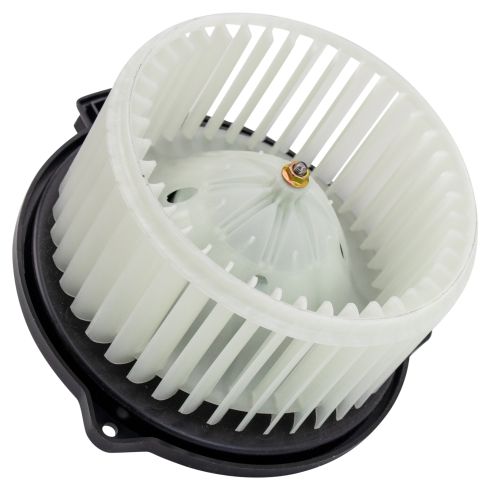
On the right, is the old blower motor; on the left, is the new one from 1A Auto. You can see they're identical and they'll mount exactly the same. Take your new blower motor, pull down on that harness and feed the blower motor up into place. If it gets caught right here, you can just give it a light hit. Then just put it into position. We'll just fast forward as Don replaces those three 8mm bolts. As those are tightened up, reconnect your harness and then push these white clips back in.
Replace your module and then replace those bolts. You can see he puts them in by hand and then tightens them up with that 10mm wrench. Reconnect your harnesses and push those harness clips back into those brackets. Take that panel and put it back up into place and replace those two clips. When you replace those, you still want the center to be pulled out. Push the clip in and push the center in to lock it. You're all set.
We hope this video helps you out. Brought to you by www.1AAuto.com, your source for quality replacement parts and the best service on the Internet. Please feel free to call us toll-free, 888-844-3393. We're the company that's here for you on the Internet and in person.
Shop Products

How to Replace Blower Motor 2004-16 Chevy Impala
Learn how to replace the blower motor yourself by following the steps in this how-to video

