All of our auto parts are intended for Left Hand Drive USDM vehicles. If your vehicle is Right Hand Drive, please ensure the part is correct for your specific vehicle.
Item Condition:New
Attention California Customers:
WARNING: Cancer and Reproductive Harm - www.P65Warnings.ca.gov.
Lifetime Warranty
This item is backed by our limited lifetime warranty. In the event that this item should fail due to manufacturing defects during intended use, we will replace the part free of charge. This warranty covers the cost of the part only.
Returns: Parts with electrical components cannot be returned once installed.
FREE Shipping is standard on Orders shipped to the lower 48 States (Contiguous United States). Standard shipping charges apply to Hawaii, Alaska and US Territories. Shipping is not available to Canada.
Expedited is available on checkout to the United States, excluding Alaska, Hawaii and US Territories as well as P.O. Boxes and APO/FPO/DPO addresses. Final shipping costs are available at checkout.
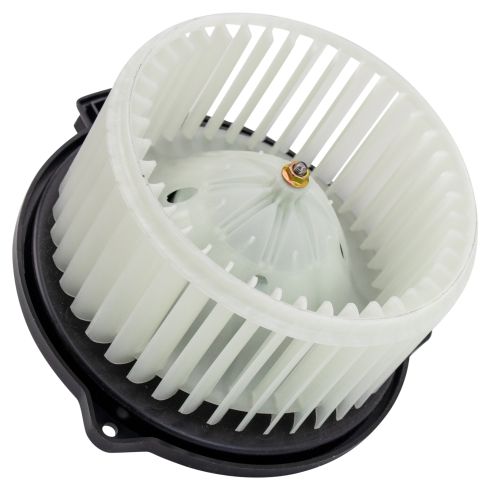
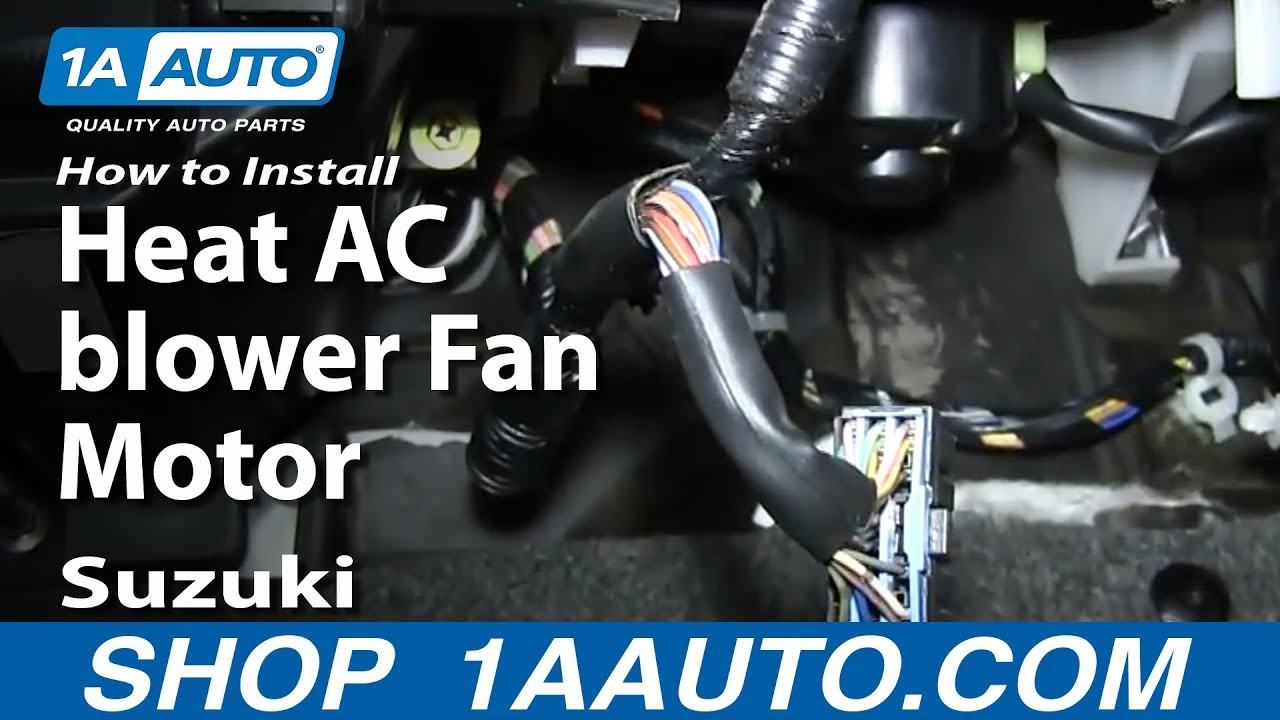
How to Replace Blower Motor with Fan Cage 2001-02 Suzuki XL-7
Created on:
Tools used
8mm Socket
Ratchet
Socket Extensions
10mm Wrench
Swivel
Flat Blade Screwdriver
1. Removing the Blower Control Module
Pry the two plastic clips from the access panel with a flat blade screwdriver
Pull off the access panel
Unclip the control module wiring from the control module bracket
Disconnect the blower control module wiring harnesses
Remove the front two 10mm bolts from the control module
Loosen the back left 10mm bolt from the control module
Pull down the control module
2. Removing the Blower Motor
Disconnect the blower motor wiring harness
Remove the three 8mm bolts from the blower motor
Pull out the blower motor wiring clips
Twist the blower motor to make it easier to pull out
Pull the blower motor down and out
3. Installing the New Blower Motor
Put the new blower motor into place
Insert the three 8mm bolts into the blower motor
Reconnect the blower motor wiring harness
Push in the blower motor wiring clips
4. Reinstalling the Blower Control Module
Put the control module into place
Insert the three 10mm bolts into the control module
Connect the control module wiring harnesses
Clip the control module wiring onto the control module bracket
Put the access panel into place
Push in the two access panel clips
Brought to you by 1AAuto.com, your source for quality replacement parts and the best service on the Internet.
Hi, I'm Don from 1A Auto. I hope this how-to video helps you out, and next time you need parts for your vehicle, think of 1AAuto.com. Thanks.
In this video, we're going to show you how to replace a blower motor on this 2002 Suzuki XL-7. It's the same part and process for these vehicles from 2001 to 2002. The items you'll need for this are a new blower motor from 1AAuto.com, a 10mm wrench, a flat blade screwdriver, and an 8mm socket and ratchet with an extension and a swivel.
You want to start off by removing these two clips here. To remove them, you just pry out the center and pull them free. That panel pulls off. You want to disconnect this series of harnesses, just push the tabs on the top and pull them free. Next, you want to disconnect these harnesses from that bracket. Just use a flat blade screw driver and push those clips through. Now, using your 10mm wrench, you want to remove this bolt, then loosen this bolt right here, and remove this bolt right up here. We'll just fast forward as Don does this. With those bolts removed, you can just pull that module down and out.
Push the tab on this harness and pull it free. Now, you want to remove this 8mm bolt, this 8mm bolt, and then, the one right back here. To remove the one in the back here, you're going to need a swivel on an extension. Just reach that up in there, and put it on there. You may need to use a flashlight to help you see it. Once you get it loosened, just get your hand up there and remove it the rest of the way by hand. You'll notice he does that with these ones as well. Now, to get the blower motor out, you're going to need to disconnect these two white clips. Just pull straight out on them. Now, pull the blower motor down. You can see that it's getting caught on something. On the back, there's a larger piece of plastic on the blower motor and it's hitting the firewall. Just push it back up into place if this is happening and then twist it and then pull it down again.
On the right, is the old blower motor; on the left, is the new one from 1A Auto. You can see they're identical and they'll mount exactly the same. Take your new blower motor, pull down on that harness and feed the blower motor up into place. If it gets caught right here, you can just give it a light hit. Then just put it into position. We'll just fast forward as Don replaces those three 8mm bolts. As those are tightened up, reconnect your harness and then push these white clips back in.
Replace your module and then replace those bolts. You can see he puts them in by hand and then tightens them up with that 10mm wrench. Reconnect your harnesses and push those harness clips back into those brackets. Take that panel and put it back up into place and replace those two clips. When you replace those, you still want the center to be pulled out. Push the clip in and push the center in to lock it. You're all set.
We hope this video helps you out. Brought to you by www.1AAuto.com, your source for quality replacement parts and the best service on the Internet. Please feel free to call us toll-free, 888-844-3393. We're the company that's here for you on the Internet and in person.
HMA80129
In Stock
Product Reviews
Loading reviews
5.00/ 5.05
5 reviews
5 Stars
4 Stars
3 Stars
2 Stars
1 Star
5
0
0
0
0
Suzuki Heater Blower Motor
Tommy
February 3, 2019
The part fit exactly as shown in your instructional video. The ease of ordering, installation, video, along with the price was incredible. This was the first time I have used A1 Auto but it definitely will not be the last. Thank you
Perfect fit
James
August 31, 2019
It fit perfect after trying two others places wher I had to send them back Installation Wes easy fit was perfect and price was reasonable I will defiantly be buying from A1 auto in the future
DIRECT replacement
Jeff
September 2, 2019
I am very happy with the operation of this fan assembly.
I price compared getting just the motor without the squirrel cage (the blower wheel) but figured that the wheel itself could either be the noise maker or that it created the original motor to go bad (due to being out of balance).
Although getting the old one out was a problem, the ease of removal and installation is the issue with the truck manufacturer and NOT the motor assembly itself.
I doubt that I will need to buy another one for THIS truck but I have other vehicles and would not hesitate to buy from 1AAUTO in the future.
1A Auto is awesome!
Christine
December 19, 2019
We tried to get the part for my daughters 2002 Suzuki XL7 from two other (national) auto parts stores here in town. Neither one was the correct part, even though they told us it was, so we ordered the part from 1A Auto because of the video we found on YouTube for fixing the blower motor. It came quickly and went right into the spot with no hassles!! We will definitely be using 1A Auto for any other parts in the future! Thank you!
Perfect
Robert
October 18, 2023
Shipping is amazing, the blower motor and fan was exactly what I needed, and I couldn't have installed it without the video.
I've never had an issue with 1A Auto
Five stars always.
Customer Q&A
No questions have been asked about this item.
Customer service
877-844-3393
Monday - Friday 8:00am - 9:30pm ET Saturday - Sunday 8:00am - 4:30pm ET
Enter Vehicle Year Make Model
Specify your vehicle's year, make and model to guarantee fit.
Year
Make
Model
Options
Drivetrain
This part doesn’t fit a . Select from parts that fit.