How to Replace Crankshaft Position Sensor 1999-2007 Chevy Silverado
Created on: 2020-06-25
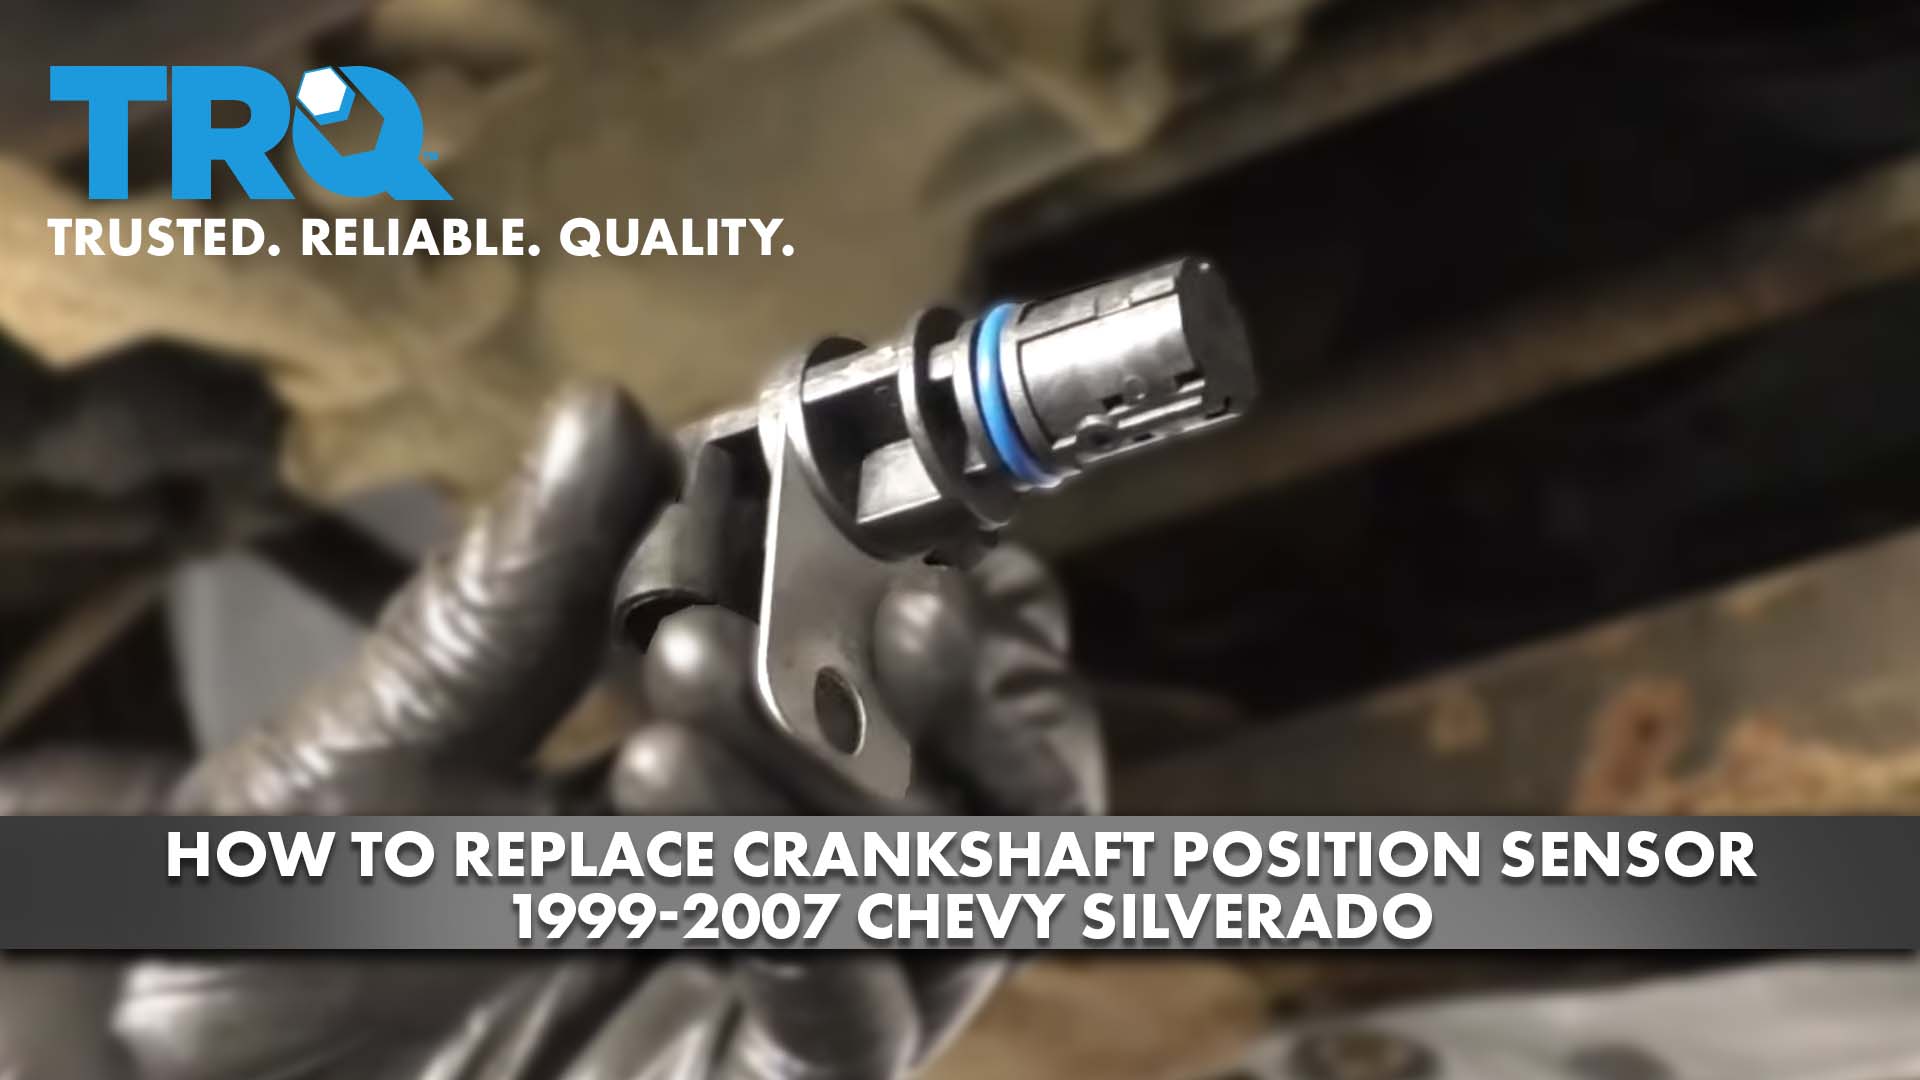
Watch this video to learn how to install a new crankshaft position sensor on your 1999-2007 Chevy Silverado.
Tools needed
-
Dielectric Grease
Torque Wrench
Gloves
Socket Extensions
Pry Bar
Safety Glasses
So one of the first things we need to do is make sure that we have hand and eye protection. After that, what we're going to do is we're going to remove our negative battery terminal. Set this aside so there's no way it can make contact with the battery. Now let's get underneath the passenger side of the vehicle. Right along the engine, you're going to see your starter. Remove the two mounting bolts for your starter. Let's go ahead and grab onto that starter. Pull it out of the bell housing area where it's situated.
There we are. Now I'm just gonna use a pry bar. I'm gonna lift up on this tab and just try to get the pigtail off of the sensor. Make sure you have the pigtail clear out of the way. And we're going to spray down the area around that sensor just to help it out, a little bit of penetrant. Now we're just going to use a 10-millimeter socket, and extension, and our ratchet and get that mounting bolt out of there. Hey, it's almost out. Let's finish it up here. Come on. Here we go.
Now let's just take our pry bar, carefully try to put it between the sensor and the engine and just try to pry it out. See if you can get it to wiggle and break free. That just started moving. It feels as though it's getting ready to start pulling right out of the engine. That's very exciting. There it is. Just go ahead and clean up that hole the best you can. Just be careful not to force any of those rust flakes in there. So now we have our new sensor here. I always like to coat the seal with something. You can either use a little bit of engine oil, maybe a little bit of dielectric grease, just something fairly thin just to help lubricate it and help it work its way into that engine block.
Let's get the sensor up in there. When we put this in, you want it to go in as straight as possible. Line up the bolt hole on the actual part itself, with the bolt hole on the engine before you go into far. I was going to give it that little spin before I go in any further. Now that we shook that around side to side, wiggled it back and forth a little bit, and got it to go all the way in so it's up against the engine block the way it needs to be, we're going to go ahead and put our bolt in. I'm just going to start it right on the socket with my extension because it's easiest for me to get my hand in there and then we'll start it in and snug it right up.
That's pretty much bottomed out. It's going to give it just a teeny bit more. That's good. Get our tool off of there. Let's go ahead and get that sensor back on. I'm just going to line it up and then I'll press it in with my pry bar or something that reaches here. Make sure it's completely latched in and it's not loose in any way. So I can get the starter back lined up with where it needs to be. Start in our two bolts. Snug these up. Let's go ahead and torque these to 37 foot-pounds. Just take a quick peek around, make sure we didn't accidentally disconnect anything such as, maybe, a sensor of some sort.
If everything looks good, let's get back up top and reconnect that negative battery terminal. All right. So that was a lot of fun. Now let's get back up here and get this negative battery terminal back on. Make sure it's nice and tight. Give it a nice wiggle. That feels great. After this, what you would want to do is start up the vehicle, let it run for a little while, and make sure that the check engine light does not come on.
Shop Products


How to Replace Crankshaft Position Sensor 2001-06 Chrysler Sebring 2-7L
Watch this 1A Auto video to learn how to replace the crankshaft position sensor on your 01-06 Chrysler Sebring 2.7L
