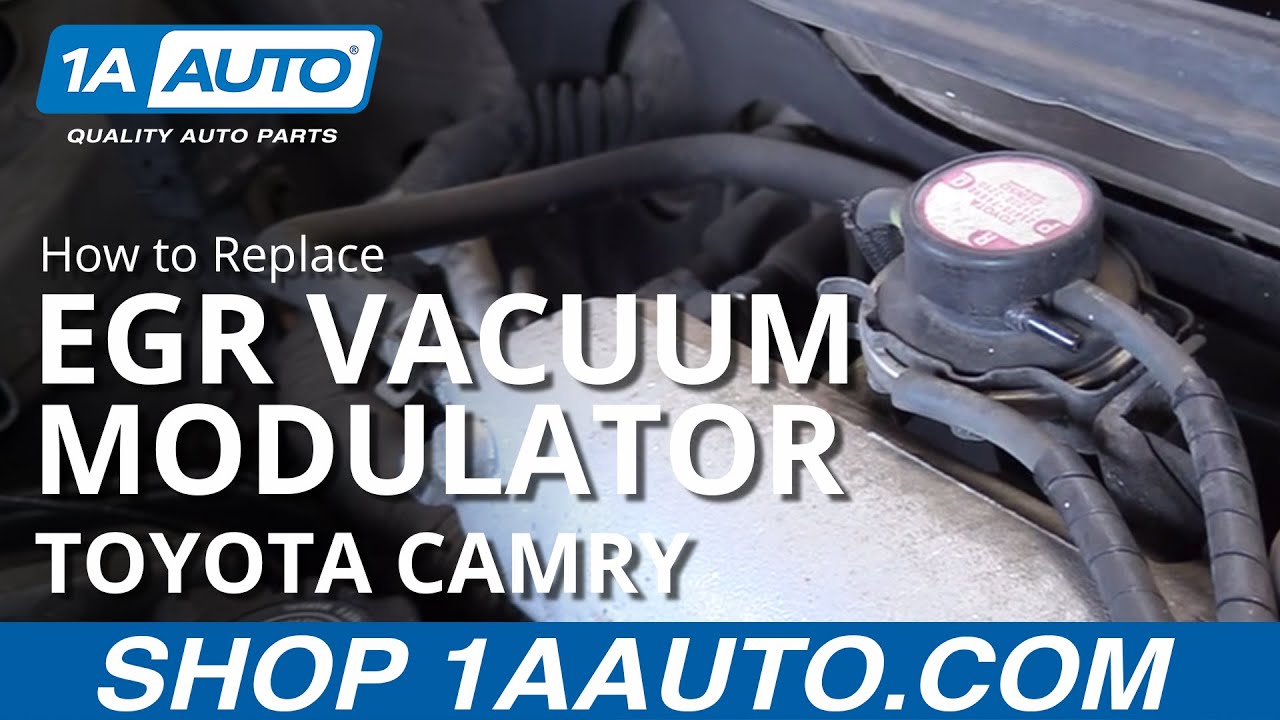
How to Replace EGR Vacuum Modulator 1992-2001 Toyota Camry
Created on: 2016-07-19
Check out this video to learn how to replace the EGR valve vacuum modulator. 1A Auto shows you how to do it yourself!
-
step 1 :Removing the EGR Vacuum Modulator
- Remove the hoses from the EGR vacuum modulator
- If needed, use a pick or pliers to pry off the hoses
- Pull the modulator out of its brackets
- Twist the modulator from the bottom hose
-
step 2 :Installing the EGR Vacuum Modulator
- Connect the bottom vacuum line
- Press the modulator into the brackets
- Attach the three hoses to the modulator
Tools needed
-
Needle nose pliers
Pick
Brought to you by 1AAuto.com, your source for quality replacement parts and the best service on the Internet.
Hi, I'm Mike from 1A Auto. I hope this how-to video helps you out, and next time you need parts for your vehicle, think of 1AAuto.com. Thanks.
In the video, we're going to show you how to replace the EGR Vacuum Modulator in a 1998 Toyota Camry. This information is the same from 1992 to 2001. The items you'll need for this repair are a new EGR Vacuum Modulator from 1AAuto.com. You may be able to do this job without any tools, but in case you have a stuck vacuum line, you'll want a small pick or a pair of needle nose pliers.
Open the hood and secure the hood prop. You should be able to remove the EGR Vacuum Modulator by hand. However, if the hoses are stuck on, you can use a small pic or a pair of pliers to remove them. Just in case yours is stuck on, we'll show you how remove them with both methods. With a small pick, find a place where you can carefully insert it between the hose and the vacuum port on the solenoid. Once the pick is in, rotate it around to free any corrosion or dry rot on the hose. It should pop right off.
Be sure that you make note of where these hoses come from as not to cross them up when you reinstall. Be sure to mark where these hoses come from as not to confuse them when you reinstall. For the other one, a pair of needle nose pliers. Don't grip hard because the vacuum port is only plastic. Twist the hose to free any corrosion or dry rot. The hose should pop right off. The rear vacuum line just pops off. We were able to remove that one by hand. Spread the tabs on the EGR Modulator until you can slide it out, lift up, Again, you may have to twist a little to release the rubber line from the bottom of the modulator. Remove the modulator from the vehicle.
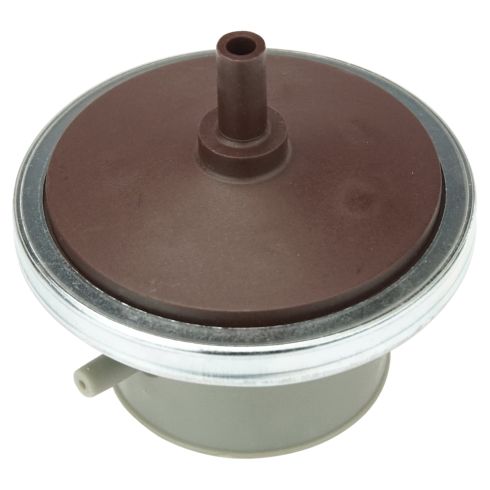
See, we have the old part from the vehicle and our new part from 1AAuto.com. The fobs are the exact same size. We have a vacuum port on the bottom. Two on this side here; one on the rear. For your convenience, they're all actually labeled in the same way there. It's a little hard to see where this is all black.
What this valve does is regulate vacuum to the EGR components on the motor. These can be the cause of vacuum leaks, causing some rough running engine issues from them running to lean, as in they're taking into much air after the sensors that account for how much air and fuel is to be mixed into the motor. They can also be responsible for EGR faults, such as them sticking open or closed which can create rough running issues or turn check engine lights on. If you're having vacuum issues or EGR related faults or check engine lights, then this EGR Vacuum Modulator from 1A Auto is going go in direct fit just like your original equipment and fix you up right.
Reinstall the bottom vacuum line. Be sure that the two vacuum ports face the driver's side and the single faces the passenger. Spread out the clip, and install the modulator. Connect the rear vacuum line. Be sure that you have the right lines hooked up to the throttle body. The one on the rear goes through the rear port here, labeled P. The front goes to the port labeled R. Move the hood prop. Close your hood, and you're ready to go.
Thanks for tuning in. We hope this video helped you out. Next time you need parts for your car, please visit 1AAuto.com. Also check out our other helpful how-to and diagnosis videos.
Shop Products

How to Replace EGR Valve 1995-97 Honda Accord
Check out this video to learn how to replace the EGR valve on your 95-97 Honda Accord V6.
