How to Replace Exhaust Pipe with Catalytic Converter 2002-06 Nissan Altima
Created on: 2013-11-23
Watch this video to learn how to fix a loose, rattling, leaking, or loud exhaust. The experts at 1A Auto show you how to replace the flex pipe and catalytic converter in your 02-06 Nissan Altima.
-
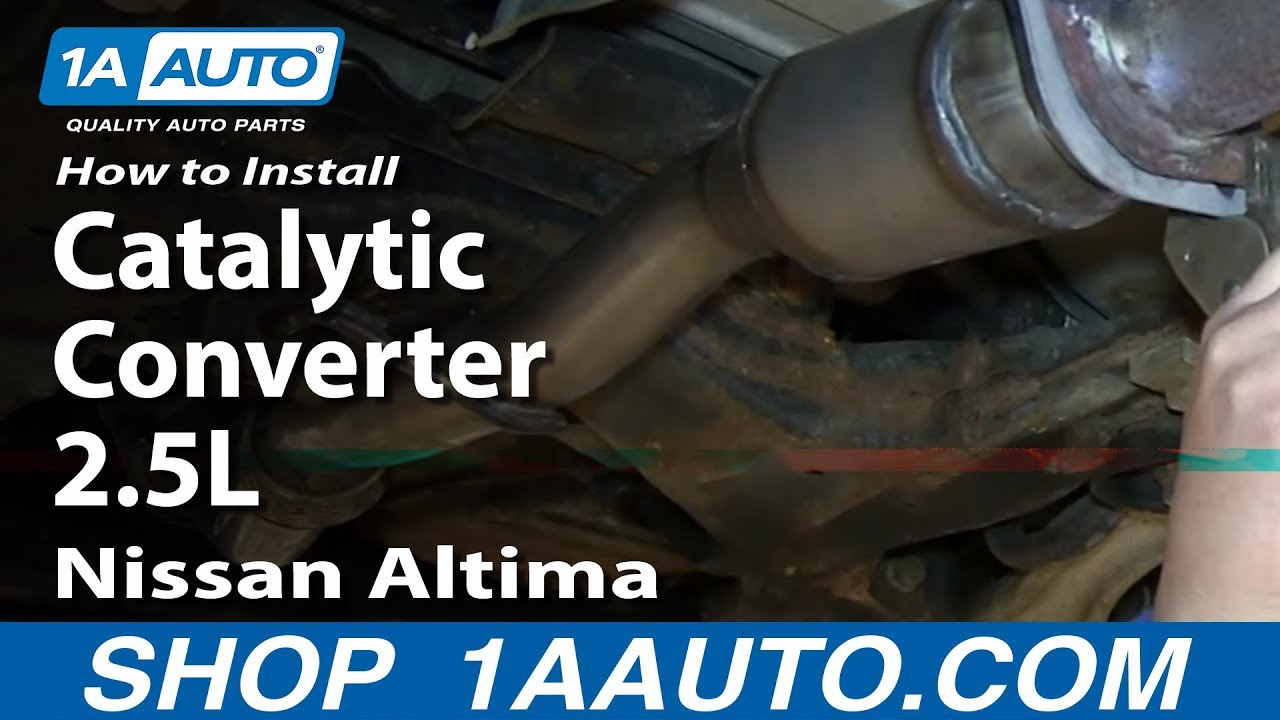
step 1 :Removing the Catalytic Converter Intermediate Pipe
- Raise and secure the vehicle
- Remove the 14mm nuts from the springs at the front of the pipe
- If you cannot easily remove the nuts, heat them with a torch
- Have a fire extinguisher on hand in case of an emergency
- Remove the two bolts from the rear of the pipe
- If they will not remove, cut them with a torch
- Let the pipe cool down
- Separate the pipe and pull it down and off
-
step 2 :Installing the New Catalytic Converter Intermediate Pipe
- Use a grinder to smooth off any torched areas
- Use the grinder to smooth off where the gaskets mount
- Hang the new pipe in place
- Insert the donut gasket into the pipe
- Line up the pipe on the stud on the front end
- Put the springs into place at the front of the pipe
- Tighten the 14mm nuts onto the springs
- Put the gasket into place at the rear of the pipe
- Put one bolt through the pipe flange and gasket, and hang it in place
- Hold the pipe in place with vise grip pliers
- Fasten a nut onto the first bolt
- Reposition the vise grip pliers if necessary
- Insert the second bolt
- Fasten the nut onto the second bolt
- Lower the vehicle to the ground
- Start the vehicle
- Listen for any exhaust leaks
- Tighten any nuts or bolts if necessary
Tools needed
-
12mm Socket
14mm Socket
Jack Stands
Acetylene torch
Angle Grinder
Ratchet
Floor Jack
Brought to you by 1AAuto.com, your source for quality replacement parts and the best service on the Internet.
Hi, I'm Don from 1A Auto. I hope this how-to video helps you out, and next time you need parts for your vehicle, think of 1AAuto.com. Thanks.
In this video, we're going to replace the mid-pipe, which runs from the exhaust manifold, or top exhaust catalytic converter, down and back through the secondary catalytic converter. You'll need a new assembly from 1AAuto.com, 12 and 14 millimeter sockets and ratchet, vice grips, jack and jack stands, and based on the condition of your vehicle, and we'll show you what we mean in minute, you may need a torch and grinder.
The pipe that we're replacing runs from the front. We're going to attach this to the manifold, right back on the flex joint there. Right here is the flange. These are probably 12 or 14 millimeter bolts. You can tell that they're very far gone on our vehicle. We couldn't even get a wrench or anything on them to twist them, so we ended up using a torch. If yours are in this shape, you may want to consider whether this is something you want to tackle on your own. We actually have difficulty from the start. These springs have 14 millimeter nuts on the ends of them and you want to go ahead and remove these. On our vehicle, they don't move, so we have to resort in using a MAPP torch to just heat them up. Whenever you're using a torch, make sure you do have a fire extinguisher nearby just in case. Now, you can see they're very hot, so they'll come right off. You want to make sure you do not break the studs because you'll end up needing to drill them out, possibly, and it could cause more problems for you. We do the same thing on the other side, heat it up and remove it. For these bolts, there's no way to get a socket on them, so we use an oxy-acetylene torch. We just cut them. Once the bolts have been cut, you can pull this apart. You do want to let it cool down first. Then, just pull it down and out of the way. Use the grinder to clean up the torched area. You want to make sure that you do this on both sides and also make sure it's nice and flat where the gasket's going to go.
Now, put your new assembly up into place, make sure your donut gasket is in place, and then you just want to line up the studs on the front end of the assembly, push it up into place. Now, replace those springs and just twist on those 14 millimeter nuts to secure them. Now, just tighten up those nuts. Now, take the gasket, put the bolt through the flange and the gasket and into your new catalytic converter mid-pipe. Then, using a pair of locking pliers, we just clamp it together just so we can get it started. Now, replace the nut. If necessary, reposition your locking pliers just so you can get through and get the bolt through. We'll just fast forward as we put the bolts in and put the nuts on the other side and tighten them up. Just make sure everything lines up and everything's tight. Start your vehicle up, listen for any exhaust leaks anywhere and tighten any bolts if necessary.
We hope this video helps you out. Brought to you by www.1AAuto.com, your source for quality replacement parts and the best service on the Internet. Please feel free to call us toll-free, 888-844-3393. We're the company that's here for you on the Internet and in person.

How to Replace Catalytic Converter 2001-05 Honda Civic
Check out this video to see how to replace the catalytic converter on your 01-05 Honda Civic.
