
How to Replace Front Shock and Spring Assembly 2014-17 Chevy Silverado
Created on: 2019-05-16
If your springs are sagging, or shocks are clunking, it might be time to change them out. Watch this 1A Auto video to learn how to do it yourself!
-
Changing suspension components may cause a change in suspension geometry. It is always a good idea to have the wheels aligned after removing or replacing suspension parts.
step 1 :Removing the Front Wheel
- Loosen the lug nut covers with a 22mm socket
- Loosen the lug nuts with the vehicle on the ground
- Raise the vehicle with a floor jack
- Secure the vehicle on jack stands
- Remove the lug nuts
- Pull off the wheel
-
step 2 :Removing the Front Shock and Spring Assembly
- Pry off the wire retaining clips from the top strut mounting studs
- Remove the three 18 mm top strut mounting nuts
- Remove the two lower 15 mm strut mounting bolts
- Push down on the upper control arm with a pry bar to free the strut
- Remove the strut
-
step 3 :Installing the Front Shock and Spring Assembly
- Insert the top mounting studs into the strut tower
- Secure the strut temporarily with one of the 18 mm nuts
- Press the control arms downward with the pry bar
- Set the lower strut mount in place
- Replace the two lower 15 mm bolts
- Torque the 15 mm bolts to 37 ft-lb
- Replace the 18 mm top mounting nuts
- Torque the 18 mm nuts to 37 ft-lb
- Replace the wire retaining clips to the strut mount studs
-
step 4 :Replacing the Wheel
- Slide the wheel into place
- Start the lug nuts by hand
- Tighten the lug nuts preliminarily
- Lower the vehicle partially to the ground
- Tighten the lug nuts to 140 foot-pounds in a crossing pattern
- Lower the vehicle completely
Tools needed
-
Socket Extensions
Torque Wrench
15mm Socket
Pry Bar
18mm Wrench
Ratchet
Trim Tool Set
1/2 Inch Breaker Bar
22mm Socket
What's up, guys? I'm Andy from 1A Auto. In this video I'm going to show you how to replace this front shock and spring assembly, some people call this a strut, on this 2015 Chevy Silverado. If you need parts for your vehicle, click the link in the description and head over to 1aauto.com.
Take a 22-millimeter socket and a breaker bar. I'm just going to loosen up these lug nuts. Now I'm going to raise and support the vehicle. Now I can take the lug nuts off. Take the tire off. With the wheel off, you can gain access to these top nuts up here. I'll just use a trim tool and pull this wire retainer off. Going to try a pry bar. There we go. Pry those wire harness retainers off. Same with that one. Now we can access the nuts. Right now I'm going to take an 18-millimeter wrench. We're going to loosen these all up. You could also use a ratchet wrench or if you use an 18-millimeter socket and a ratchet. Just loosen these up. Now I'm just going to use a ratchet wrench, take these off. Pull those nuts off.
Then from underneath the vehicle, we want to take these two bolts out. I'm going to use a 15-millimeter socket and extension and a ratchet. All right, take those two bolts out. Now, when you are working on this, you do you want to be careful. You don't want to be in the way of any of the suspension components because something could shift when you take those bolts out or the nuts off. Then I'm going going to put some pressure down on the lower control arm. You want to push it down and we want to move the shock strut assembly back. All right, I'm actually going to use a pry bar. I'm just going to pry this down while I push the shock back, just like that. Make sure I was holding onto the spring while I did that, and then slide the spring this way. Slide it up.
All right, we'll take this assembly. Just slide it down here. I'm going to make sure I have one of the nuts in my hand. Slide the studs through and then just get one of these nuts started. At this point I can take this pry bar, I'm going to pry this whole front end front suspension down and try to get that in position underneath there. Now, if you struggle doing this, you can always take the sway bar link out. That's the only reason why the suspension is hanging like this, otherwise it would hang a lot lower. Went a little too far. And you could also do this from underneath the vehicle with the pry bar and just pry that shock back into position.
I'm going to reinstall these bolts from underneath. I'll just use a pry bar to get it lined up properly. I'm just going to take a 15-millimeter socket, extension and a ratchet. Tighten these up. Now I'm going to use a torque wrench and torque these to 37 foot-pounds. Now I'm going to get these nuts started from above. I'm going to start them from under the hood. Or you can go in through that wheel well area. Get those started. Now I'm going to take a 18-millimeter socket with an extension and a ratchet, tighten these down from up top. Or you could take a ratchet wrench or a wrench and tighten them from the wheel well area. Whatever works easier. Then I'm just going to take a torque wrench. I'm going to torque these nuts to 37 foot-pounds. Just take these wire retainers, re-secure these on both sides. Just like that.
If you're replacing the spring, it's a good idea to have your vehicle aligned. The ride height might change slightly and that's going to change the angle on your tires. So make an appointment with a local alignment shop and have your vehicle aligned. Take your tire, reinstall the tire. Take the lug nuts, get those started. Before you lower the vehicle all the way down, just let it down enough so the tire is touching, and then I'm going to torque the lug nuts with a 22-millimeter socket and torque wrench, and I'm torquing them to 140 foot-pounds. And I'm going to torque them in a star pattern or a cross pattern so that the wheel gets tightened down evenly. I'll just go around again and we're good to go.
Thanks for watching. Visit 1aauto.com, your place for DIY auto repairs, for great parts, great service, and more content.
Shop Products
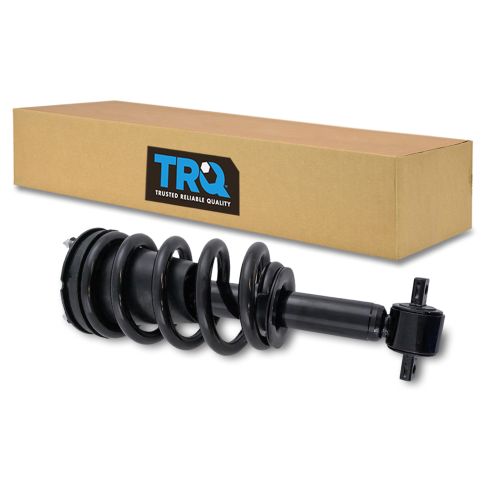
Chevrolet GMC Front Shock & Spring Assembly TRQ SCA72776
Part Details:
- No specialty tools required
- Easy install - Pre-assembled, loaded struts
- Threaded Stud
- Air
- Threaded Stud
- 15 mm
- 18.31 in
- 363 mm
- 32 mm
- 14.29 in
- 0.59 in
- 465 mm
- 4.02 in
- 102 mm
- 1.26 in

How To Install Replace Remove Rear Shocks Struts 2002-06 Nissan Altima
If the rear shocks on your 02-06 Nissan Altima are bouncy or clunking, it's probably time to replace them! Watch this video to learn how to do it yourself!
