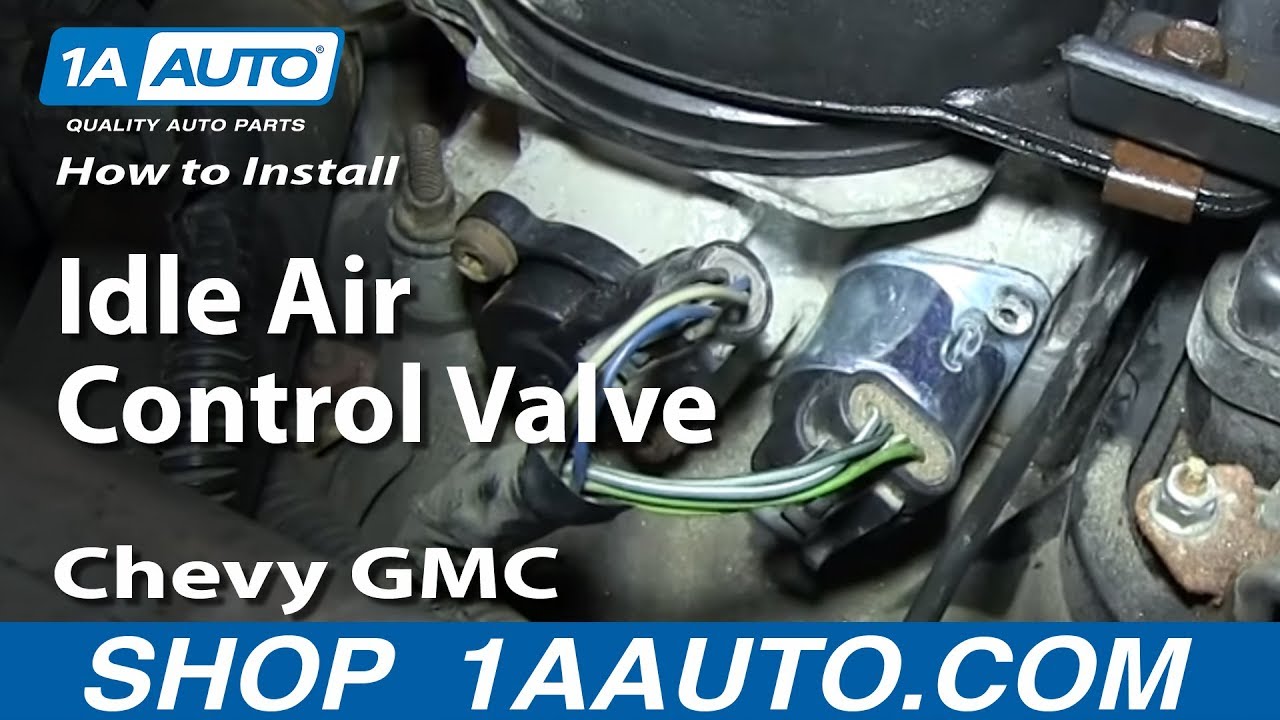
How to Replace Idle Air Control Valve 1996-2000 Chevy Tahoe
Created on: 2014-03-10
This video will show you how to remove and install the idle air control valve if yours is defective and needs to be replaced
-
step 1 :Removing the Idle Air Control Valve (IACV)
- Disconnect the Idle Air Control Valve wiring harness
- Remove the two T20 Torx bolts from the IACV
- Pull off the IACV
-
step 2 :Installing the New IACV
- Push the new IACV into place
- Insert the two T20 bolts into the IACV
- Connect the IACV wiring harness
Tools needed
-
Socket Extensions
T20 Driver
Ratchet
Brought to you by 1AAuto.com, your source for quality replacement parts and the best service on the Internet.
Hi, I'm Don from 1A Auto. I hope this how-to video helps you out, and next time you need parts for your vehicle, think of 1AAuto.com. Thanks.
In this video, we're going to show you how to replace the idle air control valve on this 1996 Chevy Tahoe. It's the same part and process on these Tahoes from 1996 to 2000. The items you'll need for this are a new idle air control valve from 1AAuto.com and a T20 Torx bit and ratchet with an extension.
Your idle air control valve is located right here. You want to just pull back on the tab and then remove that harness, and then remove these two T20 Torx bolts. We'll just fast forward as Don does that. Now you can just pull it right out.
On the left, is the old idle air control valve. On the right, is the new one from 1A Auto. You can see they're identical and they'll mount exactly the same. Now, push your new idle air control valve into place and then replace those two T20 Torx bolts. You can see he just replaces the bolts by hand and then tightens them up with that bit and ratchet. Reconnect the harness and you're all set.
We hope this video helps you out. Brought to you by www.1AAuto.com, your source for quality replacement parts and the best service on the Internet. Please feel free to call us toll-free, 888-844-3393. We're the company that's here for you on the Internet and in person.
Shop Products

How to Replace Idle Air Control Valve 2001-04 Ford Focus
If the air idle control valve (IACV) is jammed or leaking, check out this video and find out how to replace it yourself

