How to Replace Mass Air Flow Sensor 2010-14 Subaru Outback
Created on: 2019-05-24
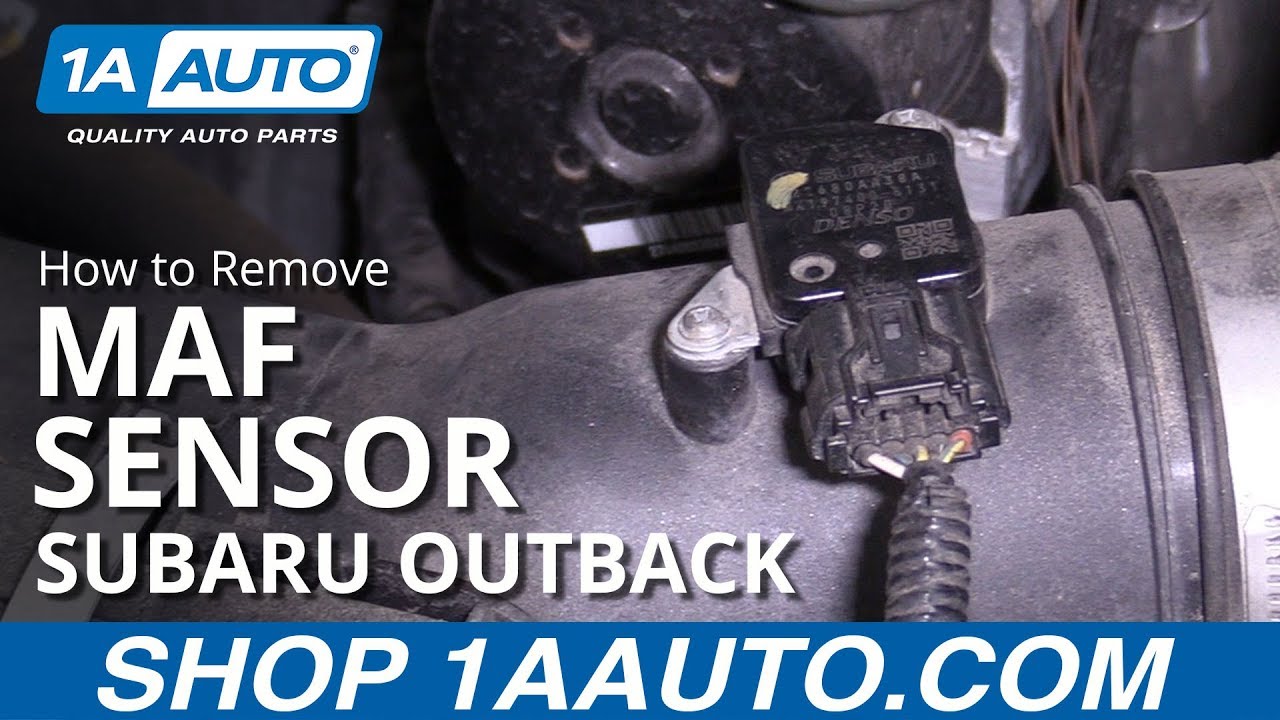
Learn how to remove, clean and install a mass air flow (MAF) sensor on your 10-14 Subaru Outback.
-
step 1 :Removing the MAF Sensor
- Disconnect the MAF sensor electrical connector
- Remove the two Phillips screws
- Remove the MAF sensor
- Inspect the rubber seal for cracks, rips or swelling
-
step 2 :Cleaning the MAF Sensor
- Spray the sensor elements with MAF sensor cleaner over a drain pan
- Repeat as necessary
- Allow several minutes for the sensor to dry
-
step 3 :Installing the MAF Sensor
- Install the MAF sensor into the intake tube
- Replace the two Phillips screws
- Reconnect the electrical connector
Tools needed
-
Phillips Head Screwdriver
Drain Pan
MAF Sensor Cleaner
Hey friends. It's Len here at 1A Auto. Today, we're working on a 2013 Subaru Outback. We're going to be checking this mass airflow sensor right here. It'd be a very easy job. I want to be the guy that shows you how to do it. If you need any parts or any instructional videos, you can always check us out down at 1aauto.com.
All I'm going to do is I'm going to take a Phillips head. I'm going to remove this screw and this screw, okay? First, what I'm going to do, before I skip too far ahead, I'm just going to remove the move the electrical connector. I'm just going to squeeze this tab right here, okay? That lifts up on this right here, which is the lock, pulls right out.
We'll take a look in there. See if we see any funny colors. Looks pretty good. We'll set it aside. We're going to take our Phillips head screwdriver, remove screw one and screw two or vice versa. Take them how you want. Let's go this way. It's a pretty small screw. We want to make sure we don't lose that.
Screw number two, the exact same. Just going to grab it. I'm going to give it a little wiggle. Here we are. So here's our mass airflow sensor. As you can tell, there's a couple little coils inside there. Yeah, little coil up in here, okay? These just measure the amount of air that's coming through your air filter box, so your car can gauge how much fuel is going to go to it.
So what I'm going to do is I'm just going to clean this down a little bit. Something that I like to note is there's a little seal going around here, little rubber O-ring. You want to make sure that it's not ripped or cracked or swollen or missing. It looks good. Perfect. So, now, I'm going to put on my safety glasses. I'm going to take a little bit of mass airflow sensor cleaner.
It's nothing special, but you have to make sure it is mass airflow sensor cleaner, not brake clean or anything like that. All those little wires and little doodads that are in there, they collect dirt and dust and whatever crud makes it past your air filter, okay? We'll just give this a little blast. We're going to do it over a cleaning receptacle, something where we can recycle our fluid like that. I'm going to do this one. Come at it from both sides.
Let it sit for a minute just so we can soak in. Then I'm going to go ahead and blast it again, okay? I'm making sure that I'm not doing it right up near my face. I don't want to be up close. Nice and far away, into the receptacle that can collect the majority of this. We don't want it getting into the ground or our eyes. I'm going to blast it again. Here we are.
We don't need the hose directly against any of this stuff, but pretty close is good. It is pretty sensitive equipment, so if you go ahead and bonk this hose into it, you might end up messing up your sensor. So, just be careful with that. Now, what we'll do is we'll just let it dry. If you have a little air gun, you could try blowing it from far away to try to blow it off. Don't get up close. Like I said, it's very sensitive equipment right there. It's a metering device.
I'll put that stuff away. Grab my clean rag. As you can tell, it's drying up pretty quick, so that's nice. Just clean off any of whatever's left around here while we wait. It looks pretty good. All around the seal, which there's no dirt around there. Now, we can come back over, and we'll go ahead and install this. We remember it didn't go this way, right? The electrical connector was over this way, so we'll just set it back the way it came out, and give it a little wiggle and a little push to get it down in.
Let's see. Make sure it's sitting level. Looks like it needs to go down a little bit more. We want to make sure that it is sitting down flat and level. If it's up and it's kinked a little bit, you're going to let air past it. It's going to get sucked past into the engine without getting filtered by the air filter. It's going to cause an issue.
If you haven't replaced the air filter, or you haven't checked the air filter, you might want to do that. I'm going to go ahead and start these in by hand just like that. Once I have them both started in, I can go ahead and tighten them up. I'm going to turn those to the right clockwise. All I'm doing is screwing in the plastic, so once it feels like it's getting pretty tight, it's probably pretty tight, right? I'll do this one.
Here we are. Go back to this one. Just double check it. That feels good. We're just going to check to make sure it's sitting down nice and level and flush. If you wanted to use a little bit of dielectric silicone on here, might be helpful. Keep the moisture out of there. You don't want to use anything like RTV or Vaseline or whatever. It needs to be something that can conduct electricity because this needs to talk to your mass airflow sensor, and then the sensor needs to respond back through and then send it back through the wires to let your car know what's going on with the air, okay?
We're going to listen for a click. Sounds good. We'll give it a little wiggle. Here we are everybody. We finished our mass airflow sensor job.
Thanks for watching. Visit 1aauto.com, your place for DIY auto repairs for great parts, great service, and more content.

How to Replace MAF Sensor 1996-98 GMC K1500 V8 5-7L Sierra
How to remove, install, fix, change or replace a broken Mass Airflow Sensor / Meter on V8 5.7L
