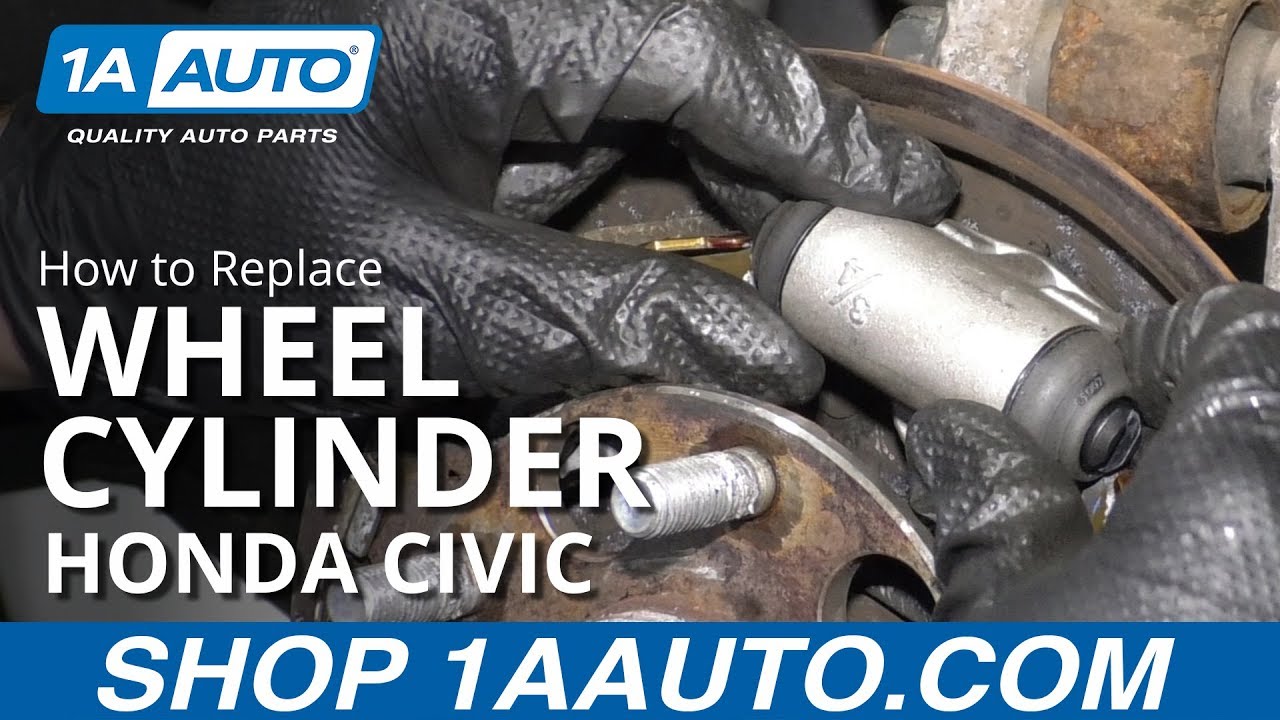
How to Replace Rear Wheel Cylinder 2006-11 Honda Civic
Created on: 2019-05-02
In this video, 1A Auto experts show how to replace the wheel cylinder in your 06-11 Honda Civic. Check this out if your drum brakes are soft or leaking.
-
step 1 :Removing the Wheel Cylinder
- Open the hood and inspect the brake fluid level, and type, which is listed on the reservoir cap.
- Fill the brake fluid as necessary, as some fluid will be lost during this installation
- Loosen the wheel lug nuts
- Raise and support the vehicle
- Remove the wheel
- Remove the brake drum, using a hammer, pry bar, or rust penetrant as necessary
- Apply rust penetrant to the brake line fitting and bleeder screw
- Clean the wheel hub, brake shoes, and backing plate area with brake parts cleaner
- Loosen the brake line fitting with a 10 mm flare wrench
- Remove the two 10 mm wheel cylinder mounting bolts
- Pinch off the brake line with a brake line clamp tool, or prepare to plug the line after removing the cylinder
- Remove the brake line fitting
- Remove the wheel cylinder, using a pry bar if necessary
-
step 2 :Installing the Wheel Cylinder
- Prepare the wheel cylinder for installation by removing the bleeder screw with an 8 mm wrench
- Remove the brake line fitting plug
- Align the wheel cylinder piston slots to fit the brake shoes
- Install the wheel cylinder and pull on the brake shoes to fit them into the slots
- Reconnect the brake line fitting
- Replace the two 10 mm wheel cylinder mounting bolts
- Tighten the brake line fitting and the two 10 mm bolts
- Install the wheel cylinder bleeder screw loosely
- Unclamp the brake line if it was clamped
- Leave the bleeder open to drip fluid until there is a steady flow
- Close the bleeder screw
- Clean the inside of the brake drum mating surface
- Replace the brake drum
- Check the brake fluid reservoir for proper level and add DOT 3 or DOT 4 fluid as necessary
- Slowly depress the brake pedal 3-5 times
- Open the 8 mm bleeder screw and allow the fluid to flow in a solid stream
- Close the bleeder screw
- Replace the bleeder screw cover
- Replace the wheel
- Torque the lug nuts in a star pattern to 80 ft-lb
Tools needed
-
10mm Flare Wrench
Hose Pinch-Off Pliers
Hammer
Socket Extensions
Torque Wrench
Rust Penetrant
Pry Bar
19mm Socket
10mm Wrench
Wire Brush
Brake Parts Cleaner

How to Replace Rear Drum Brakes 1996-2000 Chevy Tahoe
Learn how to change drum brakes. The experts at 1A Auto show you how to replace worn or rusty rear brake shoes and drums on your 92-99 Chevy Tahoe or Suburban.
