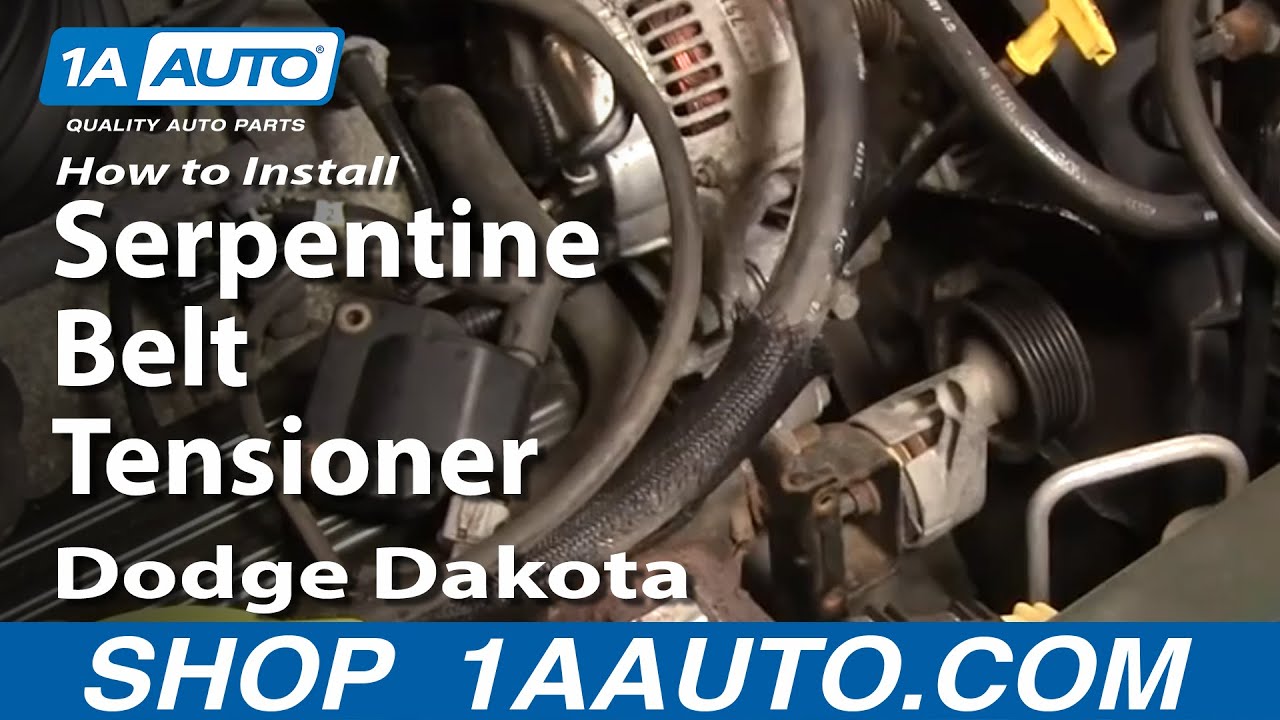
How to Replace Serpentine Belt Tensioner 1998-2003 Dodge Durango
Created on: 2010-12-29
Find out how to remove the serpentine belt and the serpentine belt tensioner and also install each correctly yourself with the help of this video
-
step 1 :Remove the serpentine belt
- Use a 15mm wrench to release the tension on the serpentine belt.
- Remove the serpentine belt.
-
step 2 :Remove the air box
- Remove the air box by removing the 10 mm bolt on the top.
- Pull the cover aside and remove the second 10 mm bolt
- Remove the little pin and a third 10 mm bolt.
- Remove the air box and set aside.
-
step 3 :Remove the ignition coil
- unbolt the 10 mm lead and unplugging the lower lead by pushing down on the tab and unplugging it.
- Remove the 10 mm bolts and pull out and set aside the ignition coil.
-
step 4 :Remove the belt tensioner
- Changing the idler pulley at the same time is a good idea
- To remove the idler pulley it’s a 15 mm bolt.
- Unbolt the belt tensioner with your 15 mm wrench
-
step 5 :Install the new belt tensioner
- Bolt in the 15 mm bolts to install the belt tensioner and/or the idler pulley.
- Bolt the ignition coil and reconnect the leads using a 10 mm socket and ratchet.
- Replace the air box by securing the pins and 10 mm bolts.
- Use a 15 mm wrench to release tension on the belt tensioner to reinstall your serpentine belt.
- Use your serpentine belt routing diagram to assist reinstallation
Tools needed
-
Adjustable Wrench
15mm Wrench
Socket Extensions
Flat Blade Screwdriver
15mm Socket
10mm Wrench
10mm Socket
Ratchet
Brought to you by 1AAuto.com, your source for quality replacement parts and the best service on the internet. Hi, I'm Mike Green. I'm one of the owners of 1A Auto. I want to help you save time and money repairing and maintaining your vehicle. I'm going to use my 20-plus years experience restoring and repairing cars and trucks like this to show you the correct way to install parts from 1AAuto.com. The right parts installed correctly, that's going to save you time and money. Thank you and enjoy the video.
In this video, we're going to replace the serpentine belt tensioner and show you how to get to the idler pulley as well on this '98 Dodge Durango, same as a lot of Durango's and Dakota's with V6 and V8 engines. Tools you'll need are 10mm socket and ratchet, screwdriver, 10mm and 15mm combination wrenches and an adjustable wrench.
At the passenger side, there's the alternator and your belt tensioner is right down there. 15mm wrench, put it right on that bolt. Pull, which releases the tension on the belt meter. You take the belt off the alternator and then slowly let the wrench back. You want to remove the air box and it's pretty easy using adjustable wrench, we're losing up the knot on top of your upper body. Take that off, and there are four clips so you could open up the air cleaner. Okay, and you take the full assembly up. You're kind of pull it off to the side. Remove your air cleaner. There's a bolt down in, that's 10mm.
There's also a bolt over here in that corner that you want to remove, 10mm and then there's a little pin right here that you need to pull out. We'll remove this bolt. I'm just going to put down in there to keep it and then, I want to use a screwdriver or something, somebody that already broken it on this vehicle. You need a screwdriver to pry that away. The bolt that's right down the center of the box here. Remove that. The entire box comes up and out and you got plenty of room to work here. Okay. Now, with that air box, you're going to want to remove that ignition coil which I'm using a 10mm socket and ratchet and a 10mm wrench and see I just unplug the top lead from the coil and now I'll speed up, go on through and take another bolts off.
Now, you pull the coil away and disconnect the lower lead by pushing down on a thumb tab and pulling. Now, at the back side you just see there's a 15mm knot right here. I want to remove that. Once that's off, it comes right out. Here's your original. Here's the new one from 1A Auto. You can see they're all the same. The new ones got the stud and everything. There's a bolt right in there. While you have that out and the belt is off, good idea to replace your idler pulley at the same time and it's a pretty inexpensive part. It's a 15mm bolt, maybe 14 on some vehicles, but you just remove this bolt. The idler pulley comes right off and you can put the new one on.
Okay. We're going to go ahead and reinstall and on the bracket, there is another whole that lines up the tensioner. You pull on there and make sure that there's a little tab on the tension that goes to that whole. Make sure that goes in and then put your knot on and tighten everything up. Okay, and the keen eye will note that that is the original tensioner. This is just kind of a video mule for car so I didn't put a new one on it. Just get it as tight as you can with this wrench. That's fine. While this is out of the way, we can put our coil back on. Okay, and then we'll fast forward through this.
Remember, you want to hook up the lower harness on there first, then put the two bolts and tighten them up. You want to tight them snug and not to be extremely tight. You want to plug in the top one and now also fast forward to put in that air box that can pretty easier, the lower bolt in there. Clip that on, keep that other bolt up on top on the corner off set. Reinstall your air cleaner and then make sure that the knot on the frontal body is nice and tight.
Okay. Now, get the bolt. Rod it the way you want it. There's 15mm wrench on here and then pull the wrench over and put the belts up on the alternator, make sure it stays down, and to the alternator. It's back on, make sure the belt go around correctly. It should be all set. You just put it on to the idler pulley a little bit more.
We hope this helps you out. Brought you by www.1AAuto.com, your source for quality replacement party and the best service on the internet. Please fee-free to call us toll-free, 888-844-3393, where the company that serves you on the internet and in person.
Shop Products

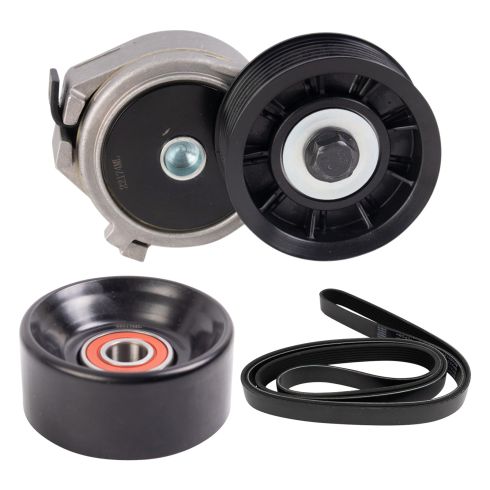
Dodge 3 Piece Serpentine Drive Belt Component Kit TRQ BPA27088
Part Details:
- 3 Piece
- (1) Accessory Drive Belt Tensioner with Pulley
- (1) Serpentine Belt Idler Pulley
- (1) Serpentine Belt

How to Replace AC Belt Tensioner 1999-2008 Chevy Silverado
This video shows you how to install a new serpentine belt tensioner on your 1999-2008 Chevy Silverado.

