Brought to you by 1AAuto.com, your source for quality replacement parts and the best service on the Internet.
Hi, I'm Mike from 1A Auto. I hope this how-to video helps you out, and next time you need parts for your vehicle, think of 1AAuto.com. Thanks.
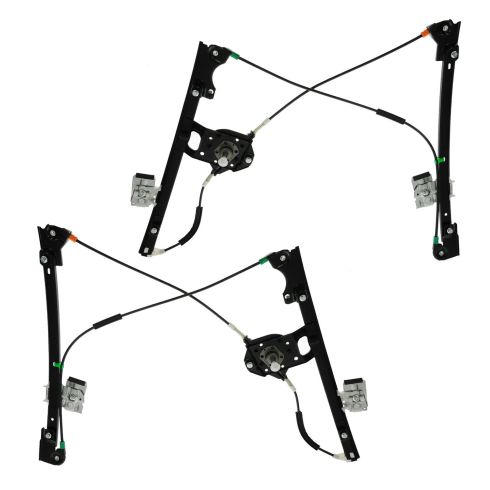
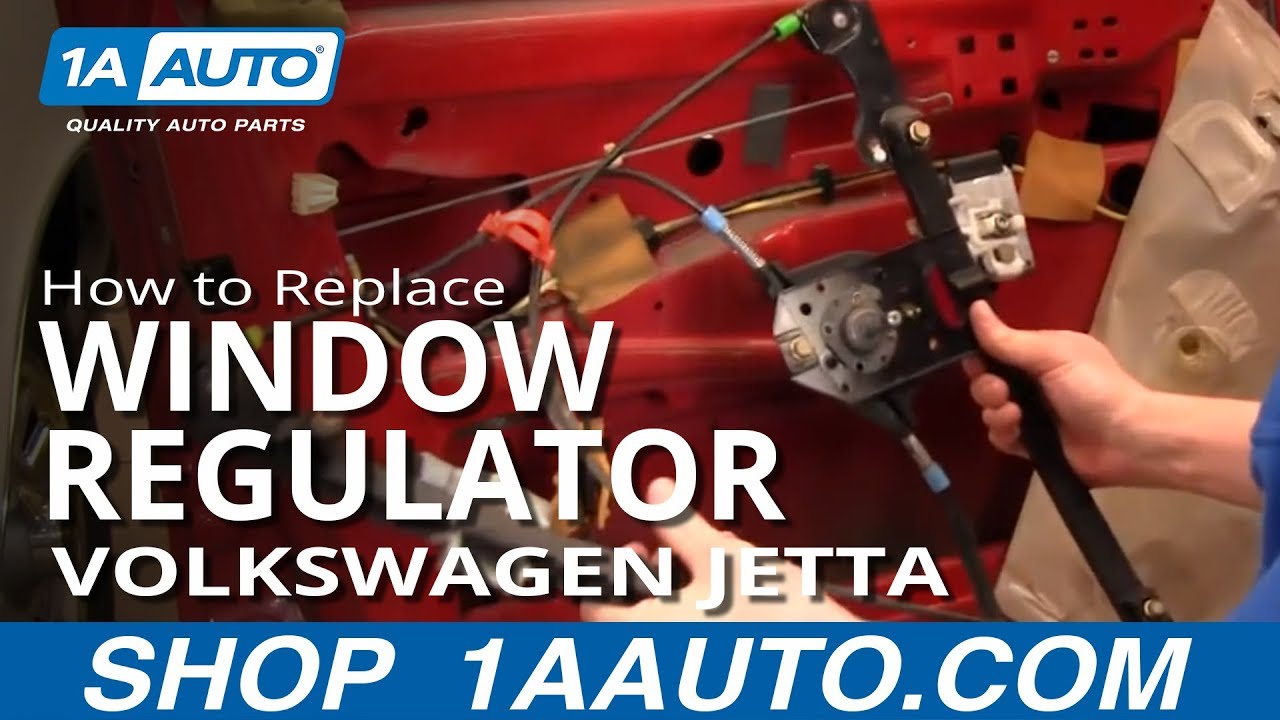
In this video, we're going to show how to replace a manual window regulator in this '97 Volkswagen Jetta. The procedure is pretty much the same for any '93 to '98 Golf as well as the Jetta. We're going to show you the driver's side, passenger's side is pretty much the same procedure. What you'll need is you'll need a new window regulator from 1AAuto.com, a lot of times these window regulators parts break and then the window will get sloppy and sometimes the cable can break and cause the window not to work at all. Then you'll need Philips screwdriver, both small and regular size, a flat blade screwdriver, probably a smaller size flat blade screwdriver, T10 Torx screwdriver and a 10mm socket with a racket and extension as well as a 10mm wrench.
To remove your door panel, you're going to start by . there's a small ring down here at the base of your window crank, if you have a manual windows. Push the ring towards the bottom of the crank and the crank comes off. You can see that ring just locks on like that. You can actually relock it and put it back together. Then this knob actually pulls off and pull quite firmly. It pulls off. Then with a small flat blade screwdriver, carefully pry out your speaker grill, and pull that off. Pry out on the bottom of this triangle and then work the screwdriver in and pull and pry firmly. Release the triangle. Once it comes off, you're going to have to get these plastic grommets off of this. Then, push the little legs back in and remount them into the holes, the larger one and the smaller one. The smaller one's always a little harder to get off. Sometimes I'm successful getting that grommet off, but actually I just broke that smaller pin, not the best thing but this will go back together even without that smaller pin. It has two tabs down here and the larger tab there.
Then the next thing is you can start back here with a screwdriver, working down here and start working this loose here. Just go in from there and then pull on this whole plastic bezel. It comes off. Now you've got a small Philips screw here, you want to remove and two larger Philips screws: one there and one right in there. Then there's the four Philips screws around your speaker, you want to remove and then there are six T10 screws around the perimeter: one here, one further down and there are two underneath, let's see, one in the front, one towards the rear and then again two in the back here. You also want to take and remove your lock knob. To remove the Torx screws around the outer edge, you need a T10 Torx driver. I got the style that fits on a ratchet. These are usually a little hard to get to. I start up in the front with the ratchet and socket to get those front ones out and then you'll see I switch to a screwdriver style handle with that T10 Torx bit and take the other four out. Now, use a small screwdriver for this screw up here. Then use a regular screwdriver for the rest of the screws. Again, I'm going to use a little bit of fast forward here as I take all those Philips screws out. You need to pull the top out as well and the screws that stay in there will come out. Pull it up off your door lock and your door lock is just connected right here. Just squeeze and pull down. It comes off.
Once you get the door panel off, you actually pull out on the back of the inside door handle and pull it forward. It comes off. Then you just twist it down and push it towards the door and it comes off of the hook here. I'm going to speed it up here. Even though the video's going fast, you want to carefully remove your water shield, try not to tear it or anything, pull it back from the clips and pull it forward until you reach the speaker and the door handle area.
Now, put your window handle back on and bring your window down a little bit. Now there's two 10mm nuts, one here and then one you can access through this hole right here. I'm going to speed up here. You should just need to loosen up these two nuts. What can happen is that the rubber that protects the window from the metal where the metal pinches the window, the rubber can get stuck to the window. You may find that you remove these nuts and get in there with your fingers and separate the rubber from the windows and then once you get it loose you can pull the window up and out. Now we want to remove five bolts, actually you can loosen this one, loosen up this one, loosen this one, loosen this one and the one down here you need to loosen as well. Speed up here as I loosen up those nuts, I'm going to use a 10mm wrench for that first one because I have to get in behind the speaker bracket and then the other ones I didn't show the one that holds near the regulator stud very well but loosen those up. Now you lift the regulator up or the rear rail up towards the front to get it out of those holes and the same thing for the front rail. You just need to pinch the little clip that holds the cables at the top, push it through and then pull the regulator out.
Since my original is in good shape I'm just going to reinstall it for you. Just to show you how to do it. The ones from 1A Auto, they're exact duplicates of the original. The only thing you would want to do is transfer over all five bolts that way they're ready to go and you want to transfer the clip as well. Put it up in there, one rail in first. It's just a matter of getting it by some of the braces and stuff. You just have to force it a little bit to get it through the pin. I'm going to speed it up here a little bit as I put the back rail up and in and get them set. Since you have those bolts in there, you just put them through the larger parts of the holes and then slide them down in the slots so they're tight. Now that the regulator is set, I'm just going to use my wrench first, tighten up that bolt that's in behind the speaker bracket and then tighten up the rest of the bolts. Once you have it in, you just take your window and slide it down slowly. Just look right in there, make sure the glass goes down in between and it's in the clips correctly. I'm just going to take my crank handle, put it on here. Everything is working okay. Now, I'll tighten up these nuts. It's all set.
I'm going to speed up here as I put the water shield back in place, remember to feed that harness for your door lock and also put the mirror remote back in place. To reinstall the door handle is easy enough. You have to pull the rod out, get the handle to go into the hole, tip it up and I'm actually going to put this in behind the first. Then you've got to peek behind, make sure the slots are going into the right place. Line up the slots, push it in and push it back to slide it into place. Begin putting the door panel back together, make sure your little security light's back up in there. Get the lock stud. I'm just going to fast forward through and commentate as I go through the two screws that hold the door pull in place. Put those in then the speaker has a small round pin at the bottom and a square peg at the top, make sure you line those up properly on the speaker, put the speaker back in place. Pop those in. And the four screws back in place. Make sure it's all flush. Now put the speaker grill back in place. There's two screws right here. Put your window crank back in place. the trim around the door handle, put that back in place. Put the knob for the mirror back in place. The triangle for the top back in place and then the six screws, the T10 screws that hold the door panel around the perimeter, start those in place first and then tighten those up and you're all set. Also don't forget to put that lock knob back on.
We hope this video helps you out. Brought to you by www.1AAuto.com, your source for quality replacement parts and the best service on the Internet. Please feel free to call us toll-free, 888-844-3393. We're the company that's here for you on the Internet and in person.