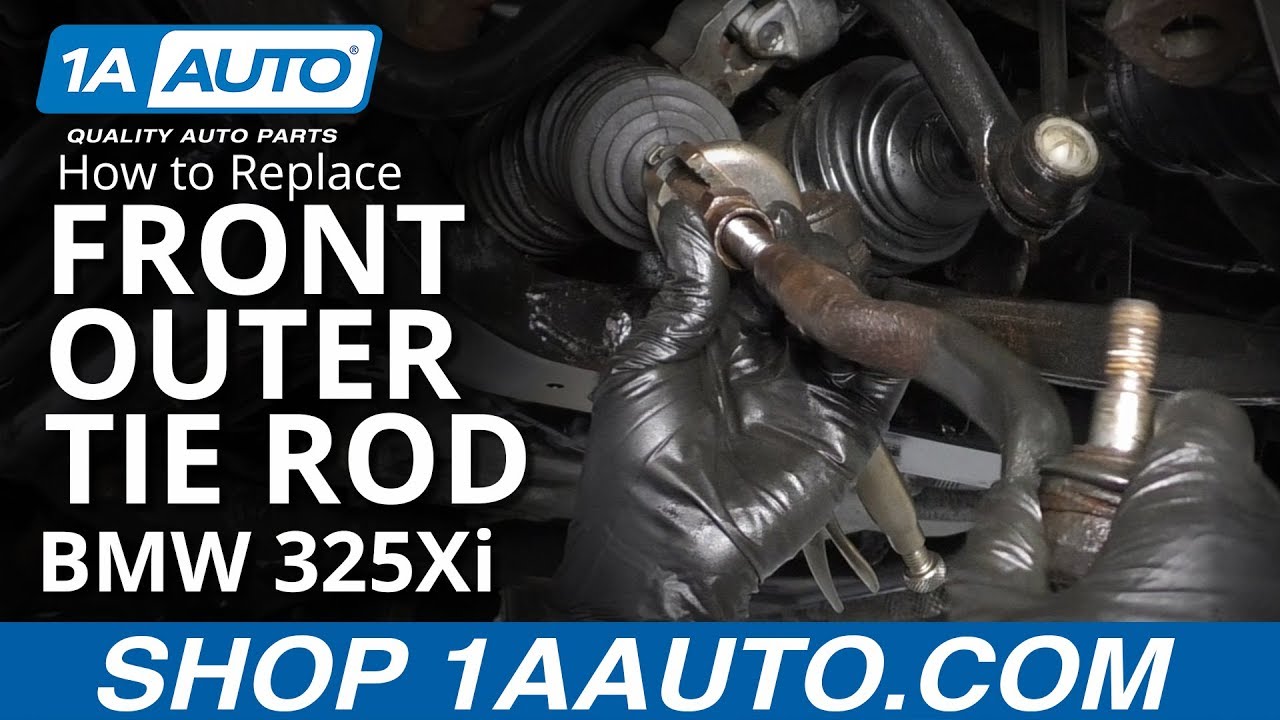
How to Replace Front Outer Tie Rod 2001-05 BMW 325Xi
Created on: 2019-09-13
Watch this 1A Auto video to learn how to replace the outer tie rods on your 01-05 BMW 3 series vehicle.
-
step 1 :Removing the Wheel
- Loosen the 17 mm lug bolts
- Raise and support the vehicle
- Remove the lug bolts
- Remove the wheel
-
step 2 :Removing the Outer Tie Rod
- Loosen the 15/16 or 24 mm jam nut
- Remove the 18 mm outer tie rod nut
- Loosen the tie rod end with a ball joint tool, or by hammering the side of the wheel knuckle
- Remove the tie rod end from the knuckle
- Remove the outer tie rod from the inner tie rod, using locking pliers if necessary
- Count the number of turns it takes to remove the outer tie rod
-
step 3 :Installing the Outer Tie Rod
- Apply anti-seize grease to the inner tie rod threads
- Thread the outer tie rod onto the inner tie rod, turning it the same number of times as taking it off
- Insert the tie rod end into the wheel knuckle
- Install the 18 mm tie rod end nut
- Hold the tie rod stud with a 5 mm hex key if it spins
- Torque the 18 mm tie rod end nut to 48 ft-lb
- Tighten the jam nut, then torque it to 33 ft-lb if able
-
step 4 :Installing the Wheel
- Lift the wheel onto the wheel hub
- Install the five 17 mm lug bolts
- Tighten the 17 mm lug bolts by hand
- Lower the vehicle with minimal weight on the wheel
- Torque the 17 mm lug bolts to 95 ft-lb in a star pattern
Tools needed
-
15/16 Inch Wrench
24mm Wrench
Socket Extensions
Torque Wrench
Locking Pliers
Ball Joint Press
Rust Penetrant
17mm Socket
Large Locking Pliers
Anti-Seize Grease
Ratchet
1/2 Inch Breaker Bar
What's up, guys? I'm Andy from 1A Auto. In this video, I'm going to show you how to replace the front outer tie rod on this 2001 BMW 325xi. If you need this part or other parts for your vehicle, click the link in the description and head over to 1AAuto.com.
All right, I'm going to loosen up these lug bolts. I'm going to use a 17 millimeter socket and a breaker bar. Loosen them up.
Now, I'm going to raise and support the vehicle. We're using a two post lift. If you're doing this at your house, you can use a jack and jack stands.
Now, we'll take these lug bolts out. Just use the socket to help you get them out. I'm going to just hold the wheel with my other hand so it doesn't fall. Pull the last one out. Then I can grab the wheel and slide it off.
First thing I want do is loosen up this jam nut right here. Just going to spray some rust penetrant on there, and let that soak for a little bit. This thing's pretty rusty, so let that soak. Then I'm going to take a 15/16s wrench. You could also take a 24 millimeter wrench. Loosen this up.
All right, that wasn't too bad. Give it a couple turns.
Next, I'm going to take this outer tie rod nut off. I'm going to use an 18 millimeter wrench. You can use a socket and a ratchet, or even a socket and an air gun. Just loosen this up. Normally they're not too tight.
So I switched to a ratchet wrench, makes it a little easier. And just make sure the stud isn't spinning. If the stud starts spinning, then you can use a hex fit to hold the stud from spinning. Or even if you are able to put a jack underneath here and just put a little bit of pressure. Sometimes that helps take that nut off.
So to separate the outer tie rod, I'm just going to use this front end tool. You can use something like this, or you can use ... There's a couple other methods you could do. Taking a hammer and trying to tap it on the top of it, and you just got to be careful you don't mushroom the end over. Otherwise, it's not going to go back in, unless you're replacing it, then it's not going to matter.
So I'll just take this tool, and just separate this. All you got to do is tighten it up. What I'm basically doing is pushing the stud down with the tool.
And there we go, separated. So make sure you don't stand too close when you're doing that and wear safety glasses. Then I can separate that.
So I want to loosen up the inner tie rod, or separate the outer tie rod from the inner tire rod. This is pretty rusty, so what I'm going to do is just slide the inner tie rod, I mean the outer tie rod, back in, and then just put the nut on loosely. Won't need to tighten that down or anything. And I'm going to try to loosen this up. I'm going to use some locking pliers, see if I can get this to spin.
If you're doing this, try not to get too close to the threads, where the nut is.
I'm going to try to loosen this nut up a little more.
All right, so that's moving. And just do this little ... There's a little sleeve on here, so just move that out a little bit.
All right, so I'm using some bigger locking pliers, or a pipe wrench. You can use a big pipe wrench. Just loosen this up this way. And it's a good idea to mark something on the inner tie rod so you know how many turns you twist this out. So I've already gone one turn.
All right, it's getting looser. So I've gone about five turns. What I'm going to do is just use some locking pliers. Lock this right here, take the other tie rod end off. Use some other pliers, try to take this off this way.
You just want to count how many times you go around. That's six turns. Eight. 16, 17, 18, 19. So 19 turns to take it off. So when you put the new one, on or if you're reusing the old one, you want to put it on 19 turns.
... can put a little anti-seize on this before I put the tie rod end on. Then it'll just be easier coming off if I ever have to take it off again.
Take this little cup. This is what squeezes the tie rod together to make sure it's tight so it doesn't move. Slide that on, and we're going to count 19 times. One, two, three.
18, 19. Okay, so that's where it was when we took it off. Wipe some of this away.
We'll take this end, slide this back into the knuckle. Take the nut and install the nut. Now I'm going to tighten up this nut. I'm just going to use an 18 millimeter swivel, and as you can see, the stud is spinning. So I'll take a five millimeter hex key and go right in the top of the stud. That's going to prevent it from spinning as I tighten this up.
All right, snug that up a little bit.
Then, if you want to use a torque wrench, you can torque this nut to 48 foot pounds. It's hard to get a torque wrench in this small location, so I'm just going to use an 18 millimeter wrench and just tighten it up. That's good.
And then take a 15/16ths, tighten up this jam nut. And if you can get a torque wrench on this, if you have a crow's foot, you can tighten this to 33 foot pounds. All right, that's good. Take off my locking pliers.
So whenever you're replacing any of these steering components, it's a good idea to go to a shop after you're done doing the job and have the vehicle aligned. Otherwise, you can have premature tire wear.
Now, I'm going to install the wheel. Line it up with the lug holes.
And I'll hold the wheel on, grab a socket with my lug bolt, get that started.
All right, now I can lower the vehicle and torque the lug nuts.
Now, I'm going to use a 17 millimeter socket and this torque wrench that we sell at 1AAuto.com. I'm going to torque these lug bolts to 95 foot pounds in a star pattern so that it torques the wheel down evenly.
And just go around again.
Thanks for watching. Visit 1AAuto.com for quality auto parts shipped to your door, the place for DIY auto repair. And if you enjoyed this video, please click the subscribe button.
Shop Products


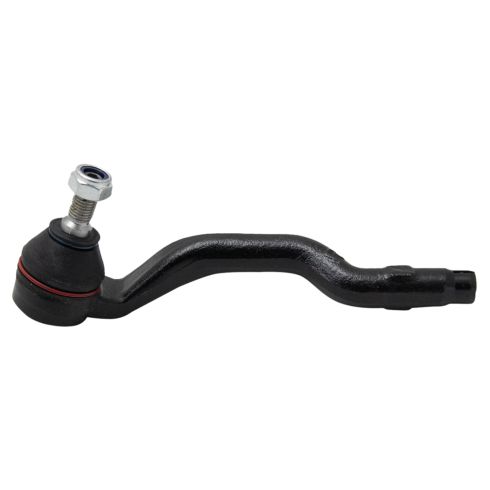
2001-05 BMW 325Xi 330Xi Front Passenger Side Tie Rod TRQ PSA67459
Part Details:
- No
- Steel
- Female
- Male
- Yes
- Yes
- Steel
- E-Coated

How to Replace Tie Rod 2000-13 Chevy Impala
Check out this video to learn how to replace the tie rods on your 00-12 Chevy Impala.
